
Linux
-

Let’s take down JANGOW 01
Overview: Target Machine IP Address: 192.168.56.118 My Kali Machine IP Address: 192.168.56.117 Mission: Boot to Root 1. To get user…
Read More » -

How to setup Static IP address on ubuntu server 20.04
Task: DNS: 192.168.56.1 Gateway: 192.168.56.1 Netmask: 255.255.255.0 IPv4: 192.168.56.12 sudo vim /etc/netplan/00-installer-config.yaml # This is the network config written by…
Read More » -

How to setup static IP addresse on RHEL8 or CentOs
Although there are many benefits of assigning static IP address to a machine, it really helps me to stay organized…
Read More » -
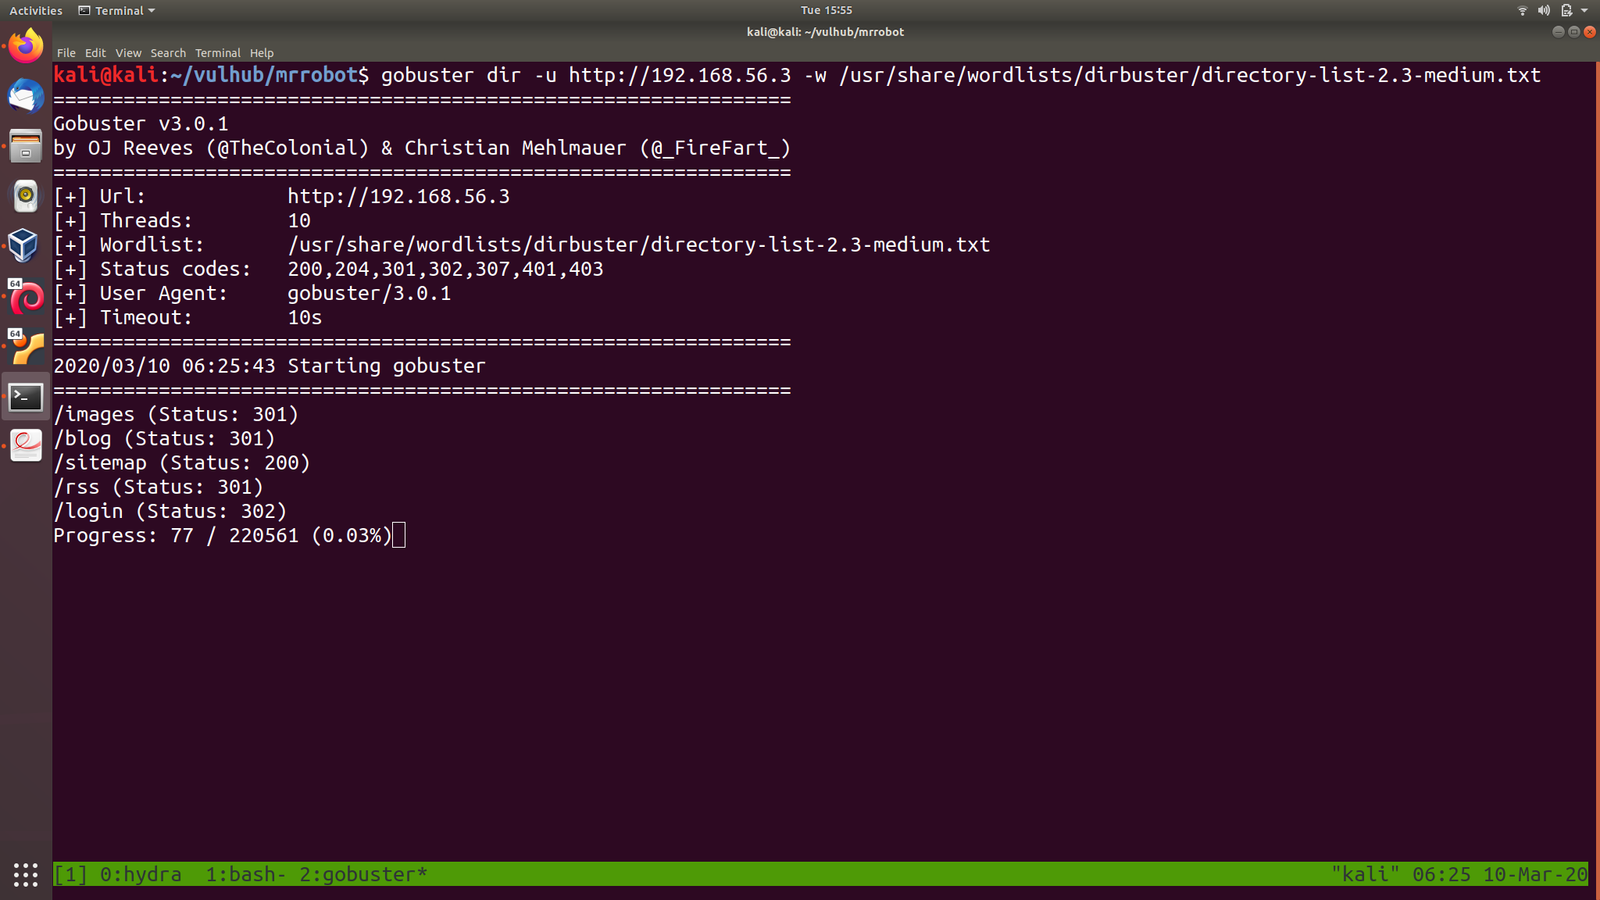
How to install gobuster in Kali Linux 2020
Hello guys, I am sure you must be aware that Kali Linux 2020 distro doesn’t have the gobuster tools pre-loaded…
Read More » -

Linux Basics for Hackers: The first book of year 2019
I am not a voracious reader however, the environment where I stay really motivates me to read at least a…
Read More »