
-
Tooling
30 Days Challenge: Day 02
Hello everyone, I am logging here the second day of my 30 days challange. Today, I was not able to…
Read More » -
Tooling

30 Days Challenge: Day 01
Tashi Delek everyone, I hope you all are doing well 🙂 I know the way how I present my blog…
Read More » -
offsec

Exploiting Windows & Privilege Escalation from TryHackMe (ICE Room)
Recon NMAP SYN Scan sudo nmap -sS -p- 10.10.185.210 -Pn -o nmap.log For some reason, my nmap is taking a…
Read More » -
offsec

Steel Mountain with and without using Metasploit
In this room you will enumerate a Windows machine, gain initial access with Metasploit, use Powershell to further enumerate the…
Read More » -
OSCP

This is NullByte from vulhub
Overview: Target Machine IP Address: 192.168.56.122 My Machine IP Address: 192.168.56.117 Mission: Boot to Root Get to /root/proof.txt and follow…
Read More » -
offsec
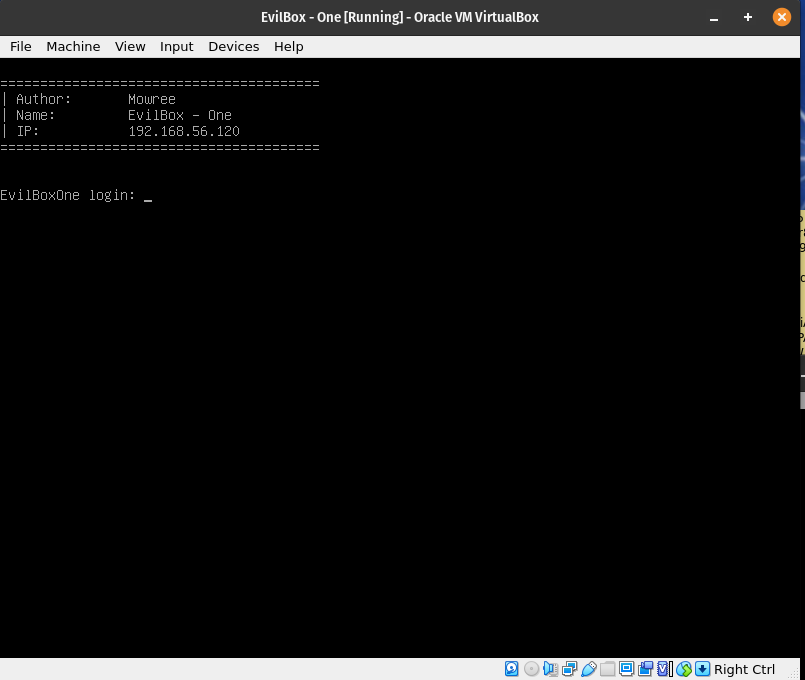
How I took down EvilBox from vulnhub
Overview: Target Machine IP Address: 192.168.56.120 My Machine IP Address: 192.168.56.117 Mission: Boot to Root 1. To get a user…
Read More » -
offsec

How I took down Mercury
Overview: Target Machine IP Address: 192.168.56.119 My Machine IP Address: 192.168.56.117 Mission: Boot to Root 1. To get root flag…
Read More » -
Linux

Let’s take down JANGOW 01
Overview: Target Machine IP Address: 192.168.56.118 My Kali Machine IP Address: 192.168.56.117 Mission: Boot to Root 1. To get user…
Read More »